Varenyky is the scrumptious Ukrainian dumplings revered and enjoyed worldwide. Overwhelmed by the idea of creating these delightful dumplings in your kitchen? Don’t worry, I am here to guide you.
This article reveals the compelling reasons behind the global adoration for varenyky, providing insights on crafting perfect dumplings at home. You’ll also learn the secret techniques to achieve that perfect texture and the tantalizing filling that sets these dumplings apart.
By the end, you’ll have the confidence to create these gastronomic delights, satisfying your cravings and adding a wonderful dish to your culinary repertoire. Read on, and let’s bring the magic of varenyky into your home.
What Is Varenyky?
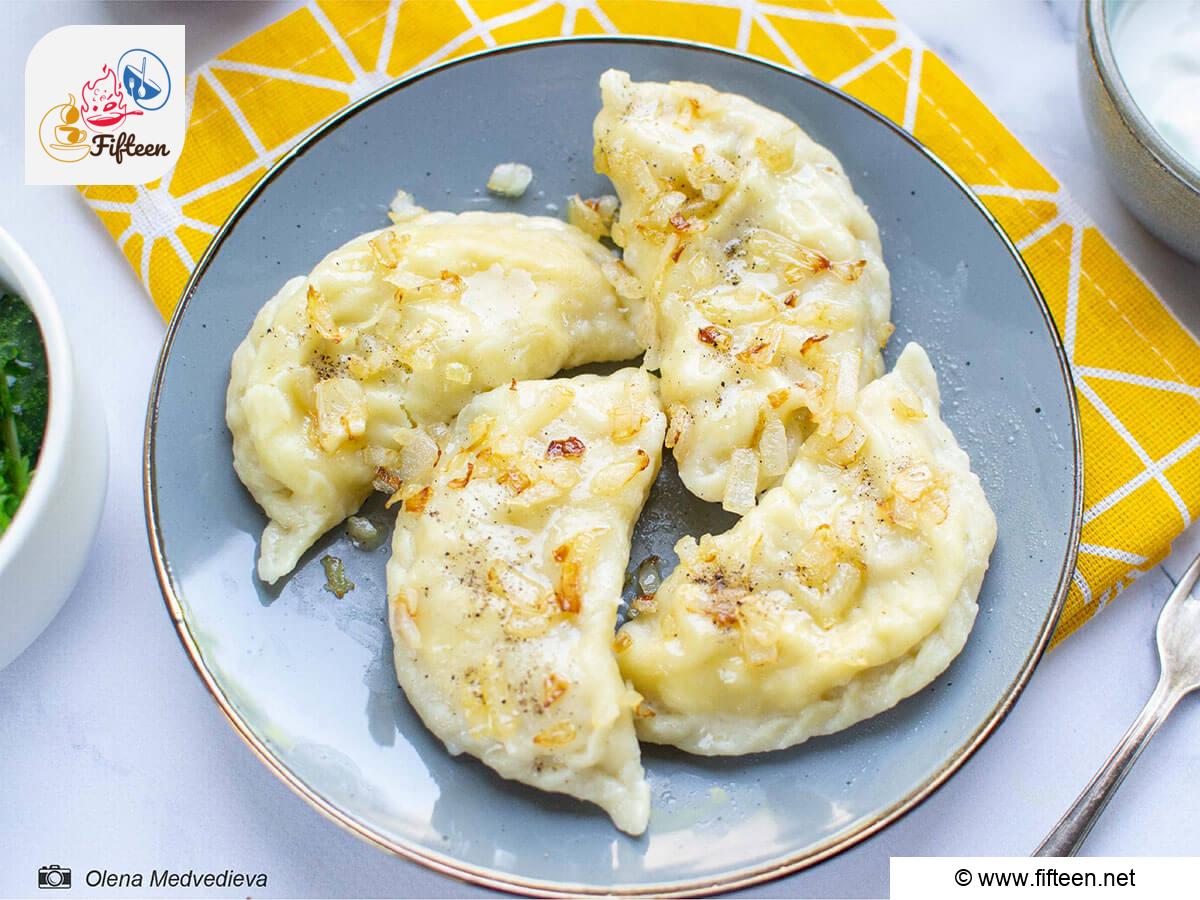
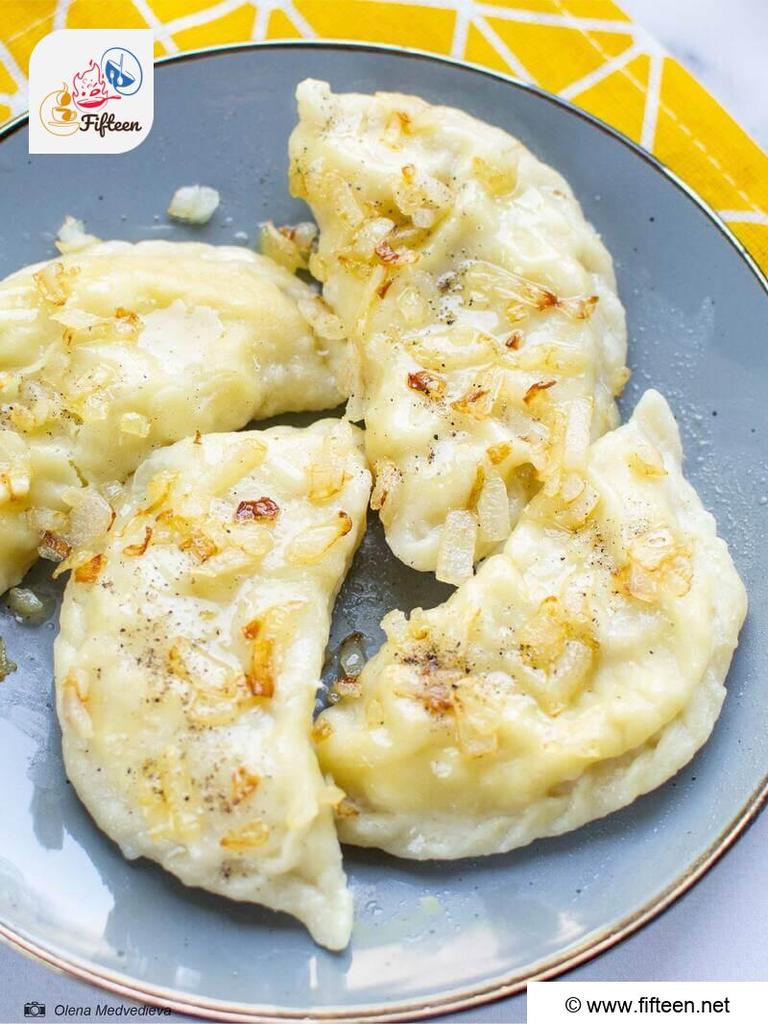
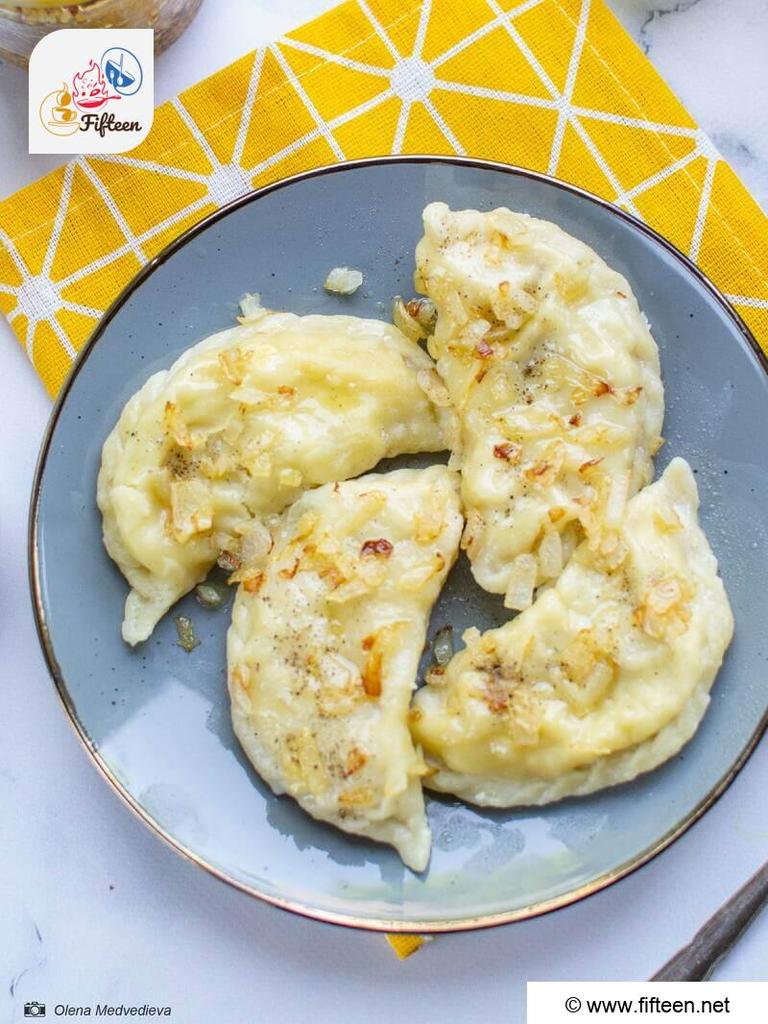
Varenyky (Вареники) is a much-loved national dish from Ukraine, just as famous as borscht and lard. Varenyky, or Ukrainian dumpling, is a simple dish made from dough that’s filled and then boiled or fried. It’s enjoyed in many flavors, from sweet to savory.
People worldwide know and love varenyky, but its true home is Ukraine. In fact, Ukrainians love varenyky so much that you can find varenyky in their songs, poems, movies, and even statues!
How Does Varenyky Compare To Other International Dumplings?
If you compare, a traditional Ukrainian dumpling is twice as big as a Russian Pelmen and four times bigger than an Italian Ravioli. The shape is different, too: Ukrainian varenyky is shaped like a half-moon, Russian Pelmeni are round, and Italian ravioli are usually square.
In Poland and Belarus, Ukrainian dumplings have a similar dish called Kalduny. So, no matter where you go, you’ll find a version of varenyky.
Is Varenyky Different From Pierogi?
The difference between varenyky and Pierogi may seem significant, but in reality, it’s almost non-existent. Both dishes are half-moon-shaped stuffed dumplings, a staple in Eastern European cuisine.
One subtle difference between varenyky and Pierogi is the devotion to sour cream. Ukrainians have a particular fondness for this creamy delight, generously drizzling it over almost anything, including varenyky.
Size also sets varenyky and Pierogi apart: Pierogi often has a slightly larger footprint than varenyky.
What Tools Are Required To Make Varenyky?
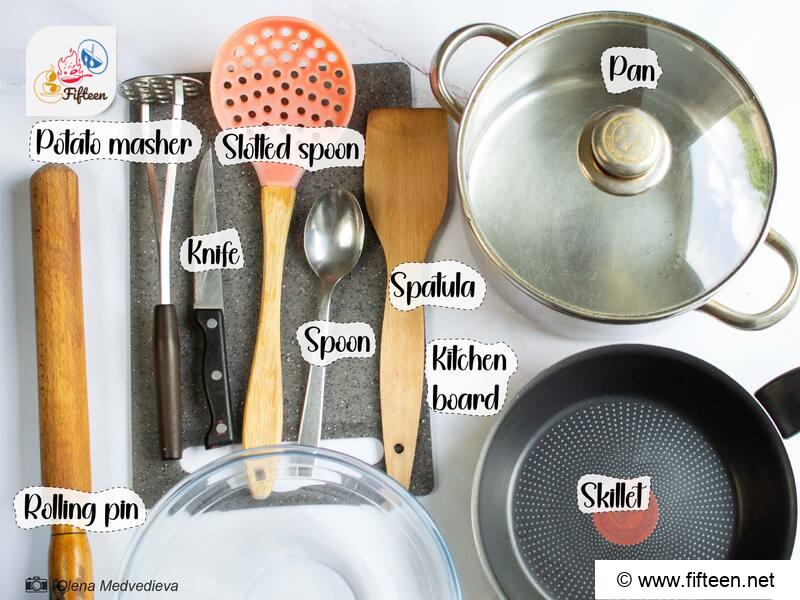
Choosing the right tool for varenyky can make the difference between a good and a great dumpling. The essential tools for varenyky are listed below:
What Are The Ingredients Needed For Varenyky?
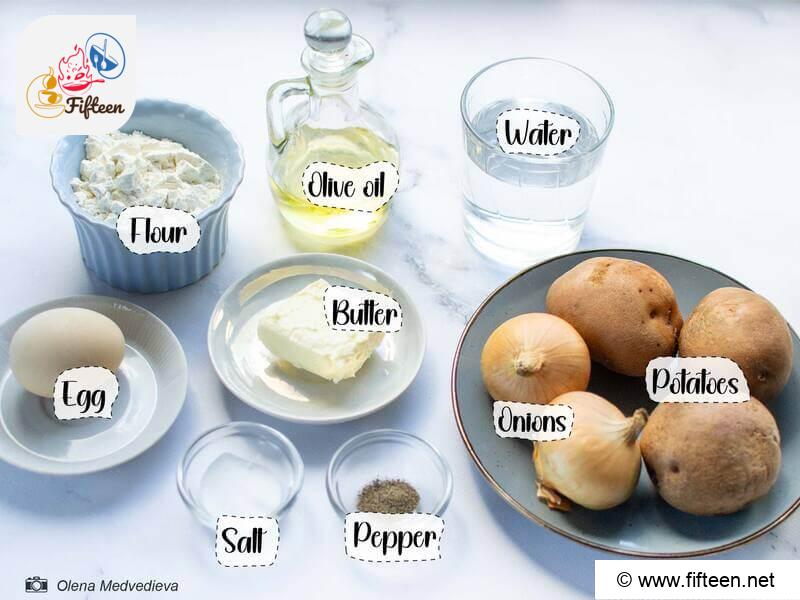
The following ingredients are needed for varenyky, and they play a starring role in this traditional dish. The dough is made from basic ingredients like flour, water, and eggs, while the filling consists of onion, potato, and black pepper.
For the Dough:
For the Filling:
How To Make Perfect Varenyky At Home?
To make varenyky, there are three main stages: preparing a hearty potato-onion filling, crafting a smooth, easy-to-work dough, and finally boiling these beautiful half-moons to perfection. This guide walks you through the process, ensuring you can create this comforting dish with ease and flair, right in your own kitchen.
Step 1: Prepare The Potato Filling
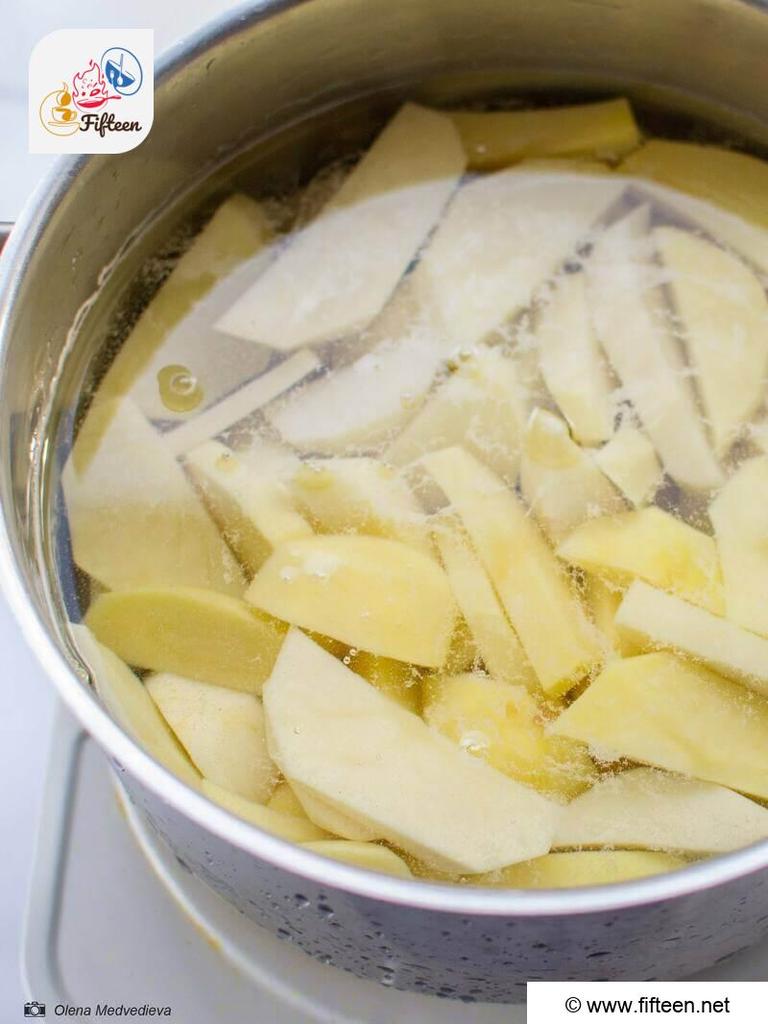
Begin by peeling and chopping your potatoes. Pop them into a pot with a little salt and get that heating on a medium flame.
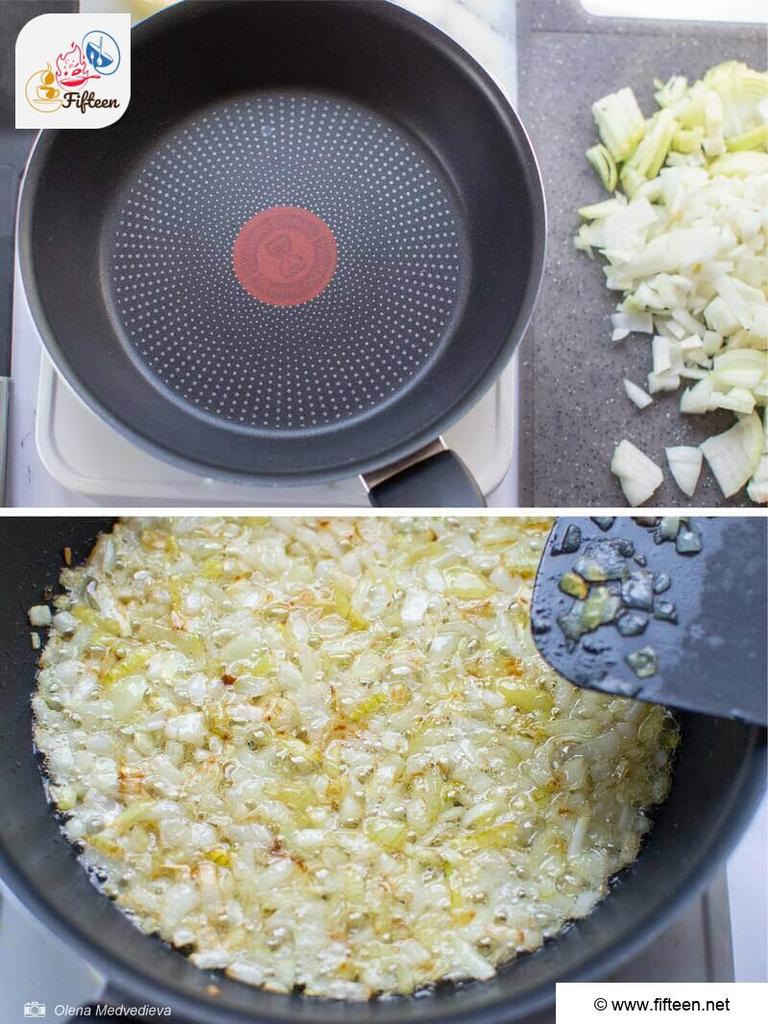
Meanwhile, chop an onion and let it sizzle in a pan with olive oil or butter until it takes on a rich, golden hue.
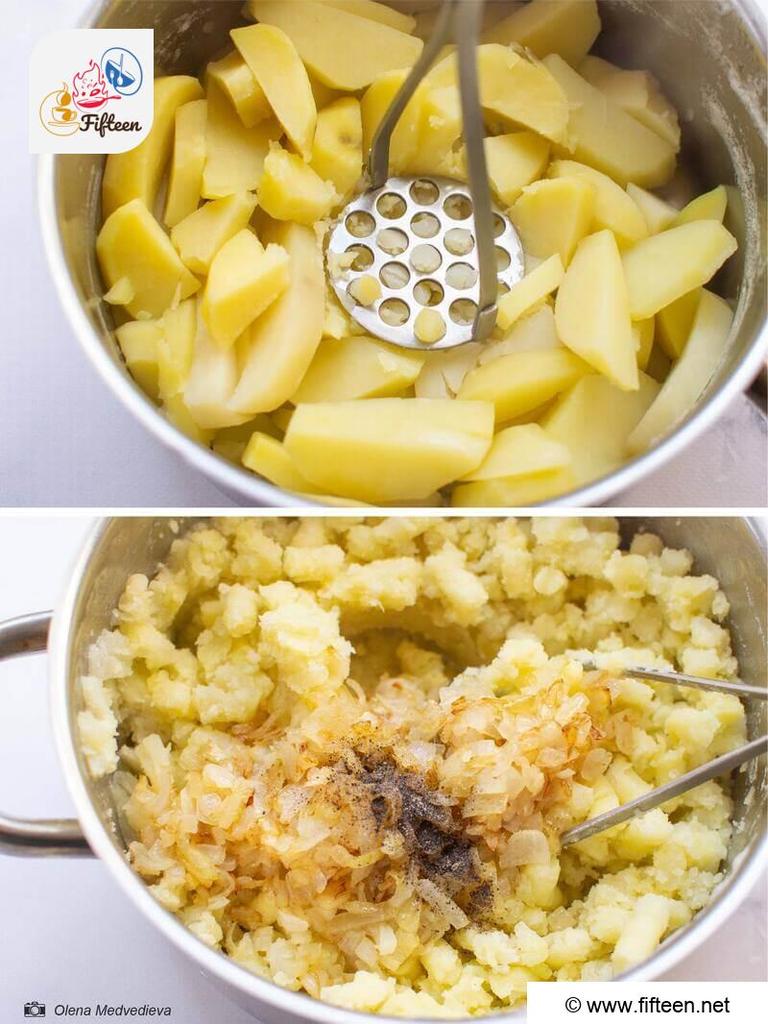
When the potatoes are ready, drain the water and mash them with a potato masher. Add fried onions to potatoes, salt, and pepper to taste and mix well. Now, leave it to cool while we deal with the dough.
Step 2: Prepare The Dough
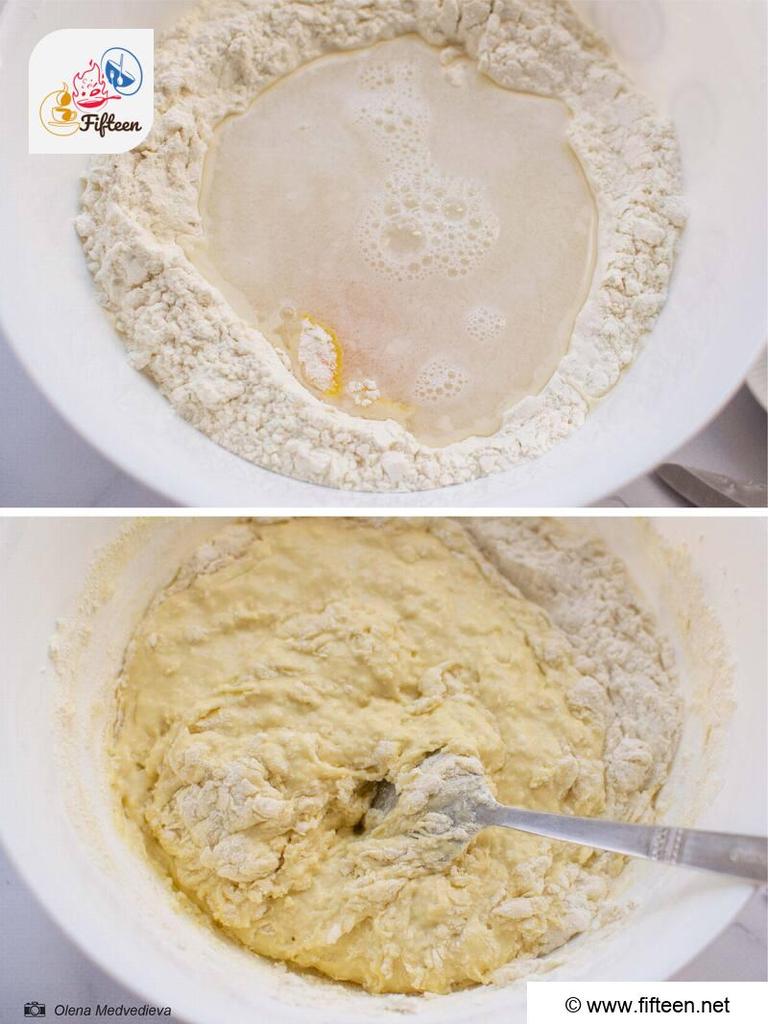
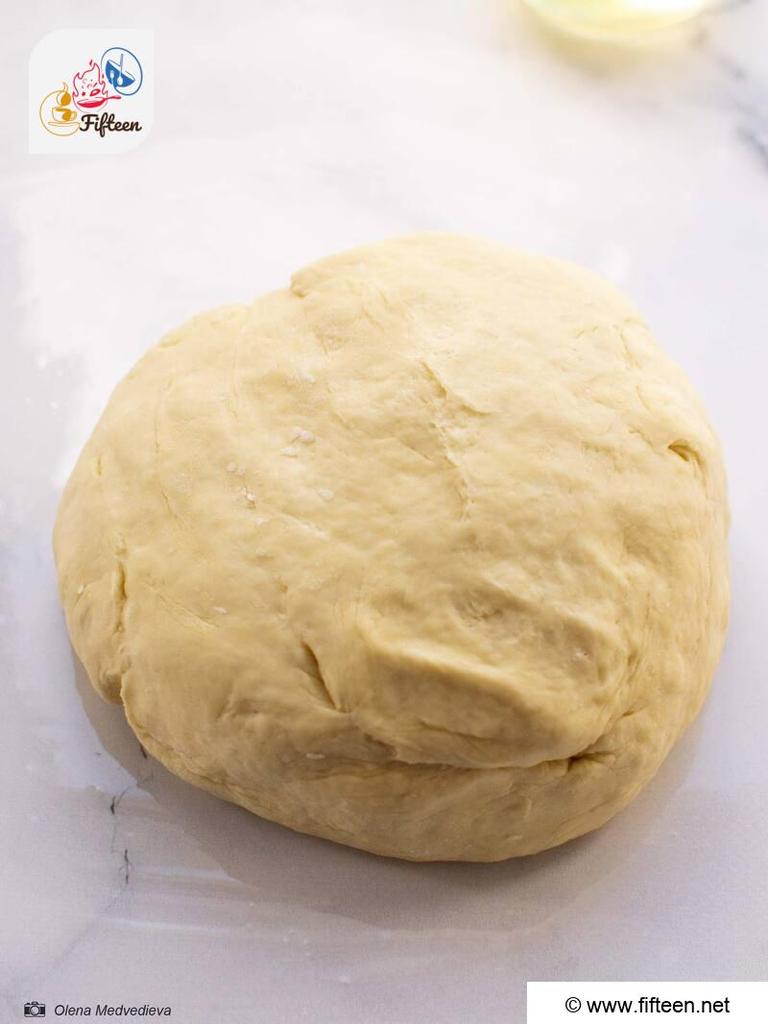
Next up, it’s dough time. Combine your flour, hot water, salt, and an egg in a big bowl. Knead it until you have a smooth, soft dough.
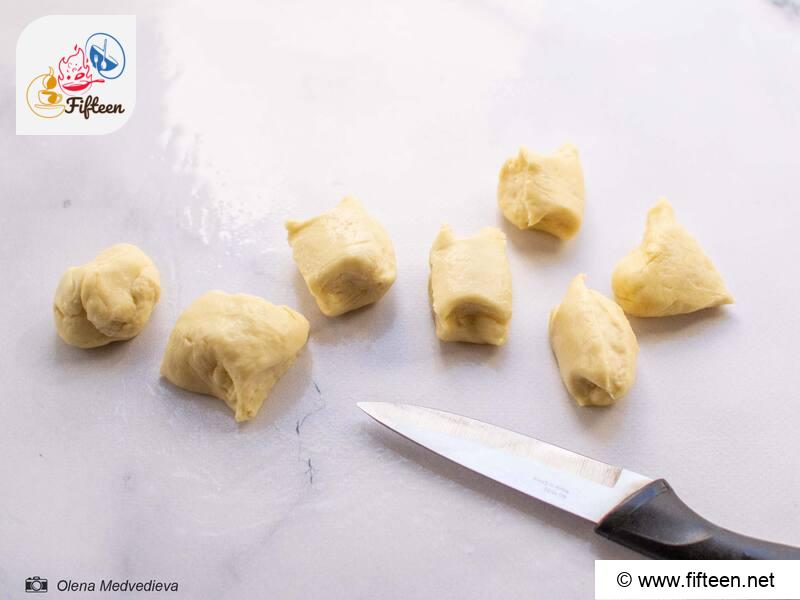
Take your dough and roll it out into a log-like shape. From this, slice off chunks roughly the size of a walnut.
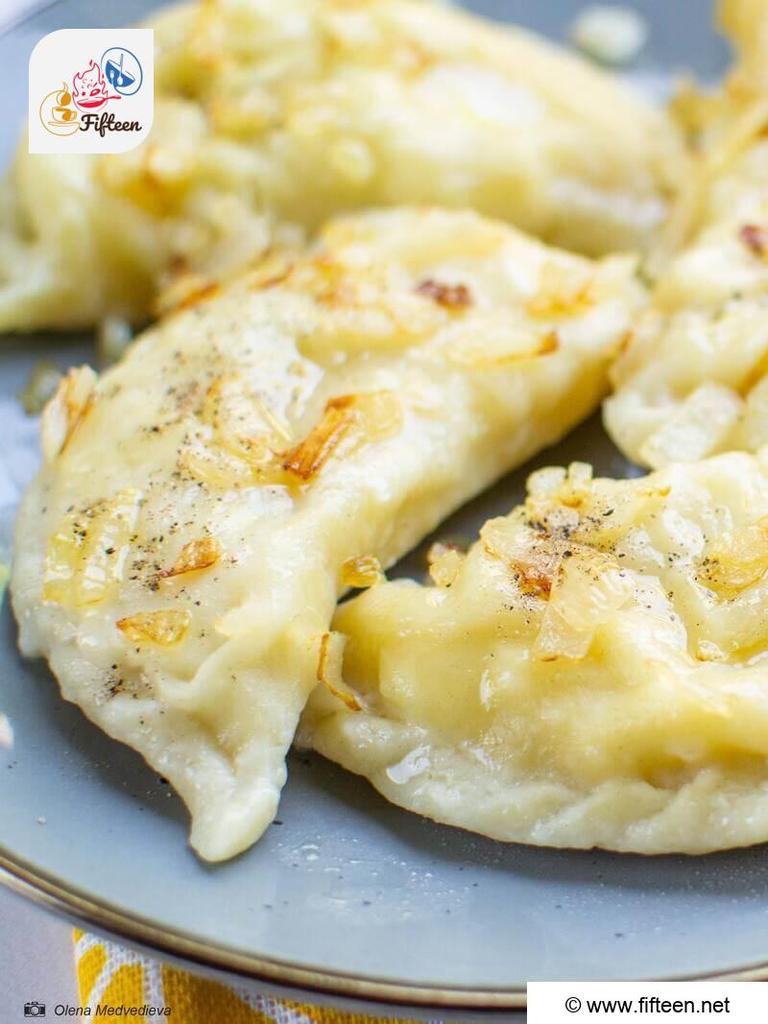
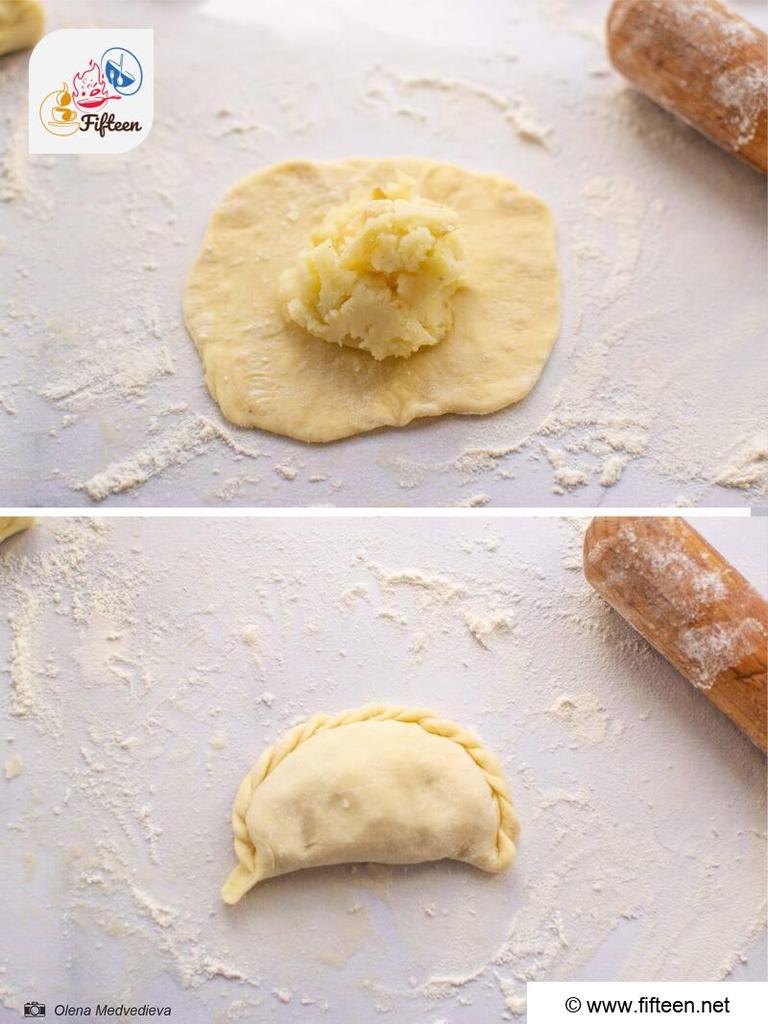
Roll out each ball with a rolling pin, put the potato stuffing inside and mold it into the shape of a dumpling.
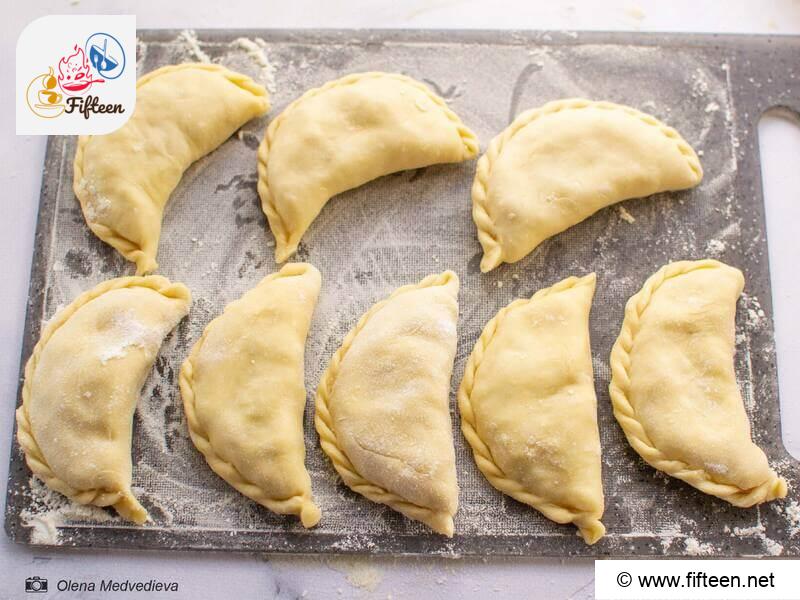
Arrange your dumplings on a board and pop them into the freezer for about 20 minutes. Or, if you want, you can freeze them for later – they’re always ready when you need a quick, tasty meal.
Step 3: Boil The Dumplings
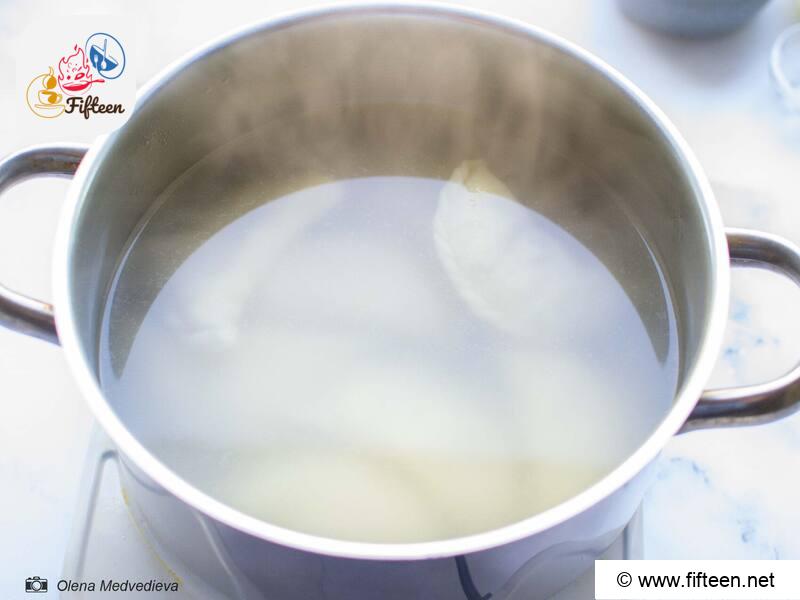
Lastly, it’s time to bring those dumplings to life. Fill a pot with water, season with salt, and get it boiling.
Gently drop in your dumplings, stirring them until they rise to the top. Allow them to boil for another 5-7 minutes.
Then scoop them out with a slotted spoon into a bowl. Add a dab of butter and the remaining fried onion, mix it up, and here you go!
What’s The Secret To Perfect Varenyky?
The secrets for perfect varenyky involve fresh ingredients, careful crafting, and a boiling water start. Whether you prefer them sweet or savory, hand-making your dumplings guarantees authenticity and taste. Your culinary creativity is the key to mastering this dish.
In this section, you can also have a good chance to learn about pairing suggestions for varenyky, storage and reheat tips, as well as other Ukrainian delicacies.
What To Pair with Ukrainian Dumplings?
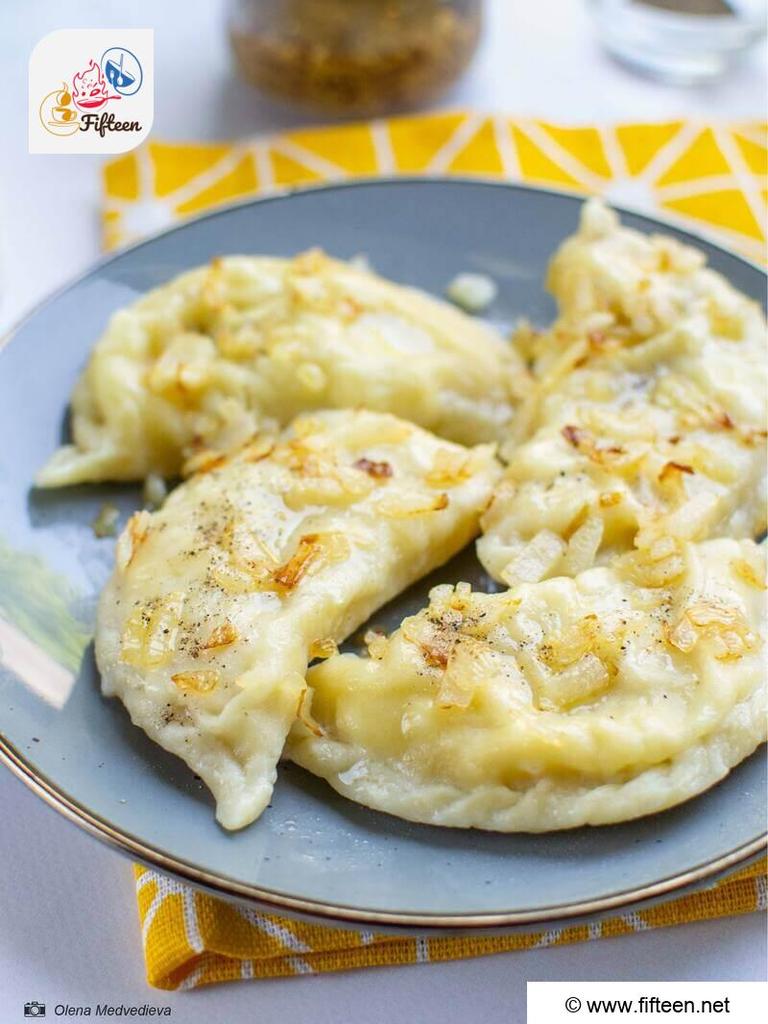
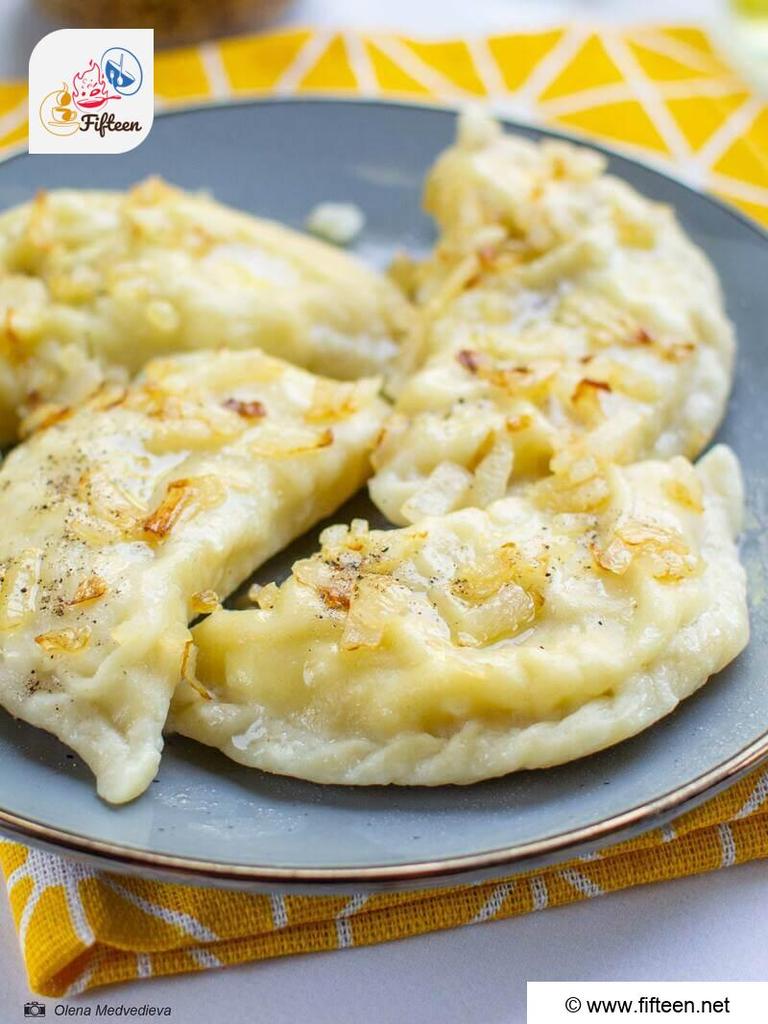
Traditionally, Ukrainian dumplings are paired with sour cream, sautéed onions, melted butter, crispy fried lard, and an assortment of sauces. For a sweet twist, they’re often dusted with sugar or drizzled with honey.
You can also serve Ukrainian dumplings with fresh veggies like greens, tomatoes, cucumbers, radishes, or bell peppers. For a tangy contrast, try pairing varenyky with salted or pickled goodies like tomatoes, cucumbers, cabbage, or mushrooms.
How To Store and Reheat Ukrainian Dumplings?
You can store varenyky by making them and freezing them while they’re still raw. Arrange them on a tray, freeze them, then store them in a freezer bag. This way, they won’t stick and you can cook the amount you need later.
When you’re ready to eat, drop the frozen dumplings into boiling water. After about five minutes, when they start to float, they are ready to be enjoyed.
If you have leftover cooked varenyky, keep them in an airtight container in the fridge for up to three days.
To reheat varenyky, use a pan with some butter or oil for a crispy finish. Alternatively, you can heat them in the microwave. Just add a bit of water, cover them and heat for about a minute. Continue to heat in 30-second increments until they’re hot enough for you.
Are You Ready To Cook Up Some Delectable Varenyky?
Thus, I and you have journeyed through the process of preparing potato dumplings, a simple yet universally loved dish! If you’ve enjoyed varenyky, one of the must-try Ukrainian dishes, don’t hesitate to experiment with various fillings. Your success with the basic preparation indicates that you’re ready to venture into more exotic fillings enveloped in dough.
I truly value your engagement, dear readers! Do share your personal experiences and twists on the classic potato dumplings. I’m eager to hear your thoughts on this dish.
Don’t forget to leave your comments, hit the like button, and share this scrumptious recipe with your friends. Stay subscribed for more mouthwatering and intriguing recipes. Thank you for reading, and stay safe!
Varenyky (Вареники) Recipe (Ukrainian Dumplings)
Equipment
- Kitchen pan
- Skillet with non-stick coating
- Spatula for stirring pan
- Kitchen knife
- A kitchen board
- Rolling Pin
- Slotted Spoon
- Potato masher
Ingredients
For dough
- 250 ml hot water
- 1 egg
- 1.41 ounces soft butter
- 1.1 pounds flour
- 0.5 teaspoons salt
For filling
- 5 potatoes cubed
- 2 onions
- 1 teaspoon salt
- 0.5 teaspoons black pepper
For serving
- Parsley and dill
- Green onion
- Sour cream
Instructions
- Start by peeling and cubing the potatoes, then boil them in a saucepan with some salt over medium heat.
- While the potatoes are boiling, sauté the chopped onion in olive oil or butter in a separate pan until they turn golden brown.
- Once the potatoes are cooked, drain the water and mash them. Then, stir in the fried onions and season with salt and pepper.
- As the potato mixture cools, start preparing the dough. In a large bowl, combine flour, hot water, salt, and an egg to form a soft dough.
- Take small portions of this dough, roll them into sausage shapes, and then cut off walnut-sized pieces with a knife.
- Next, flatten each piece with a rolling pin, place some potato filling in the center, and shape it into a dumpling.
- Place these dumplings on a board and freeze them for about 20 minutes.
- Meanwhile, boil salted water in a saucepan. Add dumplings and cook until they float, then 5-7 minutes more. Then, use a slotted spoon to transfer the cooked dumplings into a bowl. Add some butter and the remaining fried onions, then stir everything together.
Video
Notes
- These instructions are for preparing 5 servings.
- Always add the dumplings to strongly boiling water for optimal cooking.
- Using fresh ingredients, particularly potatoes, can greatly enhance the taste.
- When shaping the dumplings, take extra care to seal the edges properly. Failure to do so may result in the dumplings falling apart while cooking.
- Frozen dumplings can be stored for a significant time before cooking, making them a convenient meal for later.
- For a softer dough, use hot water during the kneading process.
- If you prefer a juicier and more flavorful filling, don’t hesitate to use a generous amount of onions.



Olena Medvedieva
Content Writer
Expertise
Content Writer, Meal Planning, Recipe Development, Food Editor, Cooking-video Maker, Culinary Storytelling, Food Photographer, Food Stylist, Chef
Education
Taras Shevchenko National University of Kyiv, Ukraine
Introducing Olena, a culinary enthusiast from Ukraine, whose journey from philology studies to the world of food photography and styling is nothing short of inspiring. With a deep-seated love for both cooking and capturing stunning visuals, Olena’s work reflects her passion for culinary arts and her commitment to showcasing the beauty of Ukrainian cuisine. Her expertise extends beyond the kitchen, as she combines her creative talents to produce captivating images that grace numerous online platforms and publications.