Ukrainian lard, or ‘salo,’ is a simple yet versatile treat that’s a cinch to prepare. I must confess, there’s something extraordinary about well-prepared Ukrainian lard. It’s not only delectable and incredibly satisfying, but it’s also a culinary chameleon.
Challenged by the prospect of preparing this unique dish? I am here to help. This article promises to navigate you through every step of the salo preparation process, imparting pro-level tricks to ensure a delectable outcome.
You’ll also learn about the perfect accompaniments for your salo, explore foolproof storage techniques, and discover a world of other enticing Ukrainian dishes.
Salo – A Dish Loved By All Ukrainians
Ukrainian salo, with its rich, buttery flavor, holds a place of honor as arguably the most iconic dish in Ukraine. This savory delight has inspired many humorous anecdotes and jests expressing Ukrainians’ profound fondness for it. Here’s a glimpse into some of that humor.
Think salo is just for meat-eaters? Think again! Ukrainian vegetarians, after passionate debates, amusingly declared that salo is a vegetable. It’s a testament to how beloved this dish is!
And the jokes continue.
“You’re not going to eat salo, are you?”
“Well, I’m on a diet, but… who am I kidding? Bring it on!”
These humorous tales underline just how essential salo is to Ukrainian culture. Of course, it’s not consumed for every meal, but any truly traditional Ukrainian spread feels incomplete without it.
Whether served as a standalone snack or as a tasty topping on a sandwich, salo adds an undeniable flair to the table.
If you peek into the annals of culinary history, you’ll find salo as one of mankind’s oldest prepared dishes. Salting, while enhancing flavor, primarily served as a preservation method.
Though the process of salting salo might seem straightforward – “take the lard and salt it” – it’s actually quite nuanced. Different breeds of pigs produce varying qualities of lard. Some pigs are even fed special diets to impart unique flavor notes to the meat and lard.
Anyway, enough theory. Let’s finally cook this wonderful delicacy!
Tools For Making Perfect Salo
Ingredients To Use In Making Salo
How To Make Ukrainian Salo Step By Step
Step 1: Whip Up the Brine
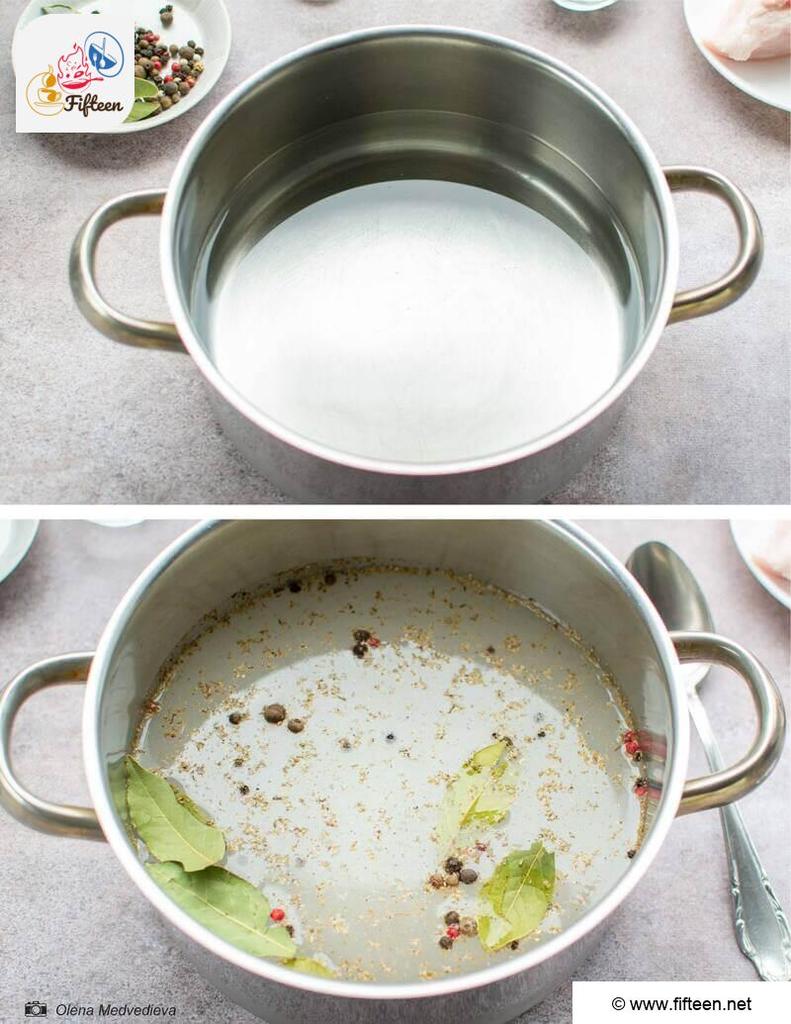
Kick things off by making the brine for your salo. Grab a saucepan and throw in your water, salt, bay leaves, coriander, and black peppercorns. Crank up the heat and let it boil for a few minutes, then set it aside to cool down a bit.
Step 2: Get the Lard Ready
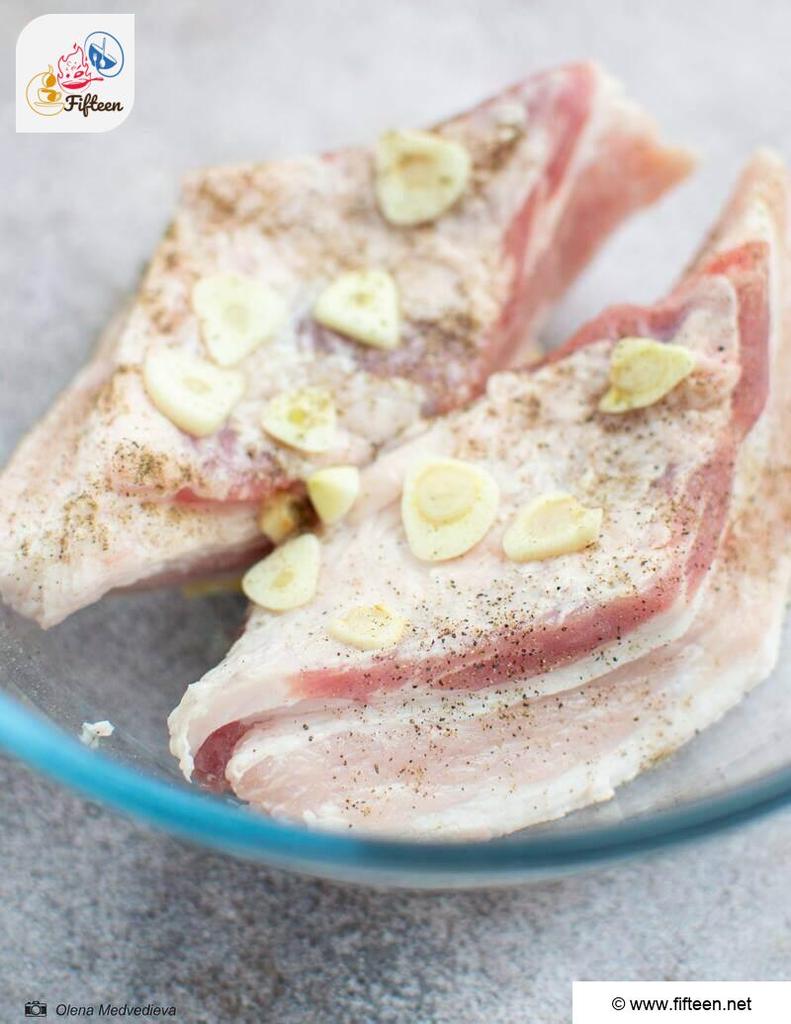
Rinse your salo and cut it into bite-sized pieces, about 3.5 ounces each. Place your sliced garlic cloves in a bowl and arrange the salo pieces on top. Don’t be shy with the garlic—pile more on top of the salo.
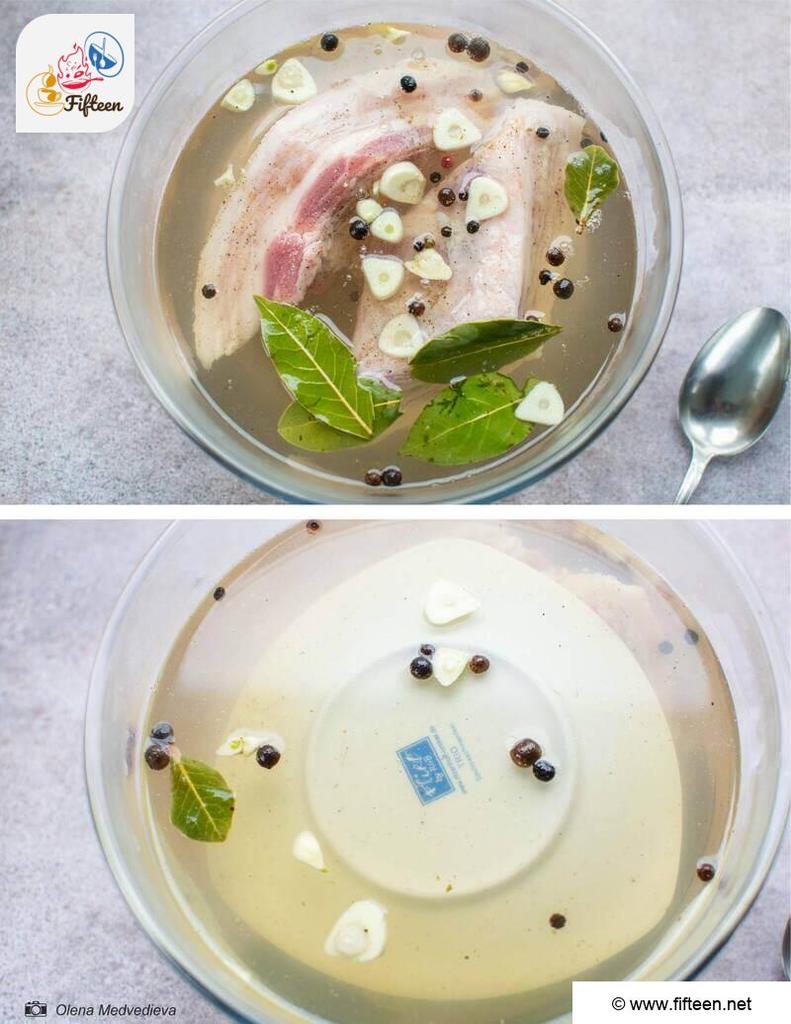
Next, cover your salo with the brine you’ve just prepared. Put a plate on top to press down on the salo pieces. This setup goes into the fridge for three days to let the flavors fully meld.
Step 3: And Voila! Your Salo is Good to Go
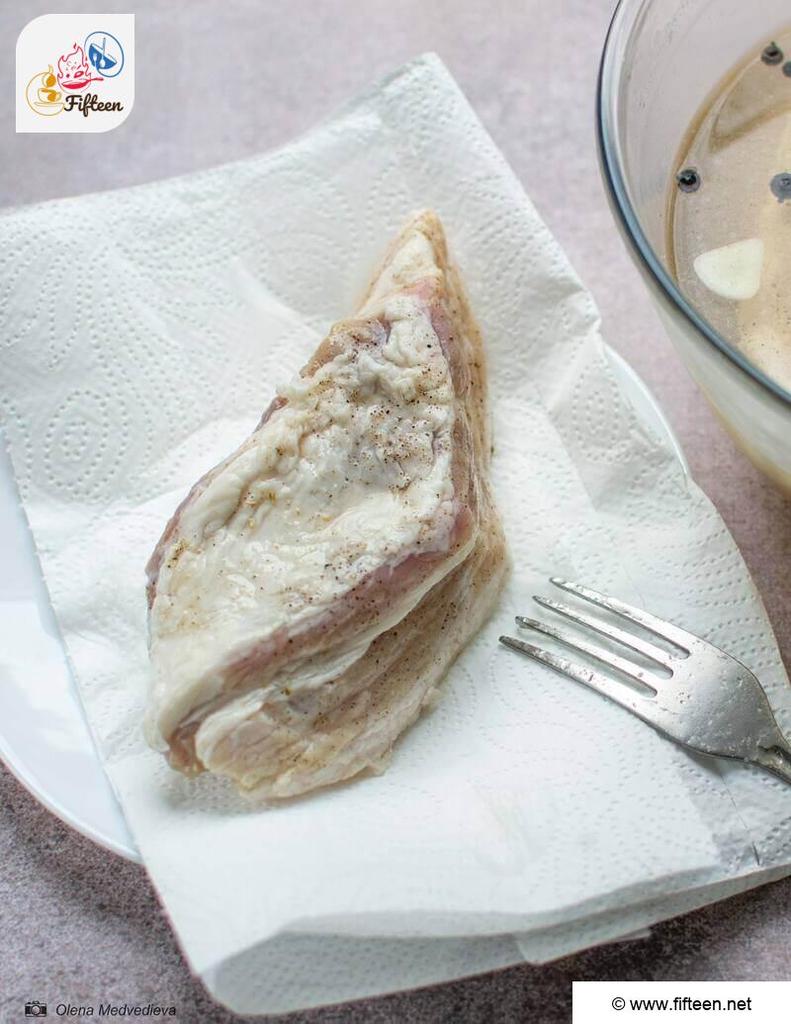
After three days, pull out your salo from the fridge. Remove the fat pieces from the brine and pat them dry with paper towels.
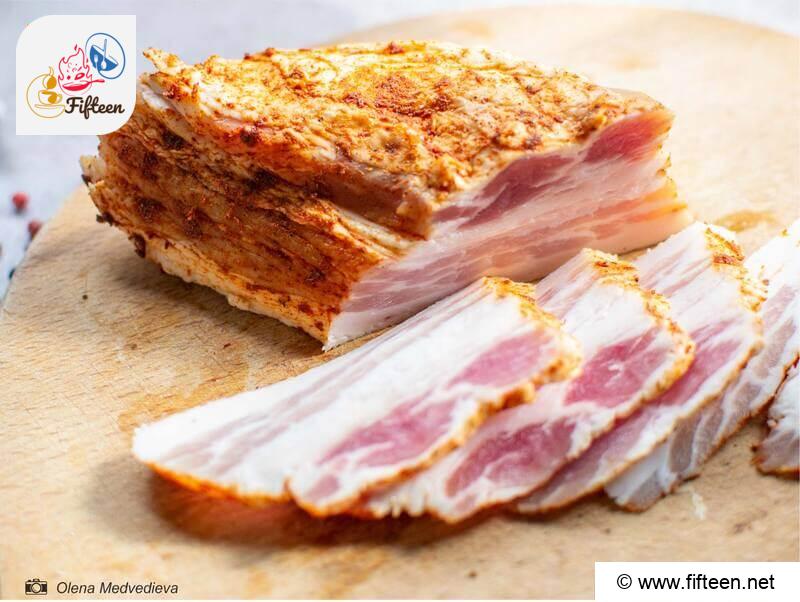
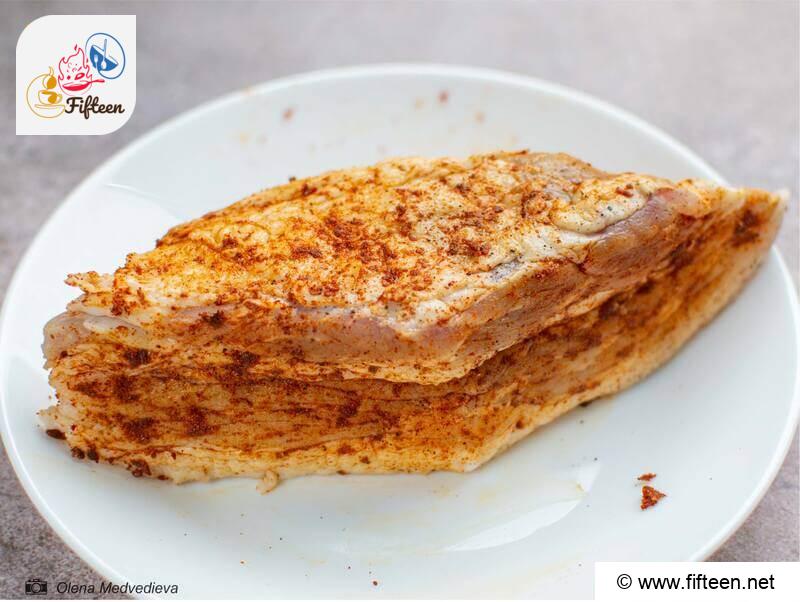
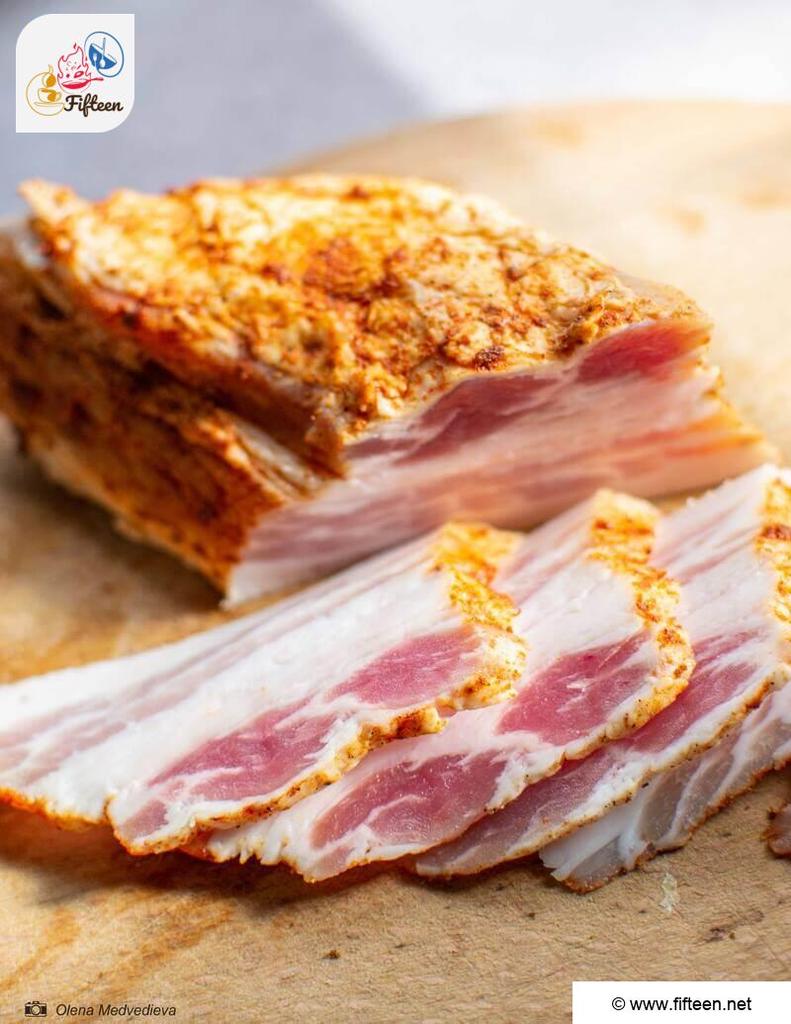
For the finishing touch, rub the pieces with a mix of paprika and salt. Now, your salo is ready to enjoy or can be stored in the freezer for future use.
Useful Tricks On How To Salt The Perfect Lard
What Is Salo Served With
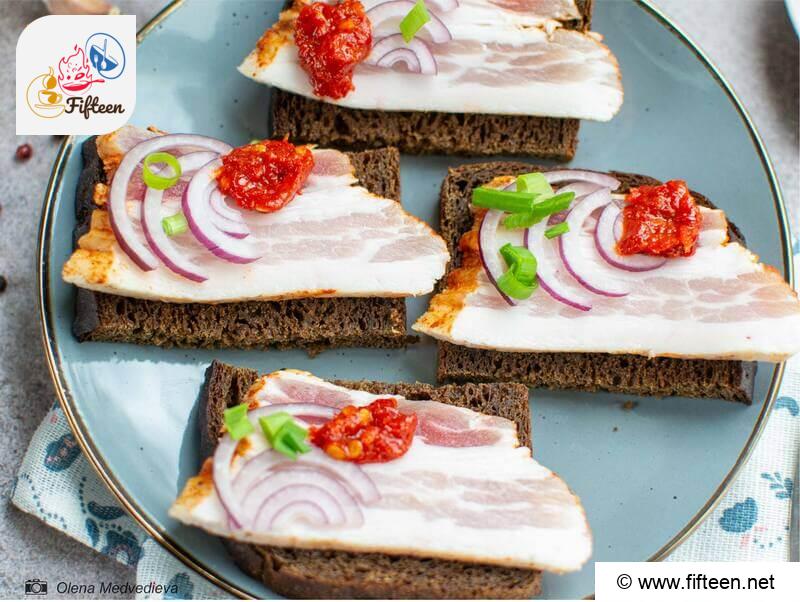
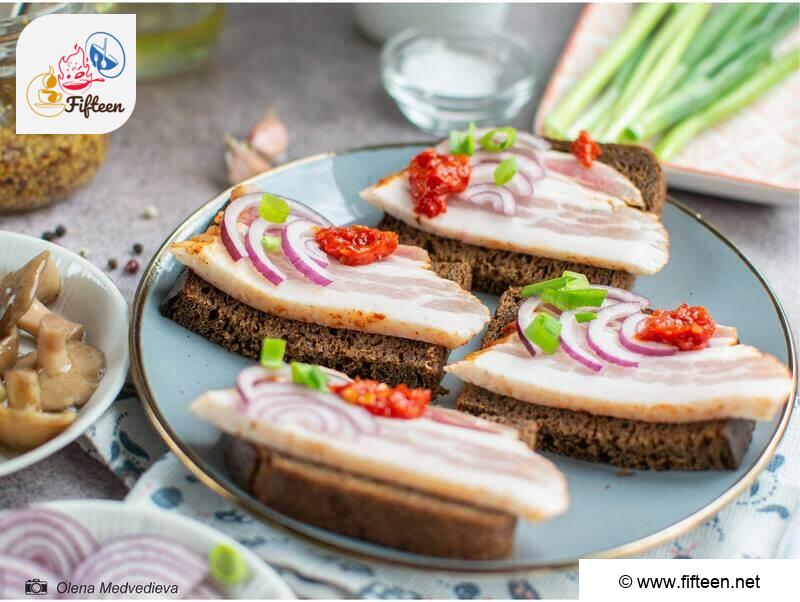
Salo is truly a versatile culinary staple. Traditionally, it’s served with bread – whether that’s rye or wheat, it’s all up to personal preference. A typical salo sandwich also includes garlic, green onions, and other fresh herbs to enhance the flavor.
Salo also makes an ideal companion to robust alcoholic beverages such as vodka and particularly homemade whiskey, where it’s served as a traditional chaser.
In terms of its role in soup dishes, salo is a non-negotiable ingredient in Ukrainian Borscht. It’s not uncommon for salted lard to be utilized in smoking or drying processes, although that’s a different story altogether.
Moreover, salted lard frequently plays a part in numerous other dishes. It can be used for frying in lieu of oil, ground up in a meat grinder and used like butter, or added to a variety of soups for an extra dose of flavor and nutrition – whether it’s in whole pieces, sliced, or ground.
Salo is even a go-to for travelers and tourists who require a nutrient-dense, compact, and lightweight food source that doesn’t require refrigeration. It’s safe to say the utility of lard goes far beyond the kitchen.
How To Store Salo Correctly
First, use parchment paper or plastic wrap to cover the salo entirely. Once the salo is wrapped, place it in the refrigerator. Your salo can remain fresh for several months without going bad.
You can also choose to freeze it. In the freezer, salo can keep its taste and texture for up to a year. When you’re ready to use it, ensure it’s defrosted slowly in the refrigerator to maintain its quality.
To Understand Ukrainian Culture, Salo Is A Must-Try
Salo is a favorite among those who savor its unique flavor, not to mention that it’s a healthier alternative to similar fried, high-fat foods. Why? Because the salting process keeps all the nutrients intact without the need for high heat.
Pair salo with a chunk of fresh bread, use it as a frying medium instead of conventional oil, toss it into a soup at any stage of the cooking process, or enjoy it on its own – the possibilities are endless! There’s simply no wrong way to savor this traditional Ukrainian staple.
Today, you’ve whipped up a classic Ukrainian dish steeped in lore, humor, and tradition. This style of salted lard graces the tables of both high-end restaurants and humble backyard picnics. Give this incredible, nutrient-packed dish a try!
Hey there, dear readers! If you enjoyed this piece, be sure to hit that like button and share this article with your buddies. I’d love to hear how your own rendition of this remarkable dish turned out, so don’t hesitate to share your experiences in the comments below!

Salo (сало) Recipe
Equipment
- Sharp knife
- Cutting Board
- Pot or saucepan
- Bowl
- Paper Towels
- Measuring Cup (optional)
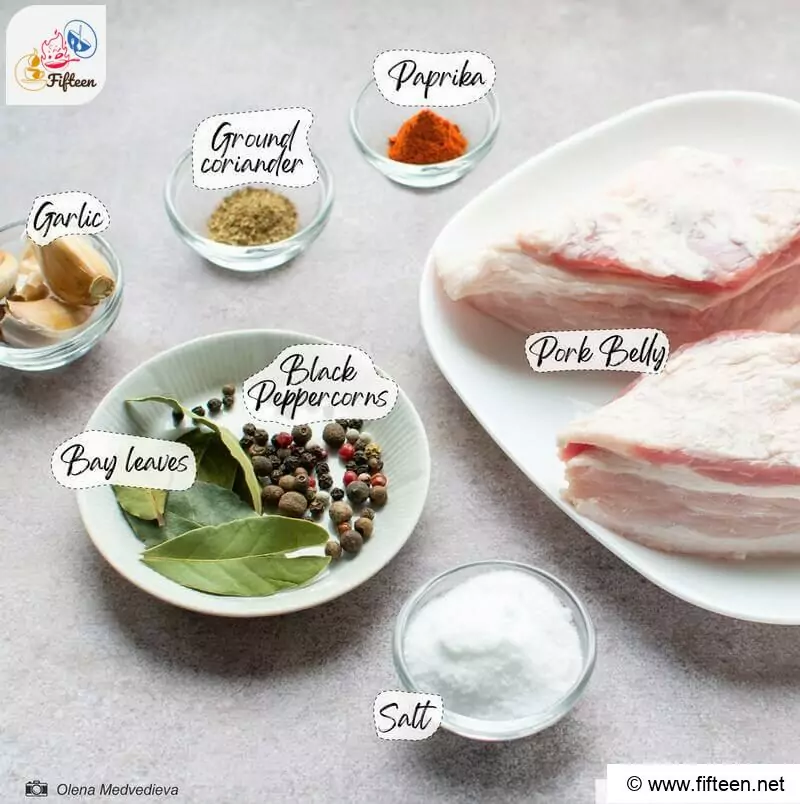
Ingredients
- 0.7 pounds pork belly/pork fat
- 3.5 ounces salt
- 1 quart water
- 1 tablespoon black peppercorns
- 1 teaspoon coriander
- 3 bay leaves
- 4 garlic cloves sliced
- 1 teaspoon paprika
Instructions
- Grab a saucepan and throw in water, salt, bay leaves, coriander, and black peppercorns. Crank up the heat and let it boil for a few minutes, then set it aside to cool down a bit.
- Rinse your Salo and cut it into bite-sized pieces, about 3.5 ounces each. Place your sliced garlic cloves in a bowl and arrange the Salo pieces on them. Pile more garlic on top of the Salo.
- Next, cover your Salo with the brine you've just prepared. Put a plate on top to press down on the Salo pieces. This setup goes into the fridge for three days to let the flavors fully meld.
- After three days, pull out your Salo from the fridge. Extract the fat pieces from the brine and pat them dry with paper towels.
- For the finishing touch, rub the pieces with a mix of paprika and salt. Now, your Salo is ready to enjoy or can be stored in the fridge/freezer for future use.
Video
Notes
- The total time is estimated based on 10 servings of Salo.
- Always go for the freshest lard you can find; it doesn’t get cooked, so quality really matters. Any lard that’s not perfectly fresh could spoil during the salting process.
- Opt for lard from a young pig, ideally from a local farm if possible, to ensure the best flavor and quality.
- The size of your lard pieces matters. Aim for pieces between 3.5 to 5.3 ounces. Anything larger might not absorb the flavors as well.
- For easier slicing, let your lard freeze just a bit before cutting it into thin slices.
- Apply a little pressure on the lard to keep it submerged in the brine—floating bits won’t salt evenly.
- Give your salting lard a good stir at least once a day to ensure it’s seasoning uniformly. This is especially important if you’re salting a large quantity.
- Even though this dish is incredibly delicious, remember that lard is very high in calories and fat. If you’re new to it, start small and avoid overeating.
- Want a bit of a kick? Add in some paprika or hot chili powder. Not only will this give your dish a reddish hue, but it’ll also add an extra punch of flavor.







Olena Medvedieva
Content Writer
Expertise
Content Writer, Meal Planning, Recipe Development, Food Editor, Cooking-video Maker, Culinary Storytelling, Food Photographer, Food Stylist, Chef
Education
Taras Shevchenko National University of Kyiv, Ukraine
Introducing Olena, a culinary enthusiast from Ukraine, whose journey from philology studies to the world of food photography and styling is nothing short of inspiring. With a deep-seated love for both cooking and capturing stunning visuals, Olena’s work reflects her passion for culinary arts and her commitment to showcasing the beauty of Ukrainian cuisine. Her expertise extends beyond the kitchen, as she combines her creative talents to produce captivating images that grace numerous online platforms and publications.