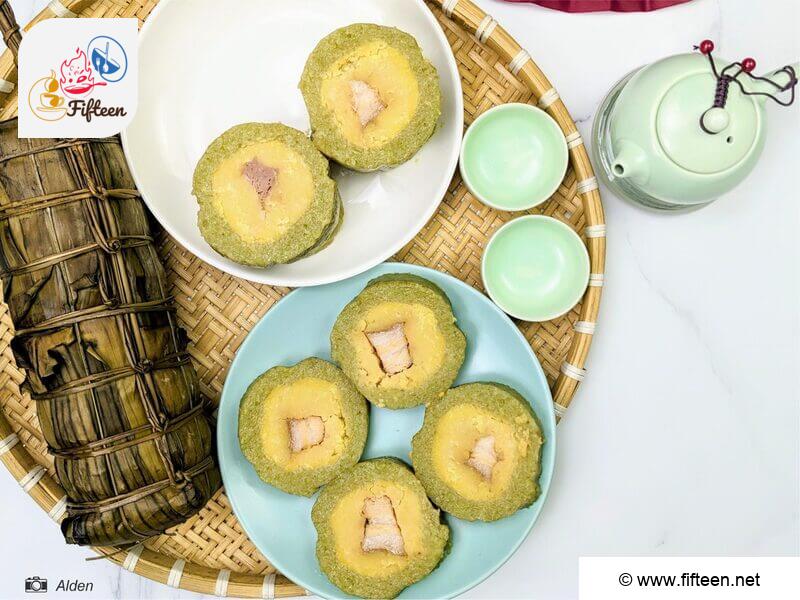
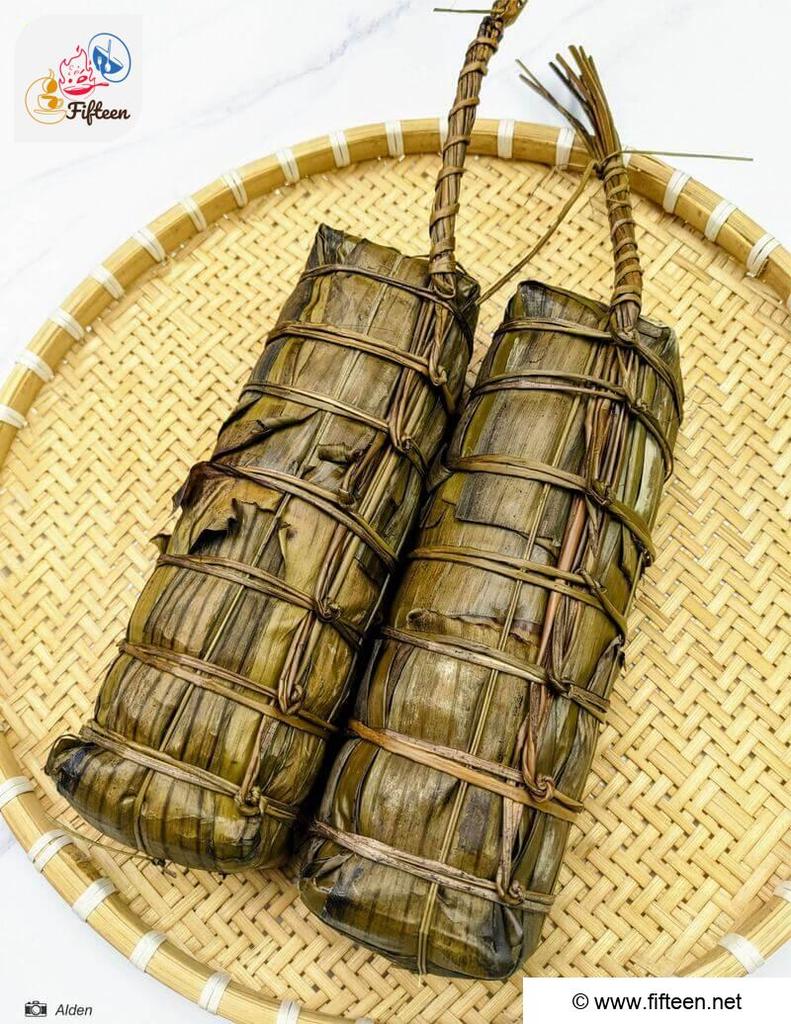
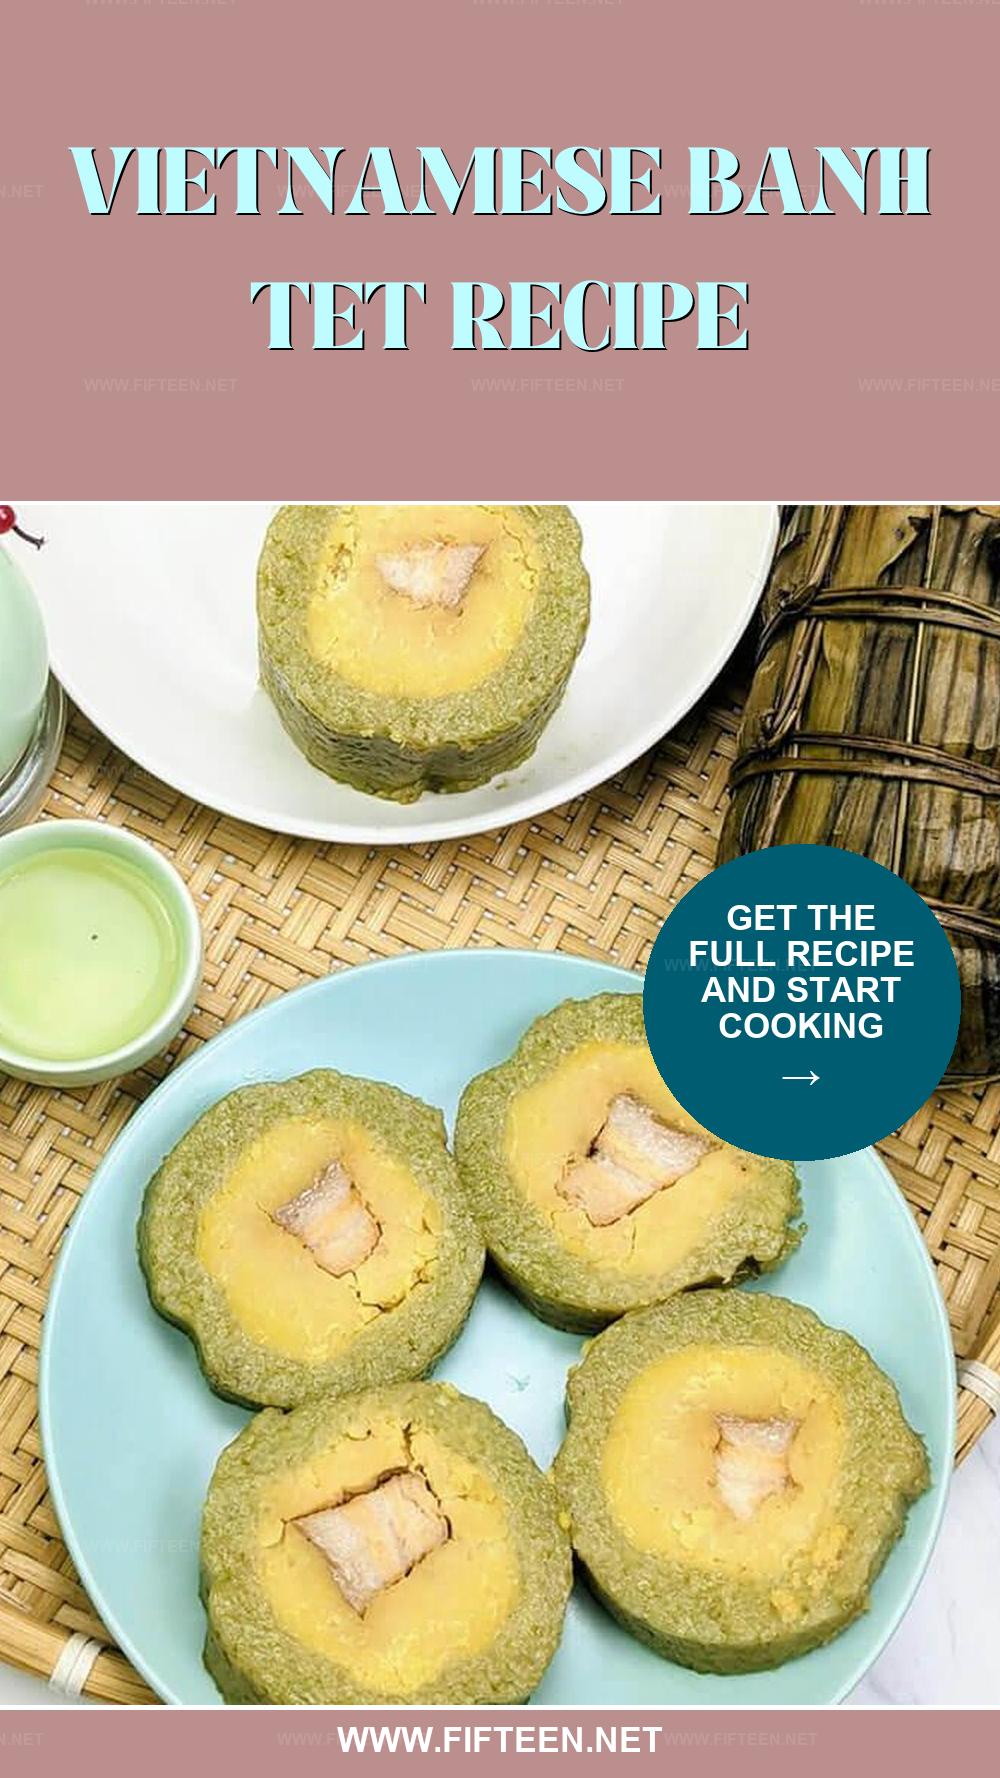
Bánh tét is a traditional Vietnamese delicacy enjoyed during the Lunar New Year, known as Tet. This cylindrical glutinous rice cake is wrapped in banana leaves and filled with various ingredients such as mung beans, pork, and sometimes coconut.
People then boil the cake until the rice becomes tender and sticky. Bánh tét holds cultural significance, symbolizing luck, prosperity, and familial unity, and is a cherished part of Vietnamese festivities.
Normally, the making process of the cake often becomes an occasion for families to come together, making it all the more special. While bánh tét is widely enjoyed throughout Vietnam, the cake is popular in the central and southern regions.
This article is where you can learn more about bánh tét alongside the basic methods of nailing this traditional Vietnamese dish. Furthermore, you can even learn about the origins, bánh tét vs. bánh chưng comparison, and a couple of helpful tips for making this cake.
What Is the Origin of Bánh Tét?
Bánh tét likely originated from cultural exchanges between the Vietnamese and the Chăm people or as an inheritance from their ancestors. As the Vietnamese expanded south, they absorbed elements of Chăm culture, including the reverence for the rice deity, leading to the creation of bánh tét.
A popular legend involves King Quang Trung during his campaign against the Qing Dynasty. A soldier offered the king a cylindrical cake wrapped in banana leaves, made by the soldier’s wife.
The king, reminded of home, found it delicious and ordered this cake to be made for Tết, naming it “bánh Tết.” The name “bánh tét” evolved from “bánh Tết” due to regional dialects.
Another explanation is that “tét” refers to the action of cutting the cake, typically done with a string that makes a “tét” sound.
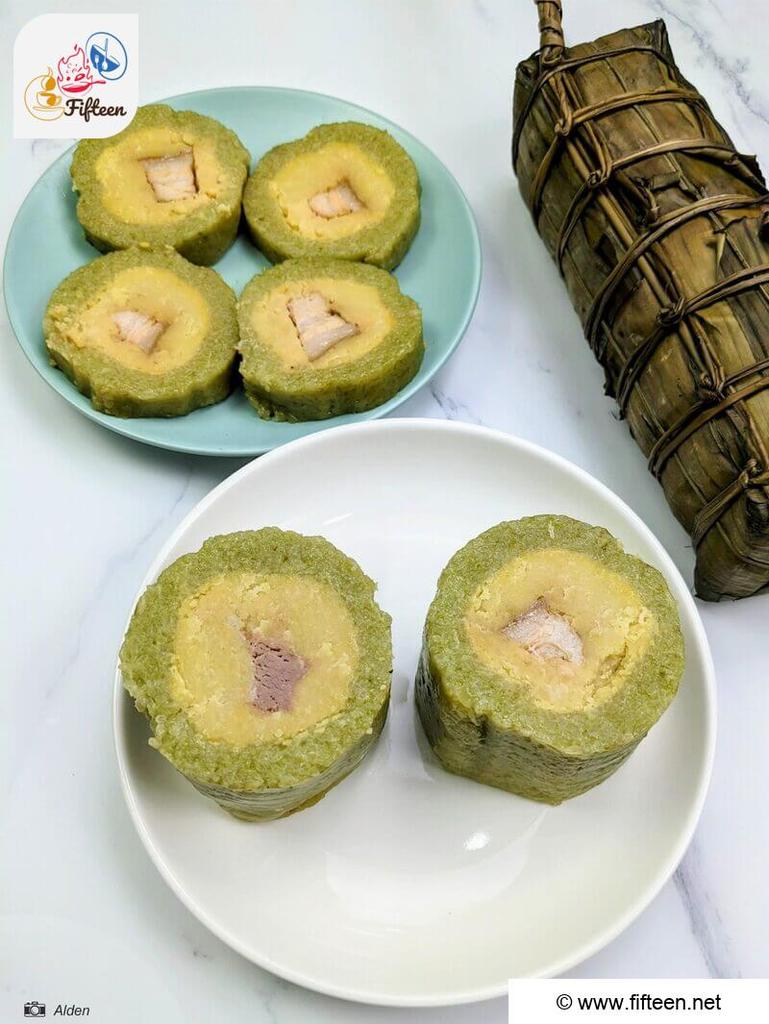
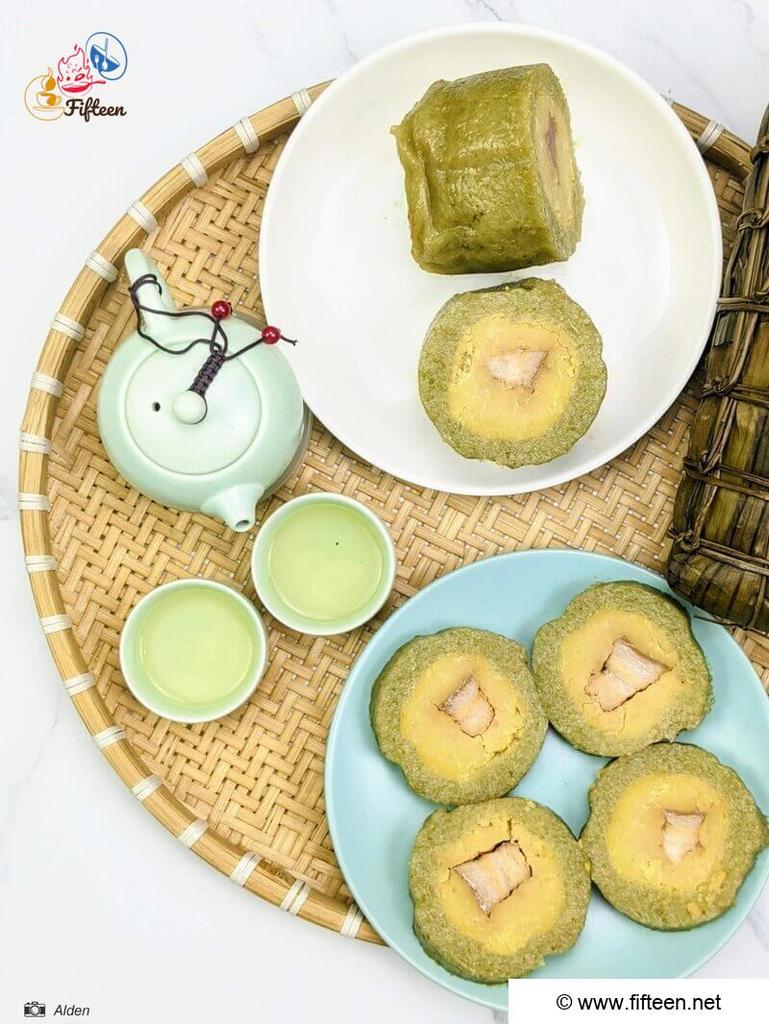
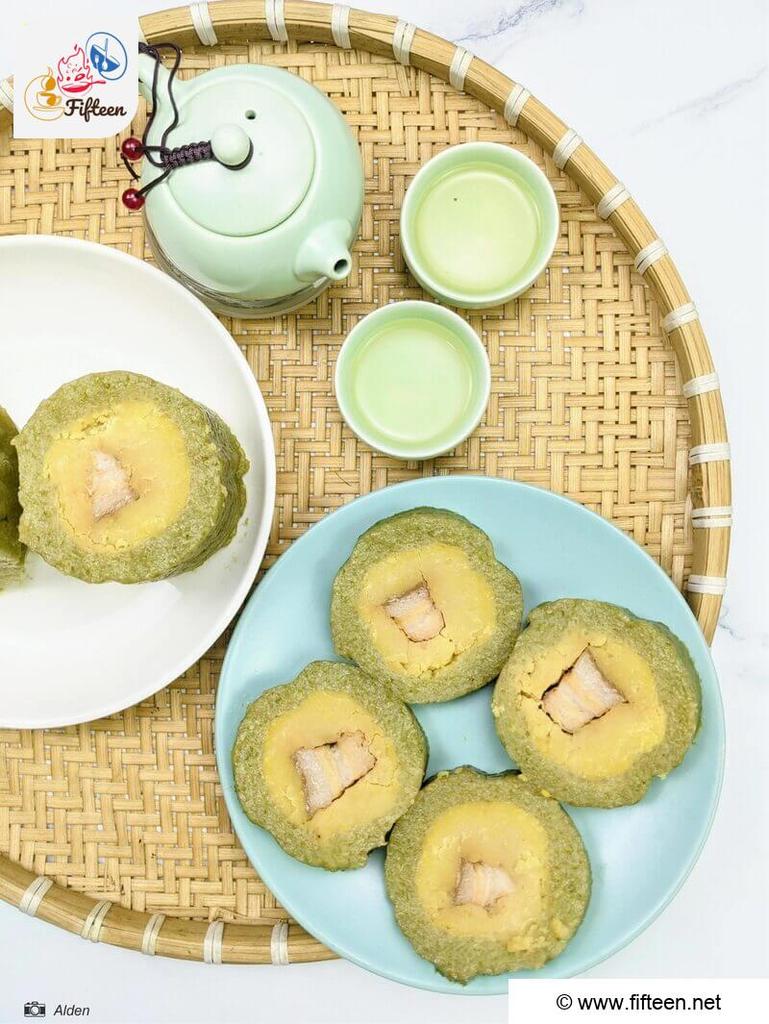
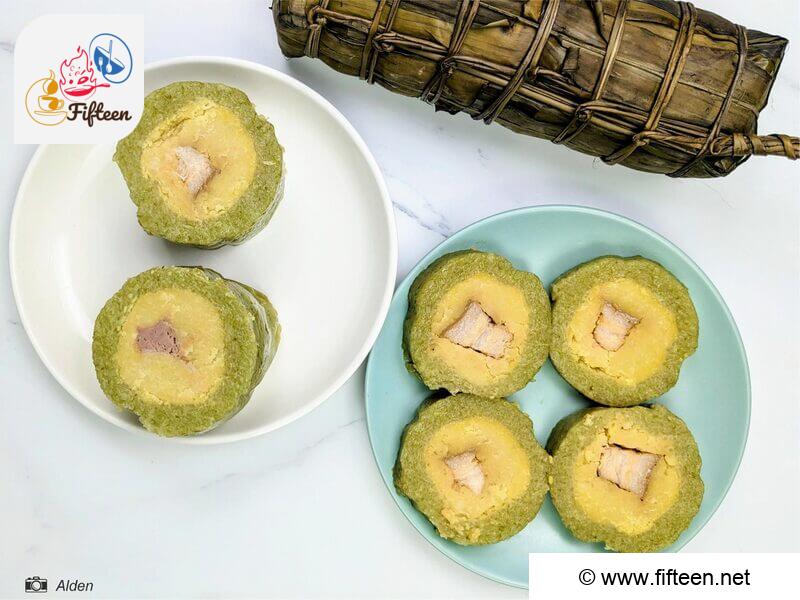
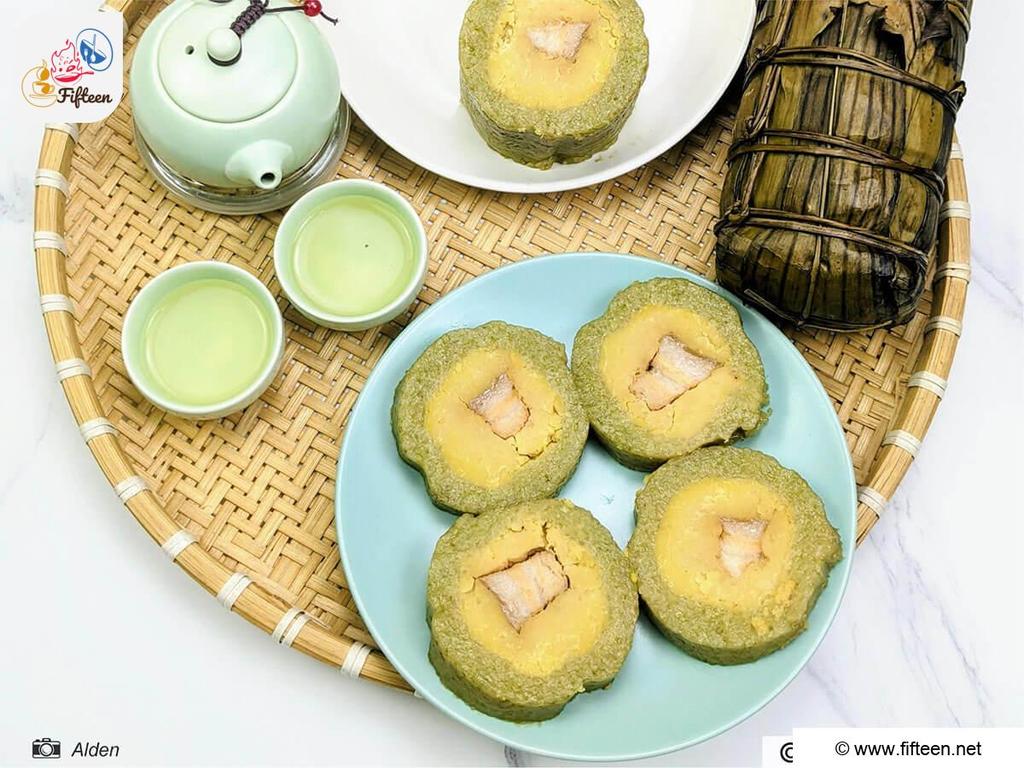
The cake can be either savory or sweet, depending on the filling. When the cake includes pork belly, bánh tét boasts a savory taste, while mung bean or banana fillings lend a sweeter experience.
How To Differentiate Between Bánh Tét and Bánh Chưng?
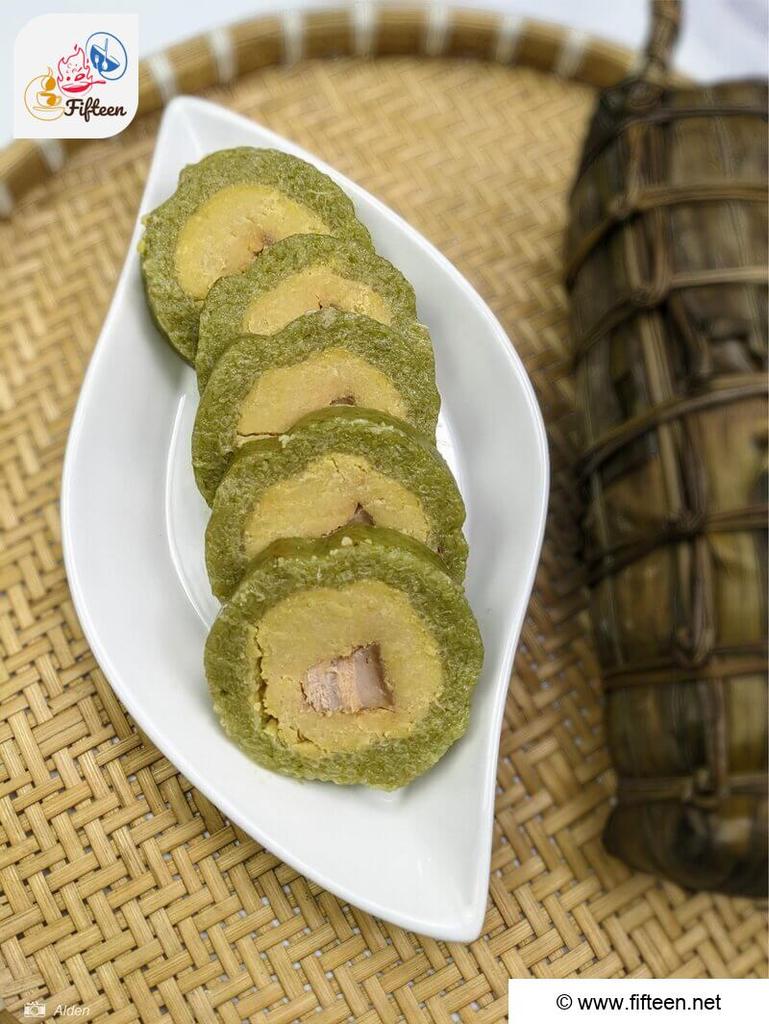
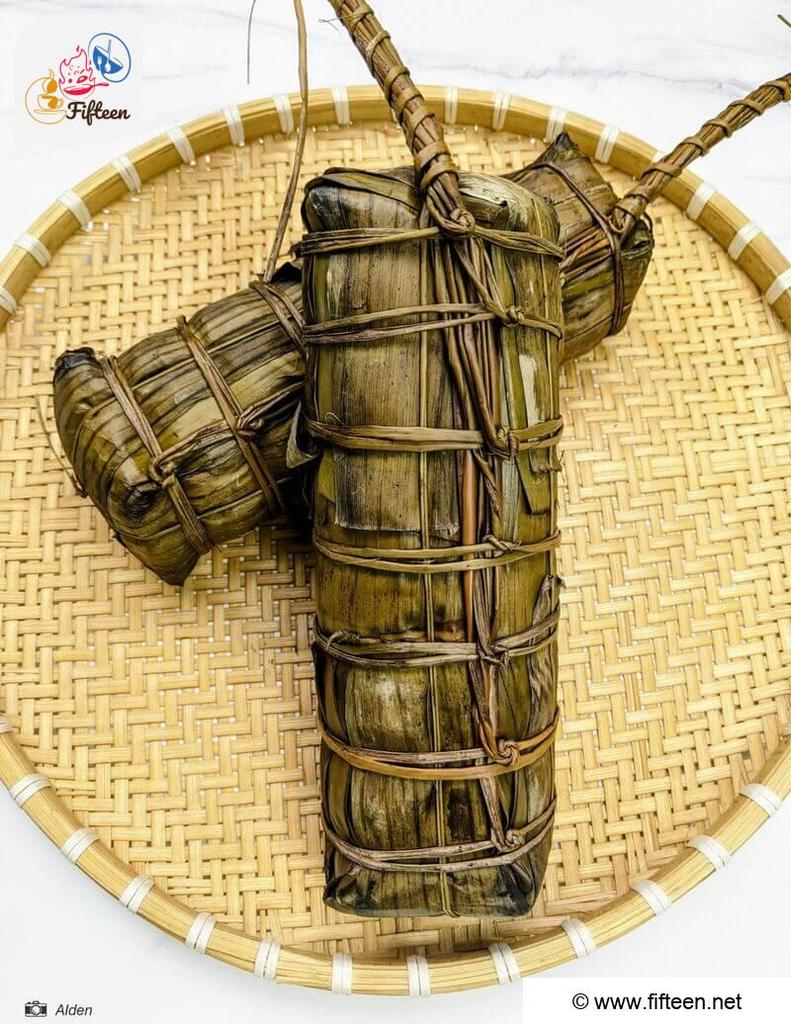
In Vietnam, bánh tét and bánh chưng have distinct characteristics that set them apart. In terms of shape, bánh tét takes on a log-like or cylindrical form, while bánh chưng is square.
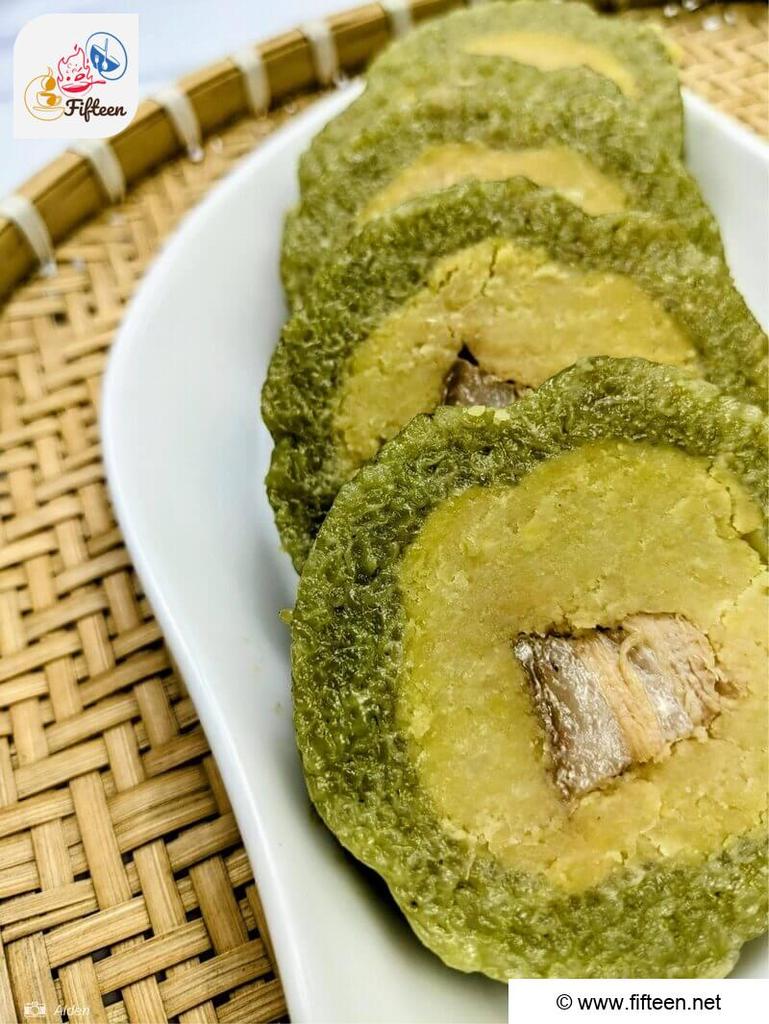
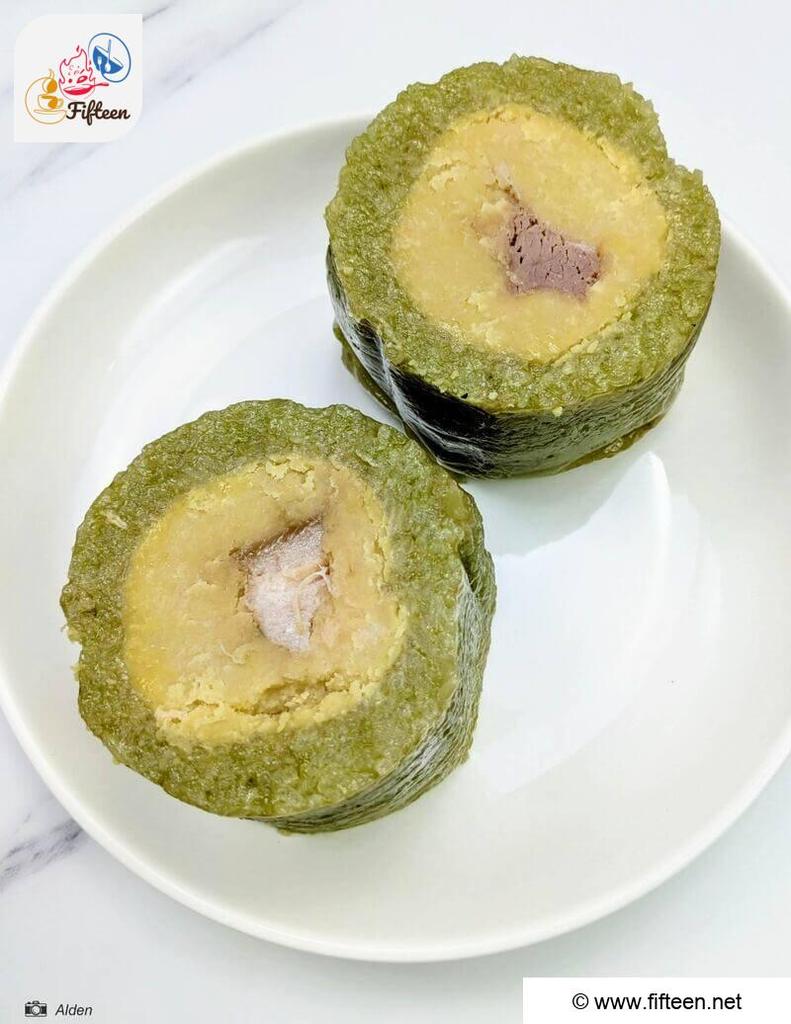
Regional preferences also play a role: bánh tét is popular in Central and Southern Vietnam, whereas bánh chưng originates from the North. When it comes to cutting, bánh tét is sliced into a wheel shape, while bánh chưng is typically cut into triangles.
What Are The Tools Needed To Make Bánh Tét?
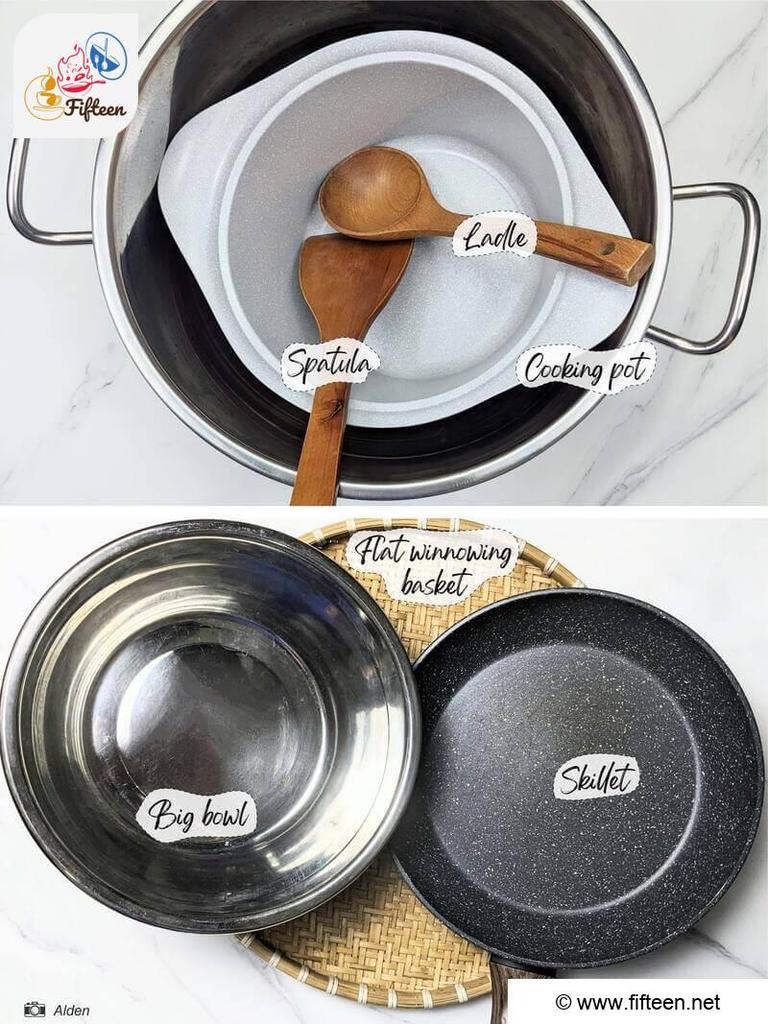
To make bánh tét, you need to have the required tools below:
What Ingredients Are Necessary for Bánh Tét?
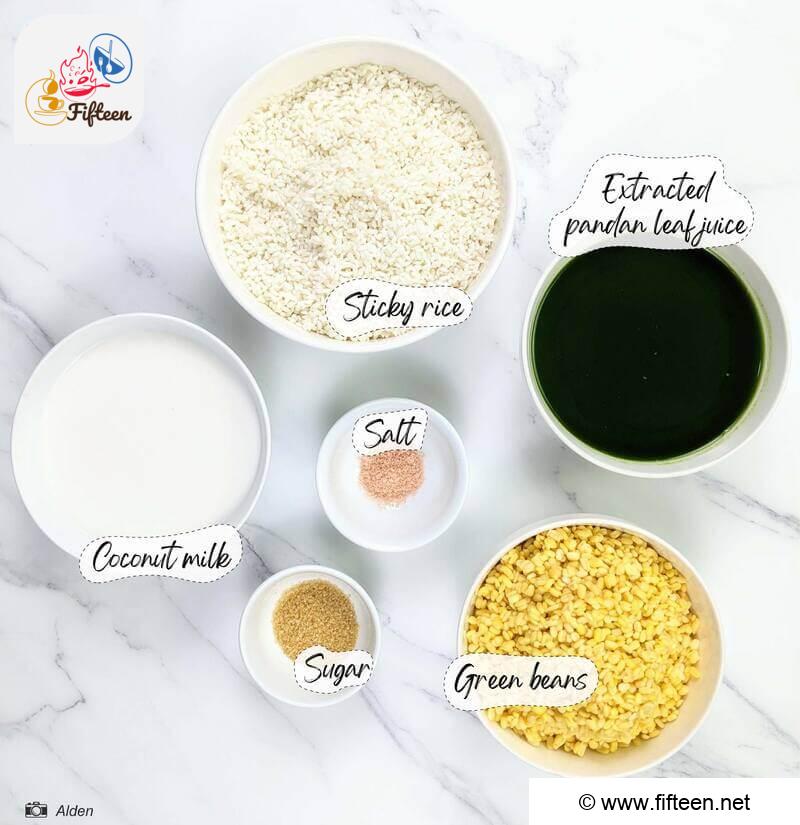
For making this traditional sticky rice cake, you will need ingredients for the sticky rice and mung bean layer, the filling, and the wrapping.
The Sticky Rice and Mung Bean Layer
The Meat Filling
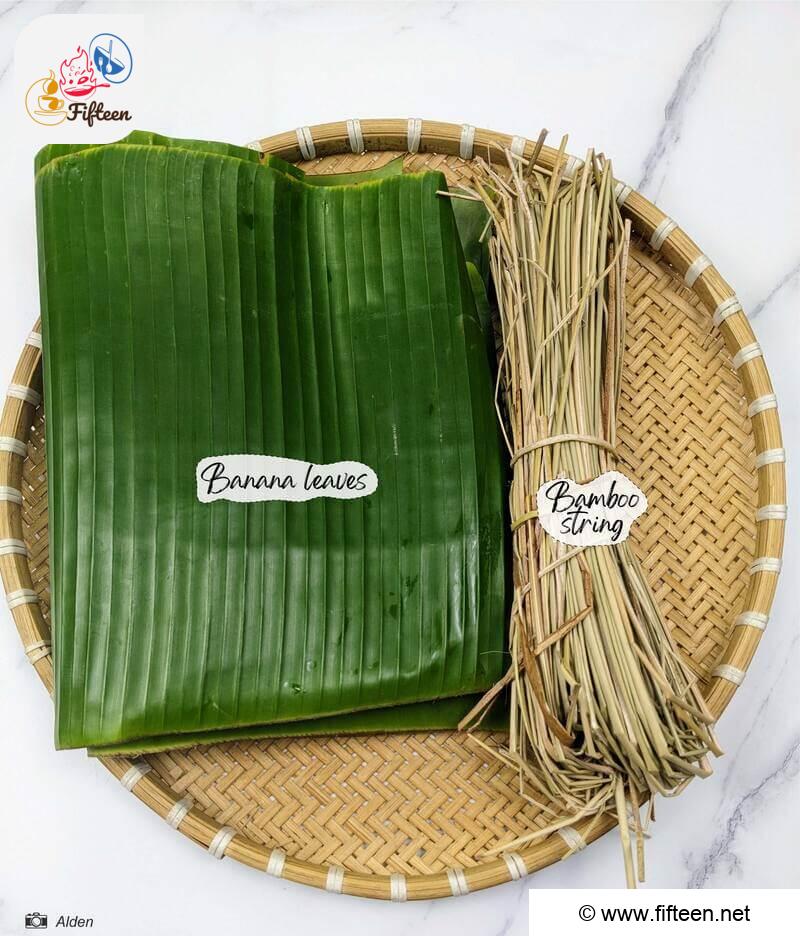
The Wrappings
What Steps Are Essential For Making Bánh Tét?
For making bánh tét, there are the processes of working with the sticky rice and then preparing the green beans and pork belly fillings to perfection. Furthermore, shaping the filling and wrapping the cake can be hard for newcomers, but I believe you can nail the recipe with the following 7 steps:
Step 1: Prepare the Sticky Rice
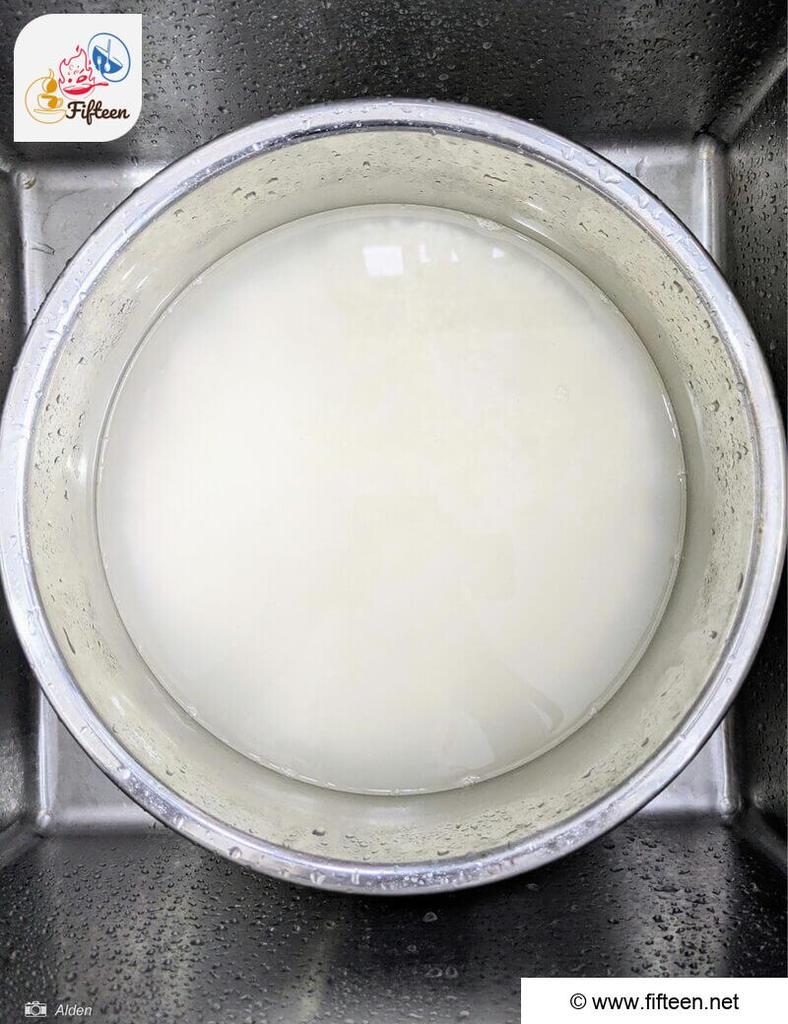
Transfer 17.6 ounces of sticky rice into your large bowl to soak in water overnight or at least 8 hours.
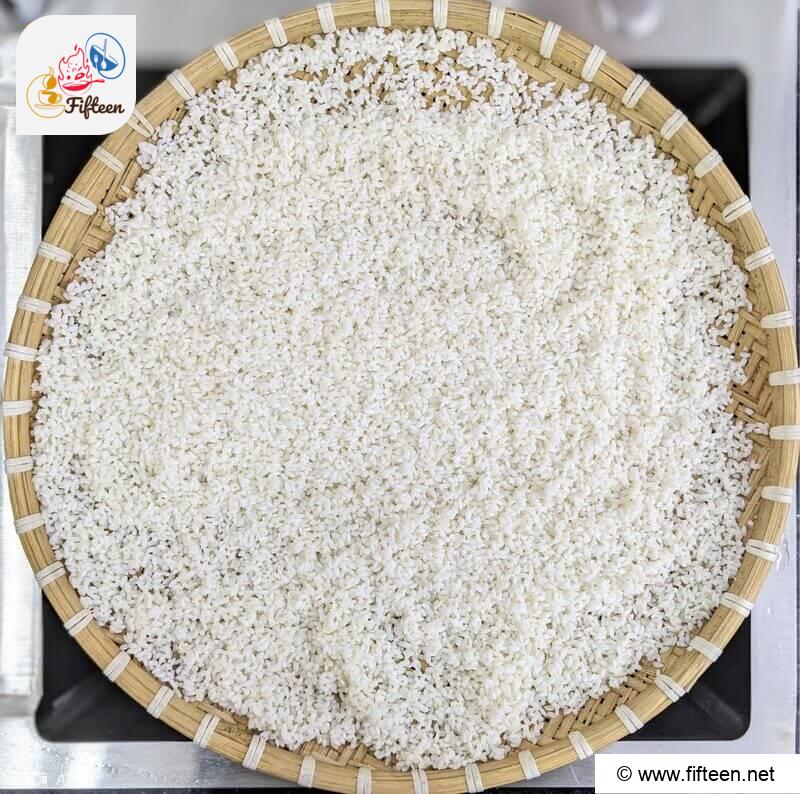
After soaking the sticky rice, drain the water and wash the rice again with fresh water. Repeat the process until the water is clear. Drain the rice one last time using the flat winnowing basket.
Step 2: Cook The Green Beans
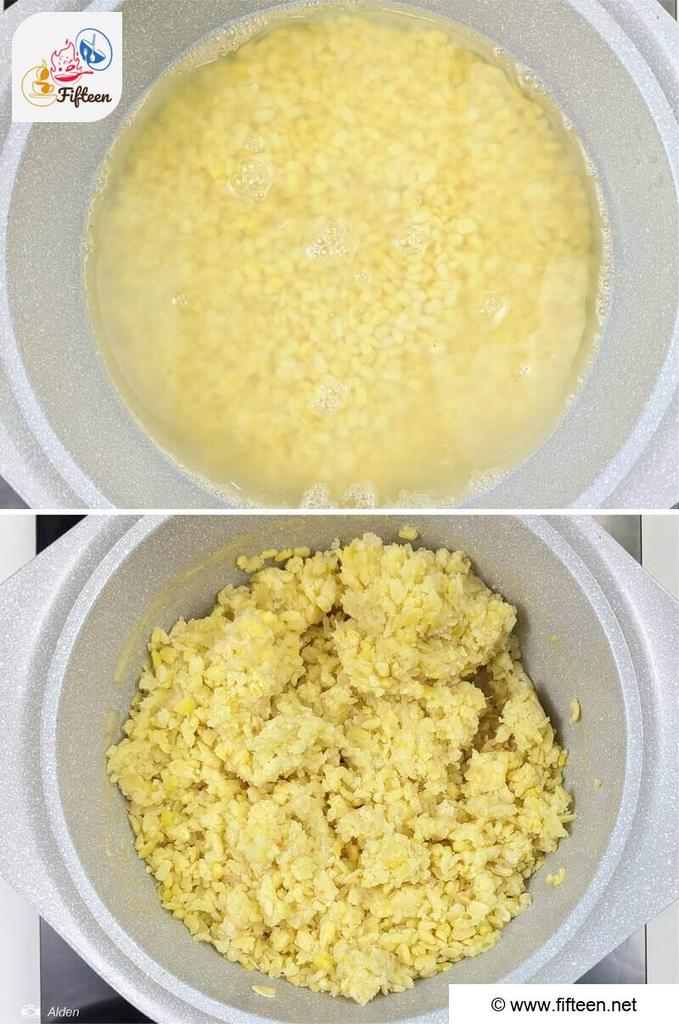
After getting 12.3 ounces of green beans, you want to soak them for 4 hours before cooking them in a pot. While boiling the green beans, you need to season the mixture with 1.5 teaspoons of sugar and 1 teaspoon of salt.
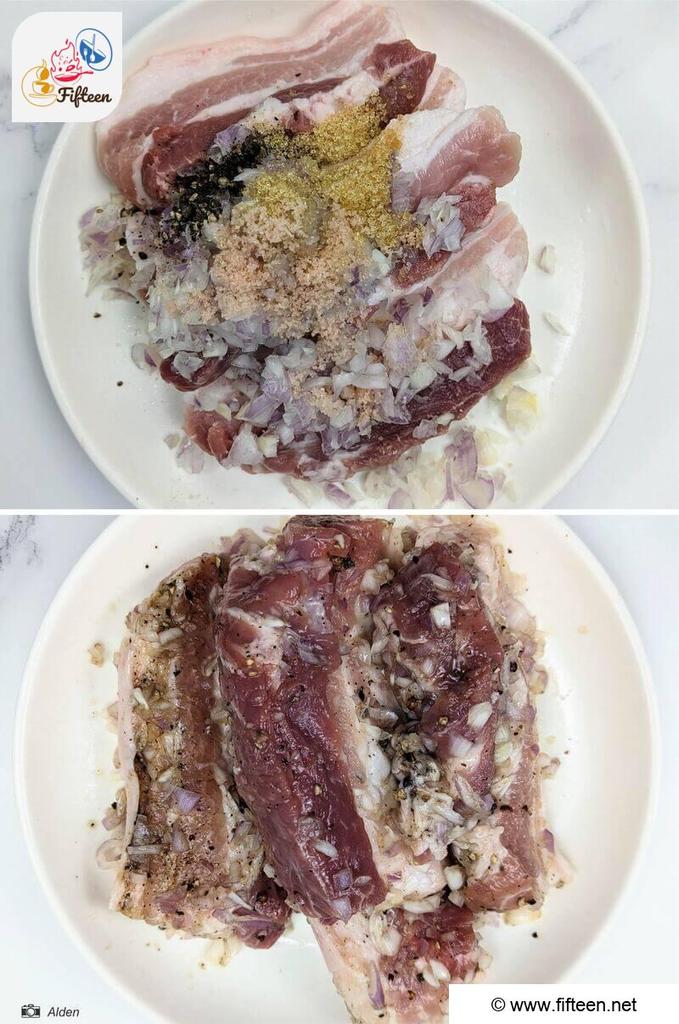
Step 3: Marinade The Pork Belly
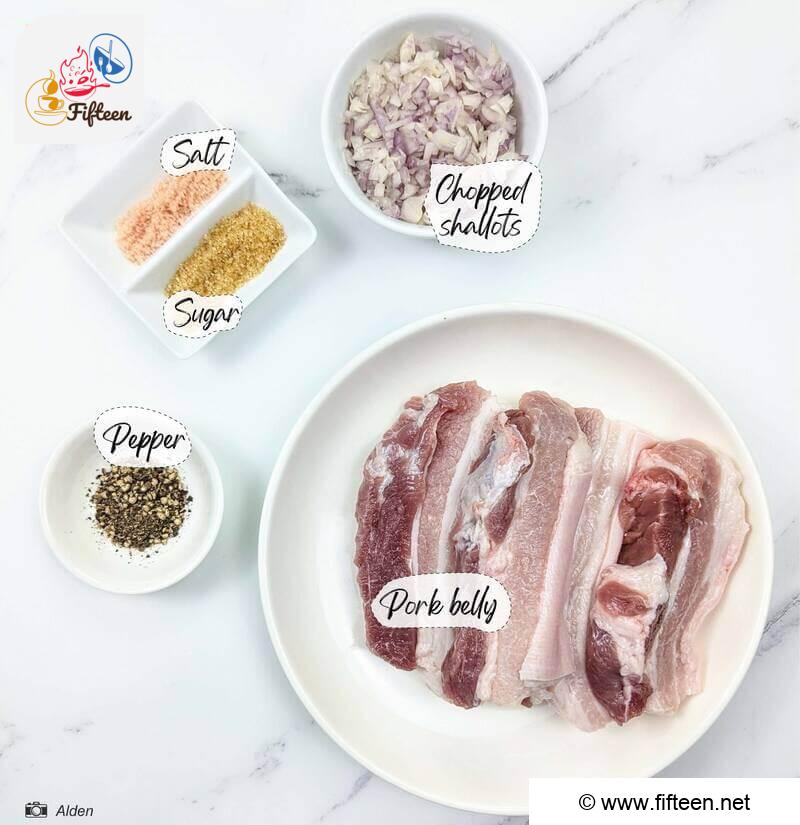
Marinate the pork belly with:
Let the pork belly sit in the mixture for at least 30 minutes.
Step 4: Stir-Fry the Sticky Rice
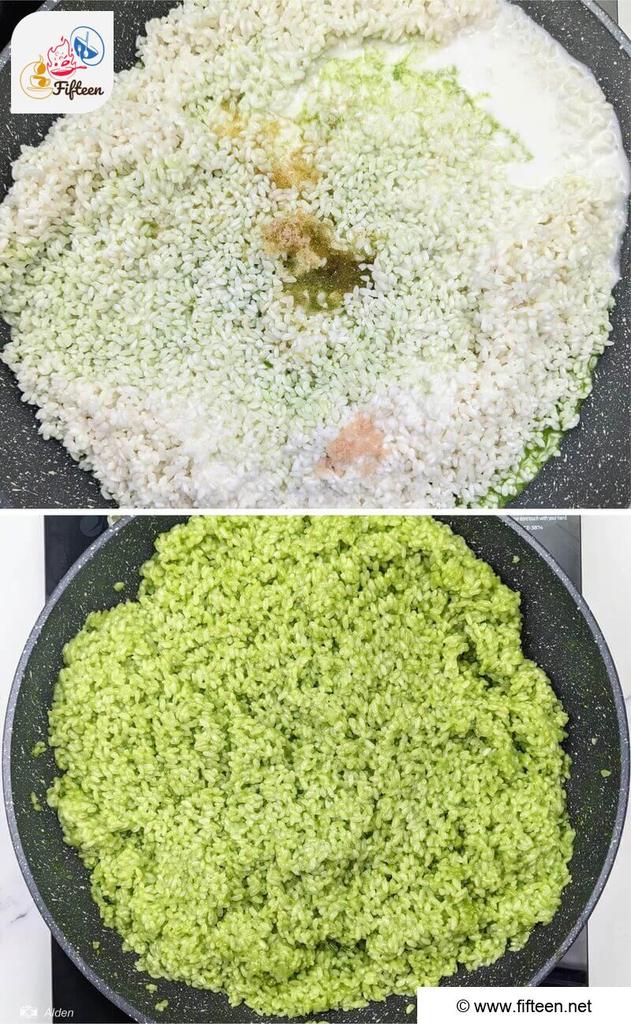
When the sticky rice is dry, transfer it to your skillet. Then, incorporate the following ingredients into the rice:
Stir the mixture evenly until all the liquid has evaporated. Turn off the heat and let the rice cool down.
Step 5: Shape the Cake’s Filling
Shaping the filling helps the final wrapping procedure to be easier. Plus, the cake will also have a much more attractive look.
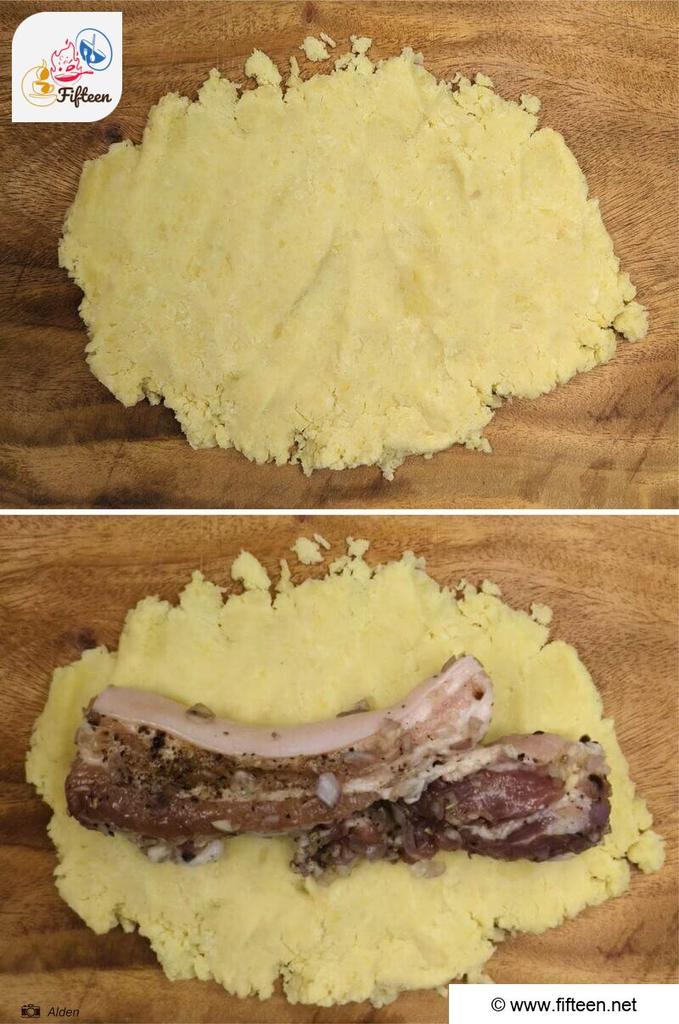
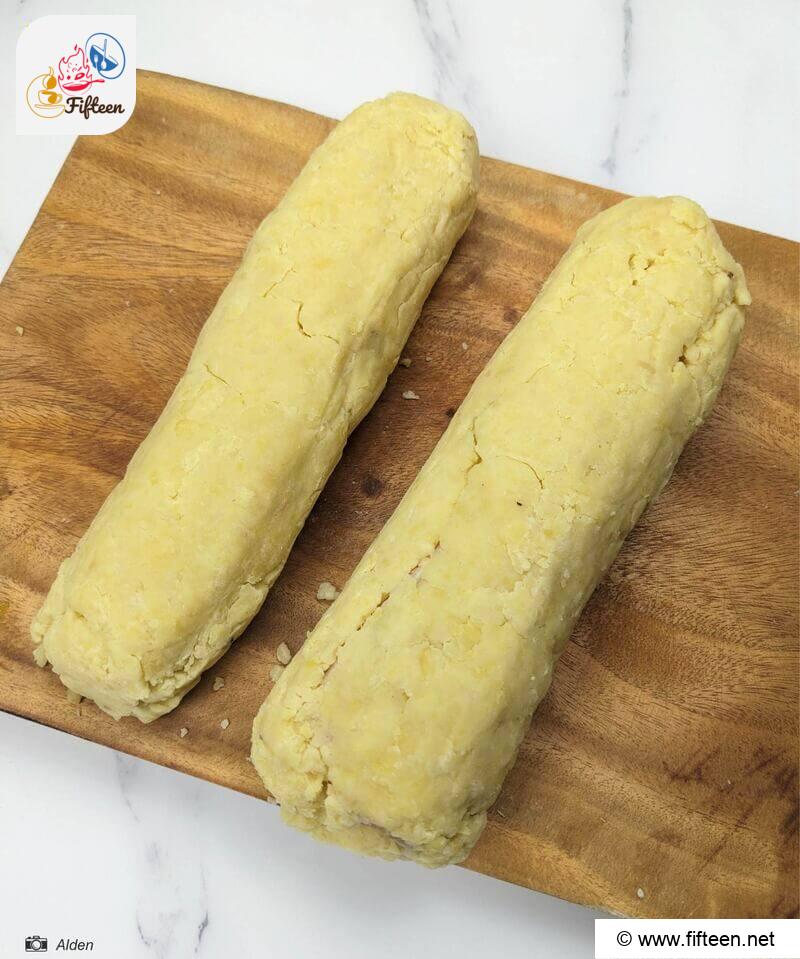
To do this, you want to pound the green beans into a smooth paste and spread the mixture into a flat, straight piece. Then, proceed to place the pork belly strip over the green bean layer and seal it with another piece of green bean paste.
Roll the pork belly-filled green bean filling until the bean completely covers the meat. You should aim to get a beautiful cylindrical shape.
Step 6: Wrap the Bánh Tét
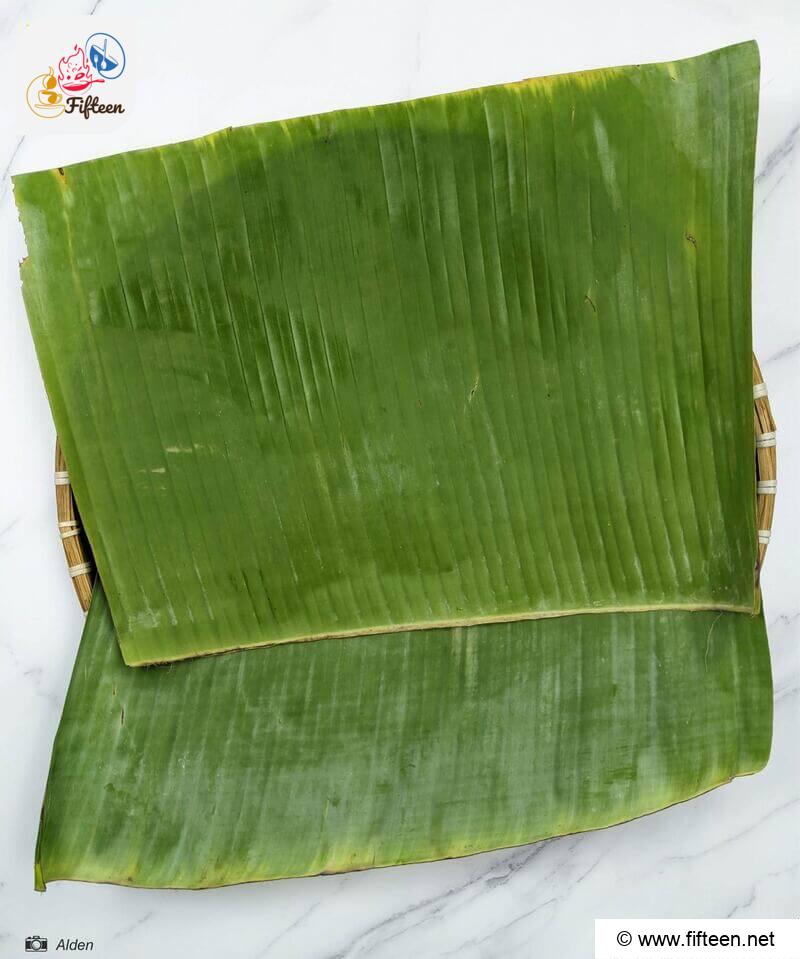
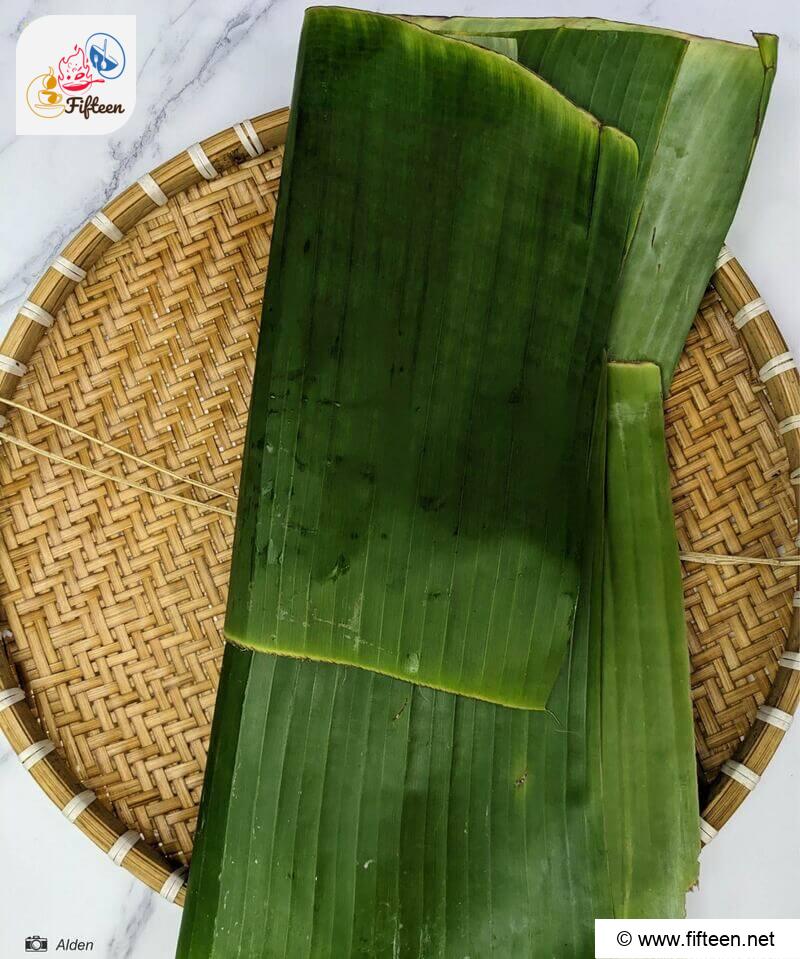
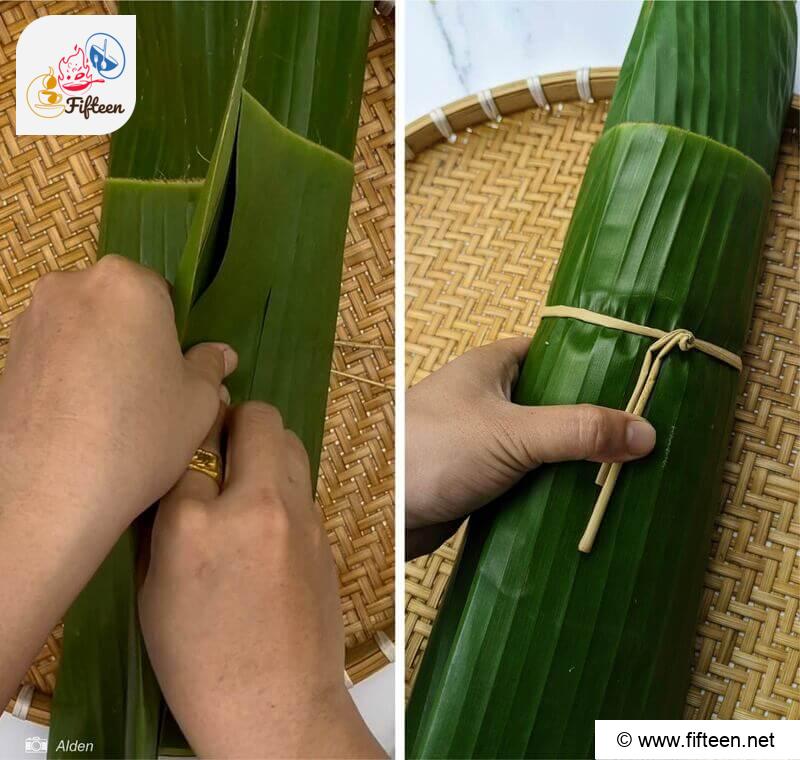
Place the banana leaves over a flat surface like a tray or your clean table. Put two large banana leaves (around 15.7×19.7in) over each other, with the shiny leaf surface facing outward and the rough surface facing inward.
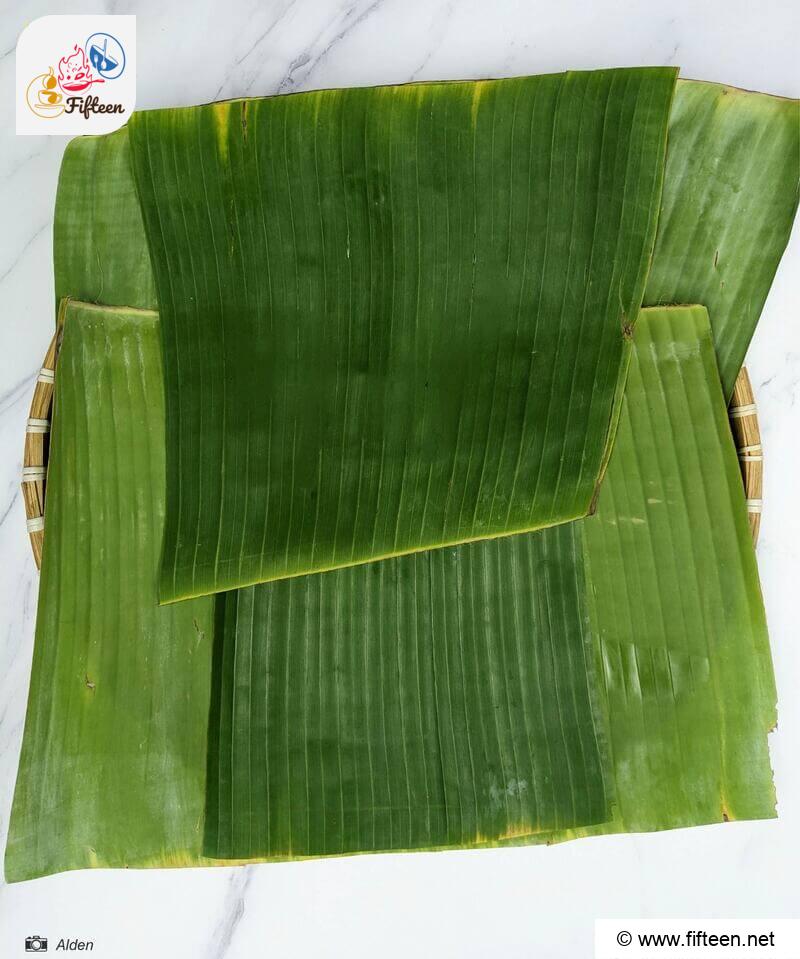
Then, place another two smaller banana leaves (11.8×15.7in) in the same direction as the larger leaves.
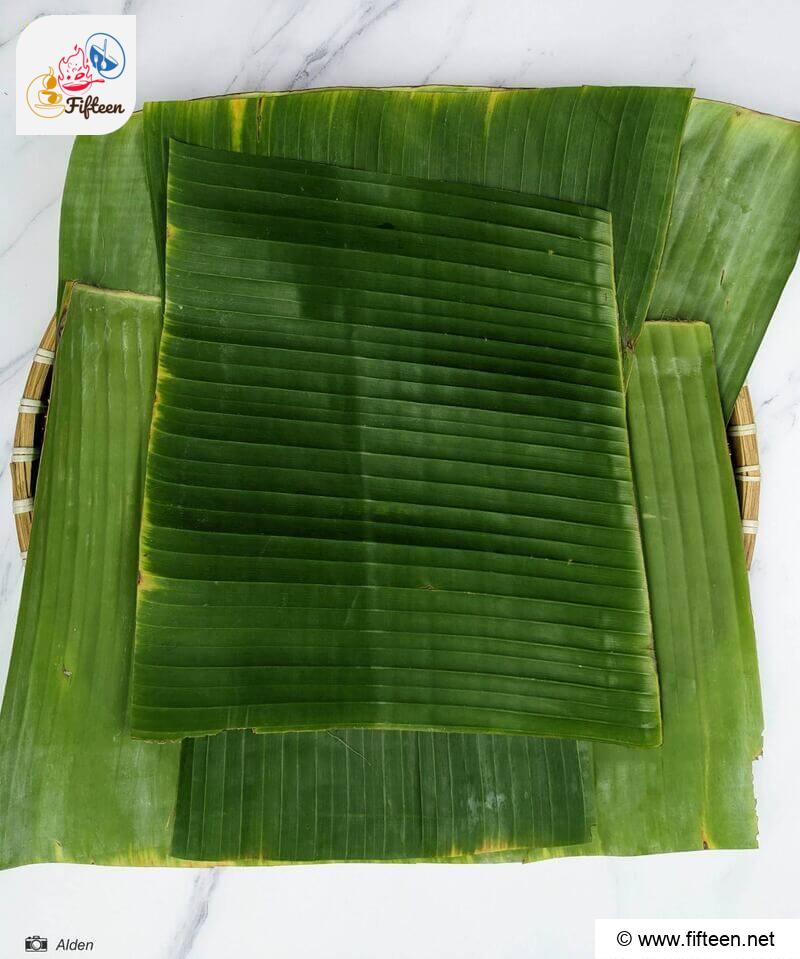
Proceed to place another large banana leaf (15.7×19.7in) in the middle of the assembled leaves.
Then, place a bamboo string under all the leaf layers.
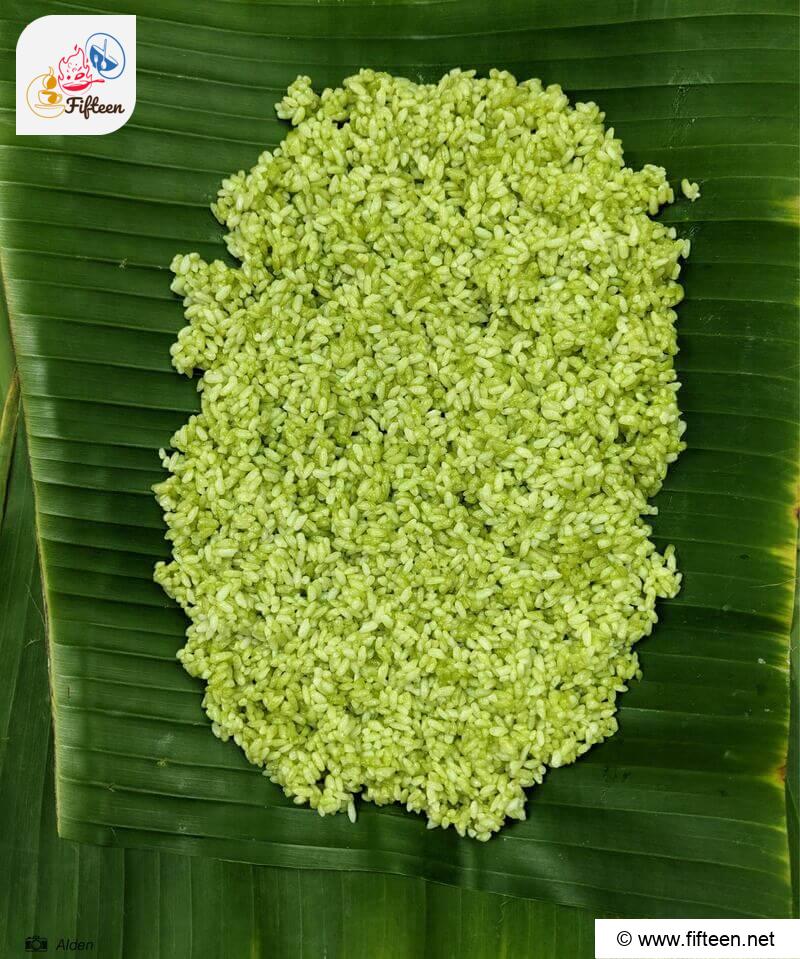
Spread the sticky rice over the banana leaf surface.
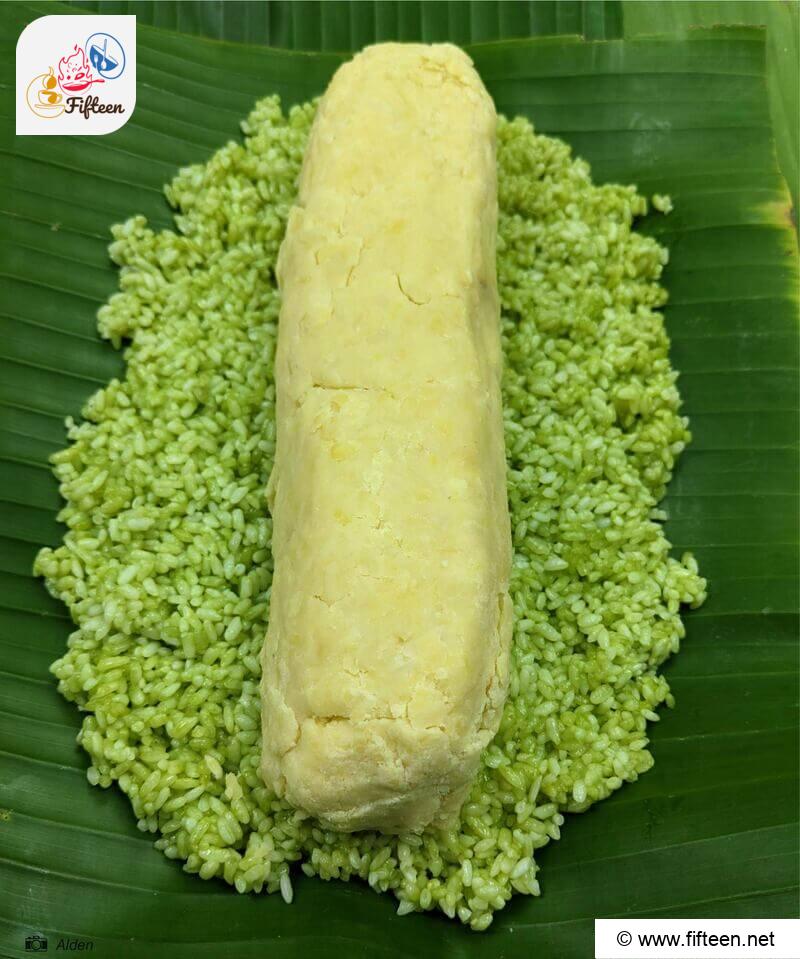
Place the cylindrical filling of green beans and pork belly in the center of the sticky rice.
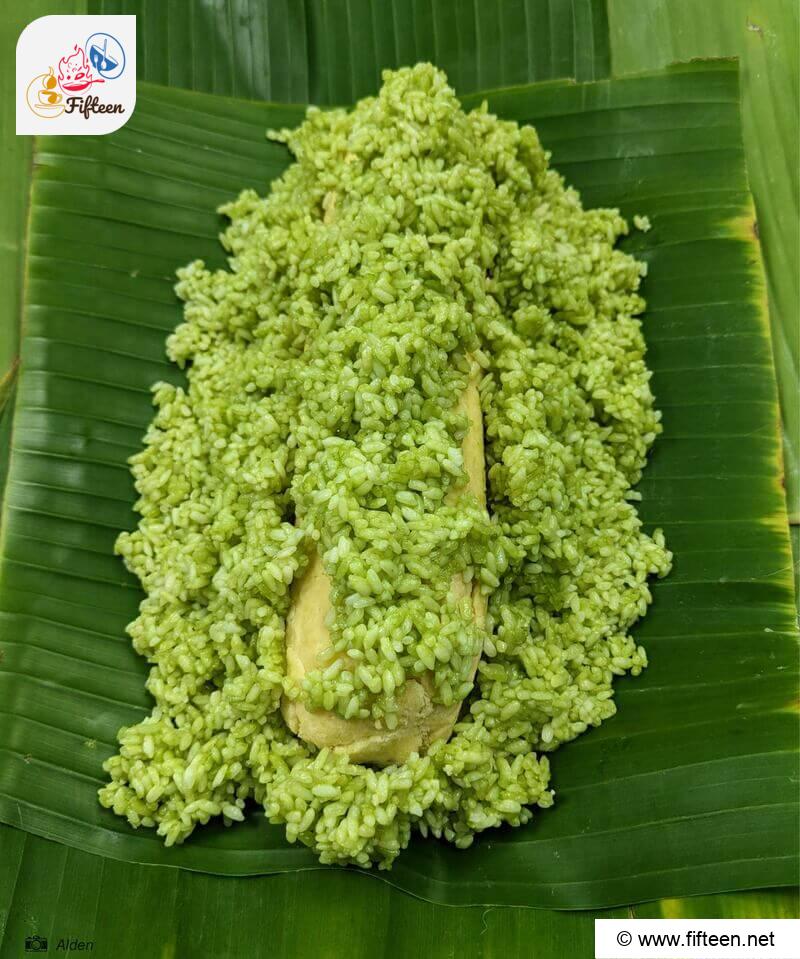
Add more sticky rice over the top of the filling to cover it.
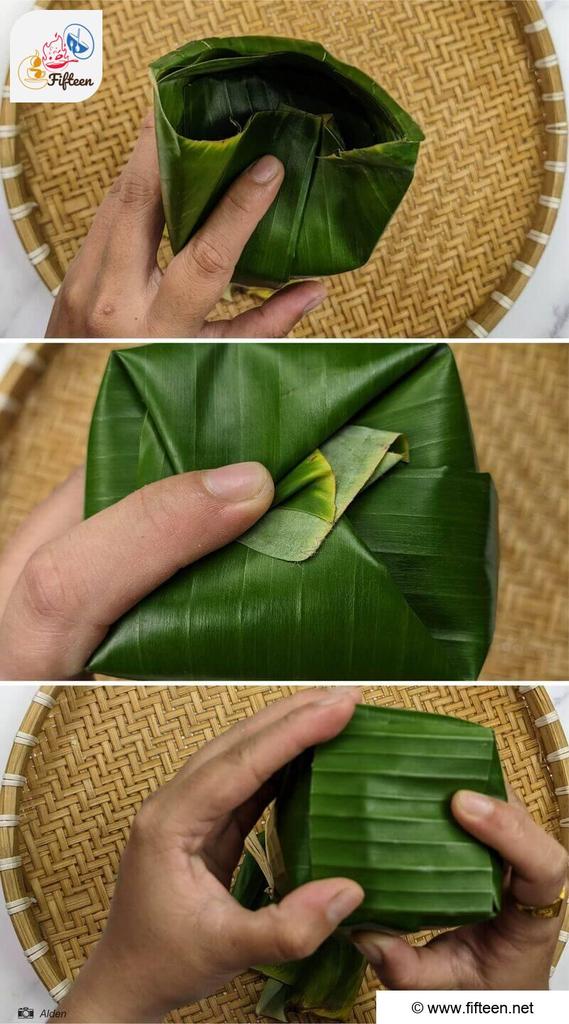
Hold the two edges from the opposite side of the banana leaves and fold the leaves in half. Then, you want to roll the bánh tét tightly and secure the cake’s shape by using the bamboo string in the middle.
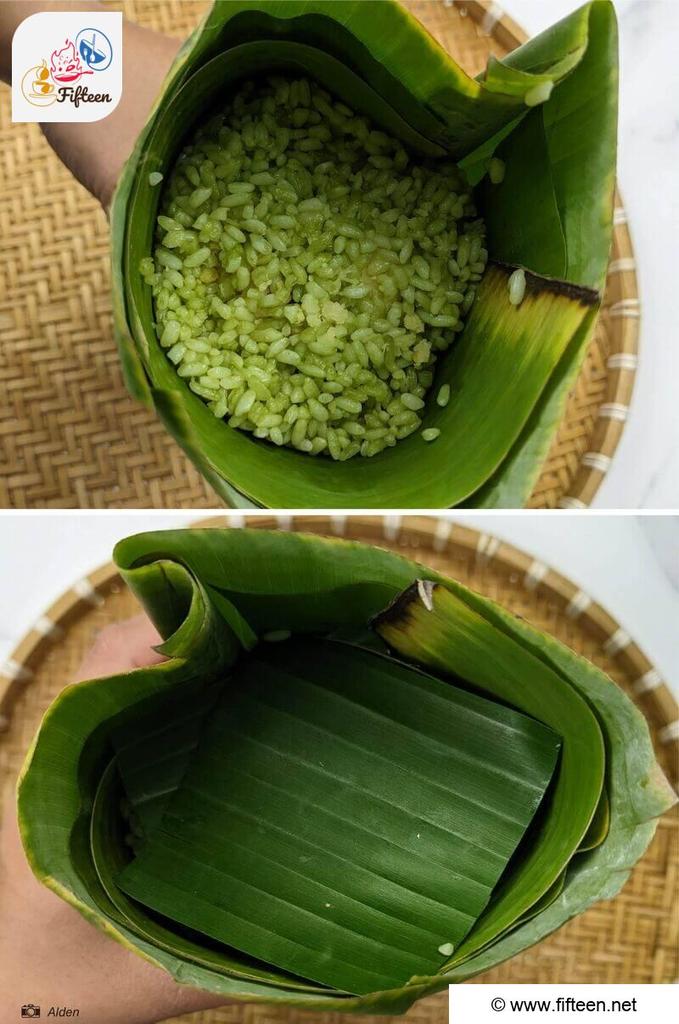
Fold the leaves to seal one end before repositioning the cake vertically on that same end. You can also snip off excess leaves if necessary.
After removing excess leaves, you can put more sticky rice in the open end so the cake can have an equal amount of sticky rice on both sides.
Cut two square banana leaves to place inside both ends of the bánh tét to prevent water from seeping in while cooking.
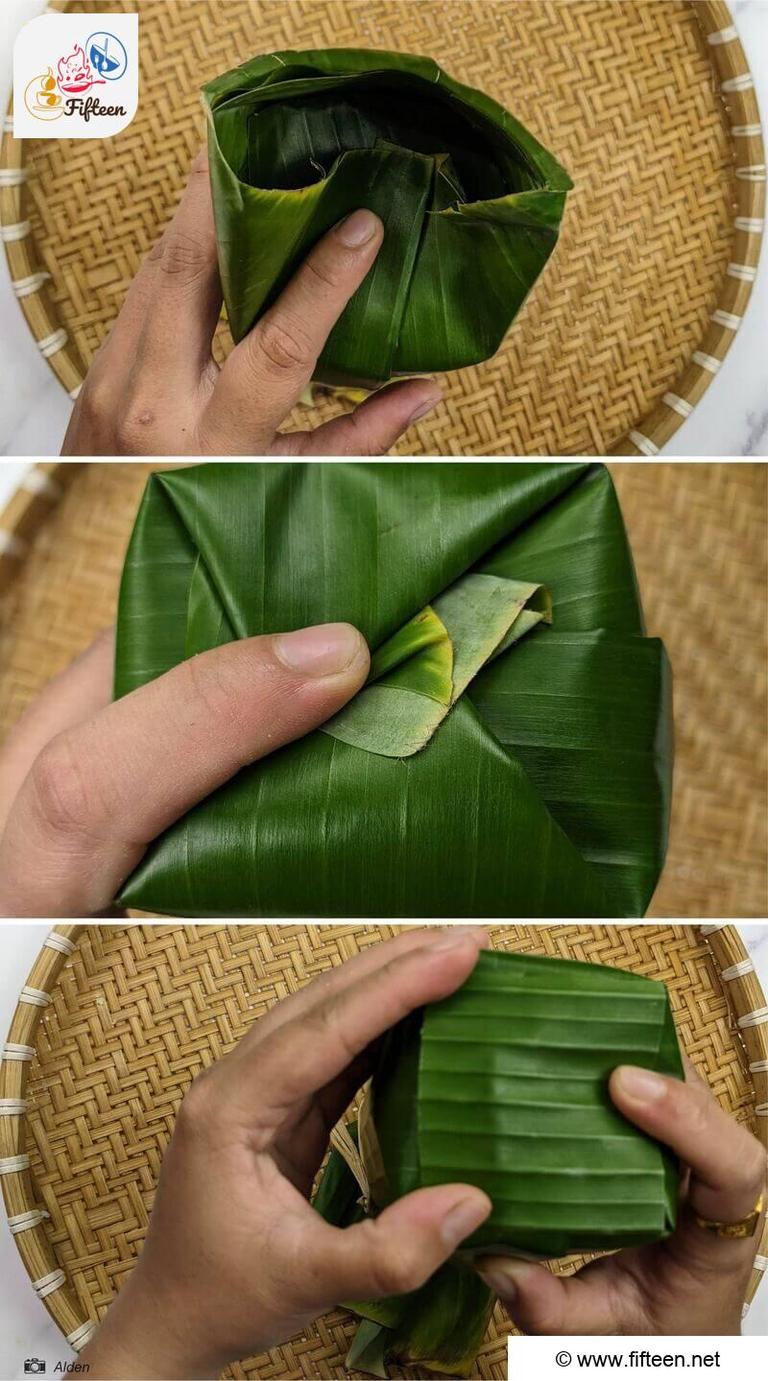
Wrap the excess leaves tightly before covering them with a cut square banana leaf. Make sure you do this for both ends of the cake.
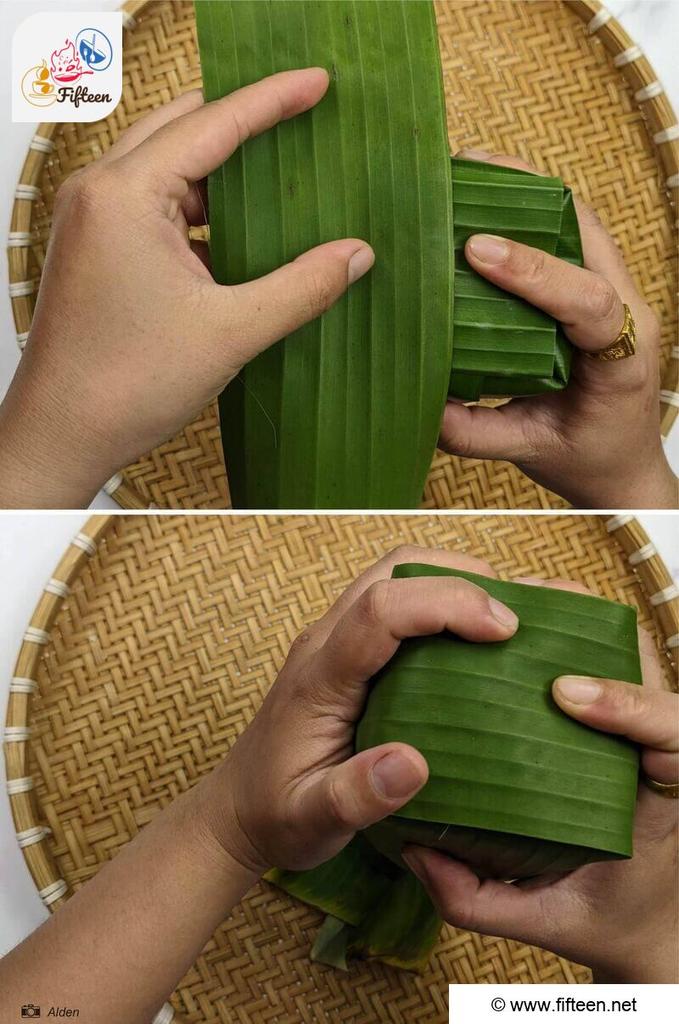
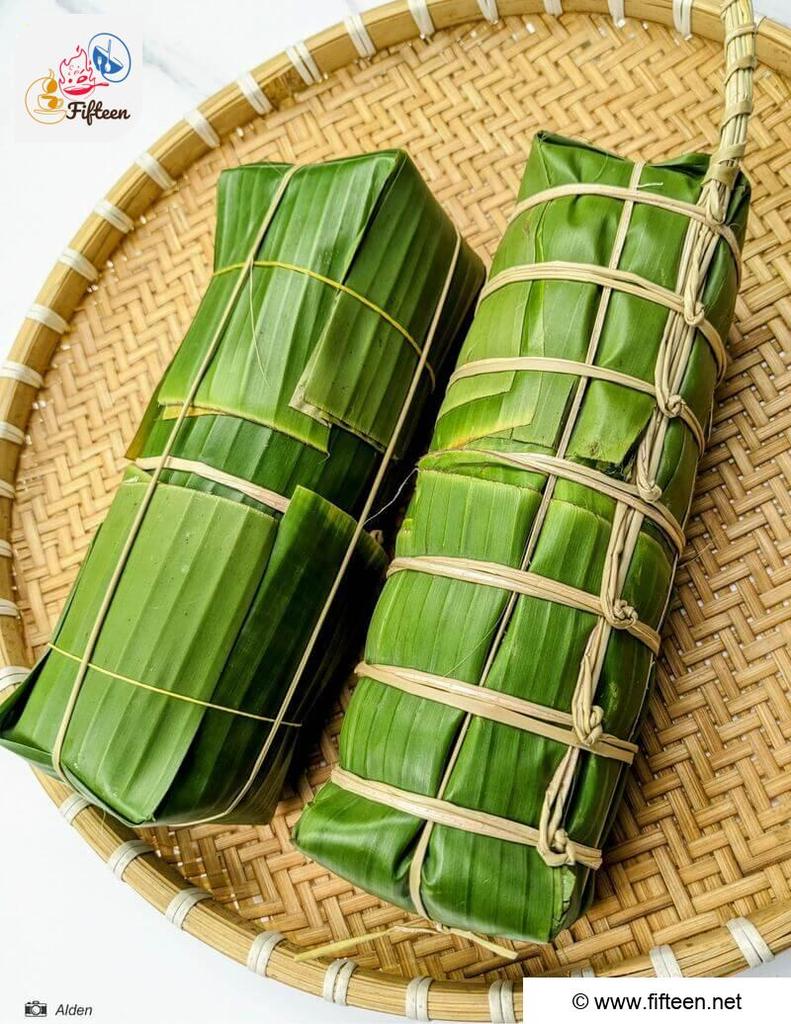
Then, take 4 rectangular banana leaves to seal both ends by placing the leaves in a crisscross pattern on each end. You can use a rubber band to secure each end once you have the leaves in place.
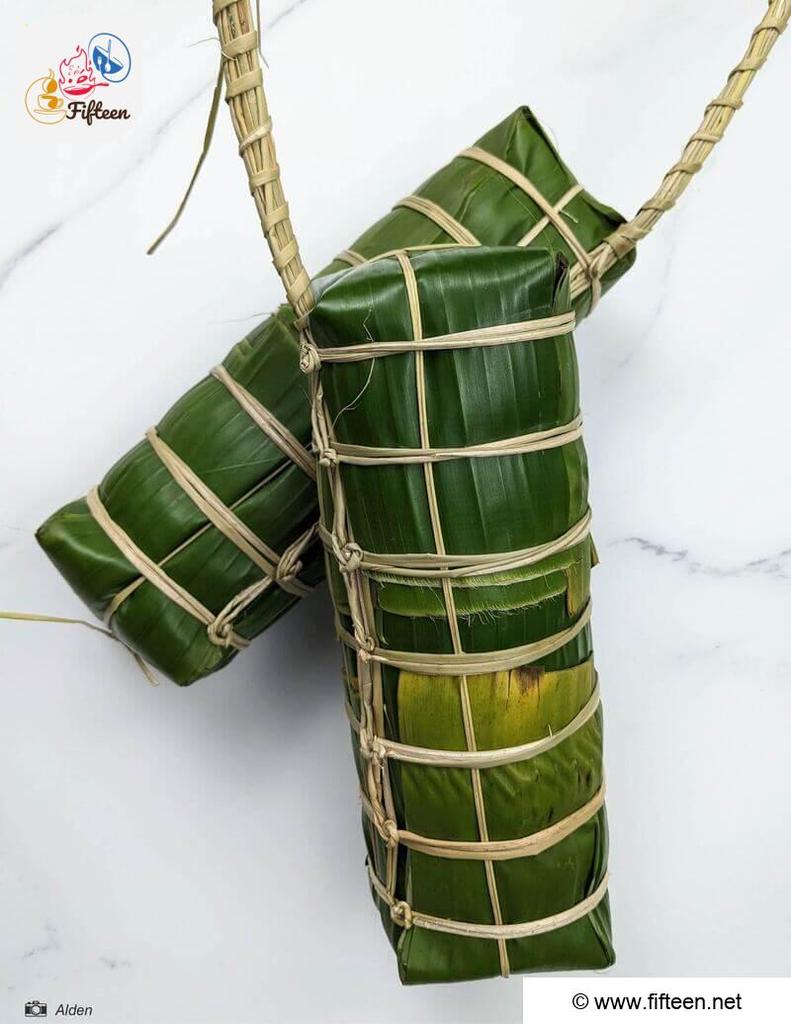
You can use two bamboo strips and place them vertically according to the bánh tét to secure both ends of the cake. Note: you should tightly wrap the strips on both sides of the cake to ensure no water can get in the cake while cooking.
Then, you want to use extra bamboo strips to wrap around the cake horizontally. While wrapping the cake with bamboo strips, you can remove the rubber bands on both ends of the cake and remove the vertical bamboo strings for a more captivating look.
Step 7: Boil the Bánh Tét
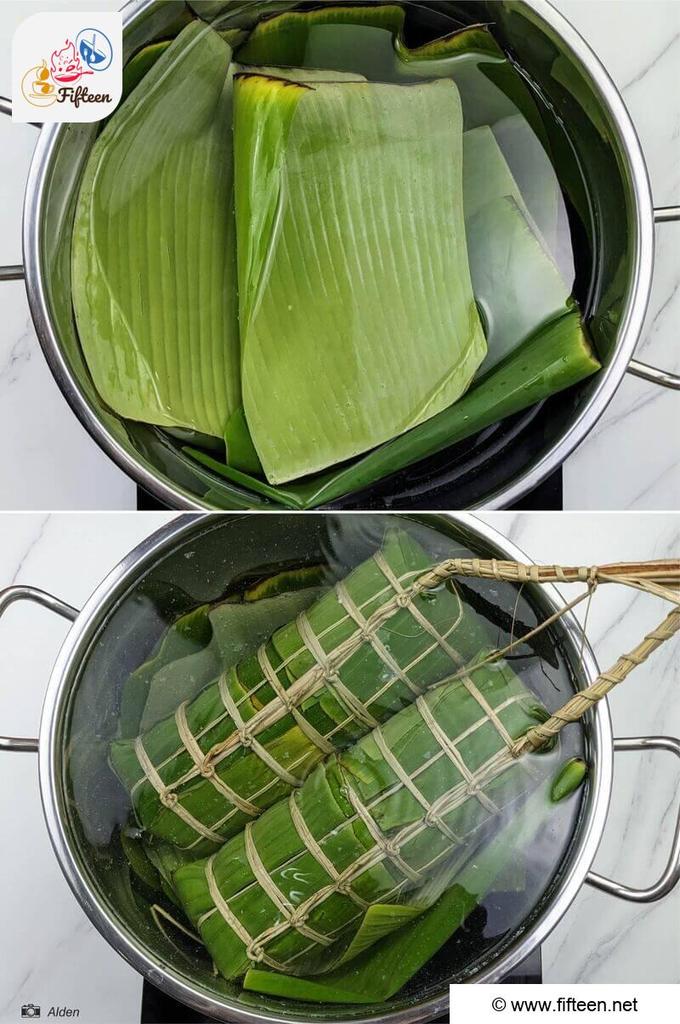
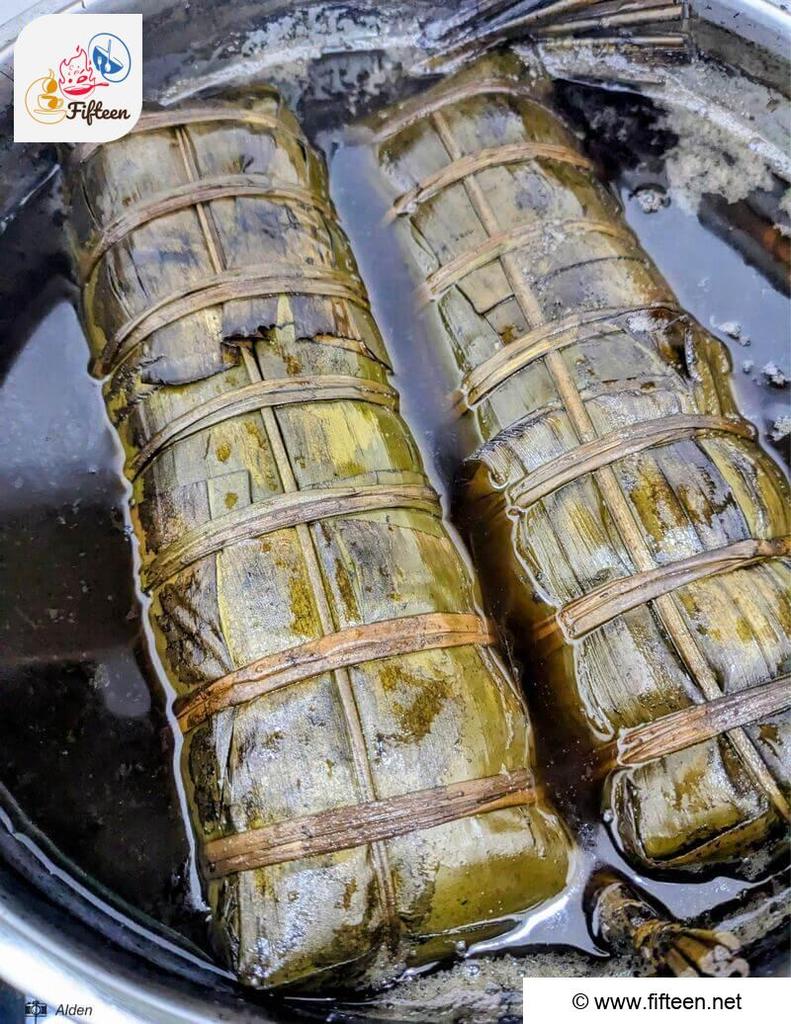
Place any excess banana leaves at the bottom of the pot before adding the cake. Pour in water until it covers the cakes completely and simmer for 8 hours straight to cook it evenly.
When the water starts to get heated, it shouldn’t be boiling vigorously, which can lead to unevenly cooked sticky rice.
When the water evaporates, fill the pot with extra water to keep the cake submerged and cooked evenly.
After you’re done cooking, transfer the cakes into a cold water bath to wash and cool the cake.
Step 8: Cut the Bánh Tét
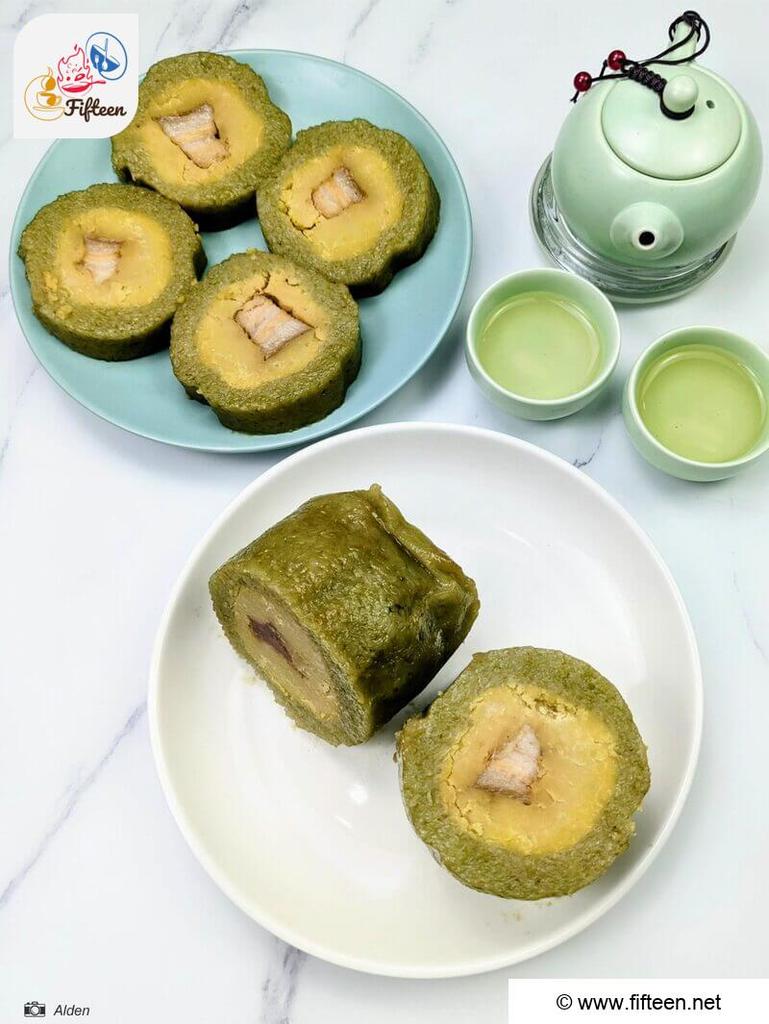
To cut the bánh tét remove the outer banana leaves and place a bamboo string under the cake. Take both ends of the string and pull them in the opposite direction; the string should slice through the cake beautifully.
Alternatively, you can use a knife to simplify the process. To prevent the cake from sticking to the knife, you can wrap the knife with a thin plastic wrapper to help make the cutting process easier.
What Tips Do You Need to Know To Make the Perfect Bánh Tét?
Here are some tips you need to know for perfect bánh tét:
How To Save Bánh Tét for Later Use?
You can simply store bánh tét by wrapping any leftover pieces with food wrappers and placing them in the fridge for storing for up to a week.
Better yet, if you have an unopened bánh tét, the cake can last up to 8 months in the freezer.
Once you want to enjoy the bánh tét, you can take the cake out of the refrigerator and slice it into wheels. Wait for the slice to be room temperature before heating up your pan and oil for frying.
You will end up with crunchy bánh tét wheels with a completely different texture.
What To Serve Alongside Bánh Tét?
Bánh tét is undoubtedly an icon of the Vietnamese Lunar New Year; however, there are a few accompaniments to enjoy the cake to the fullest:
Savoring Bánh Tét: Are You Ready?
Bánh tét is a key delicacy in Vietnam for Tet occasions. For that, you should try making this lovely sticky rice cake at home to bring a bit of Vietnamese tradition into your house. Though the process can be tough, I promise the end result is worth the wait.
If you like this recipe, make sure to share the article with people around you so they can know more about classic Vietnamese dishes. I’d love to hear your opinions in the comments section; tell me about your best experience with Vietnamese cuisine.
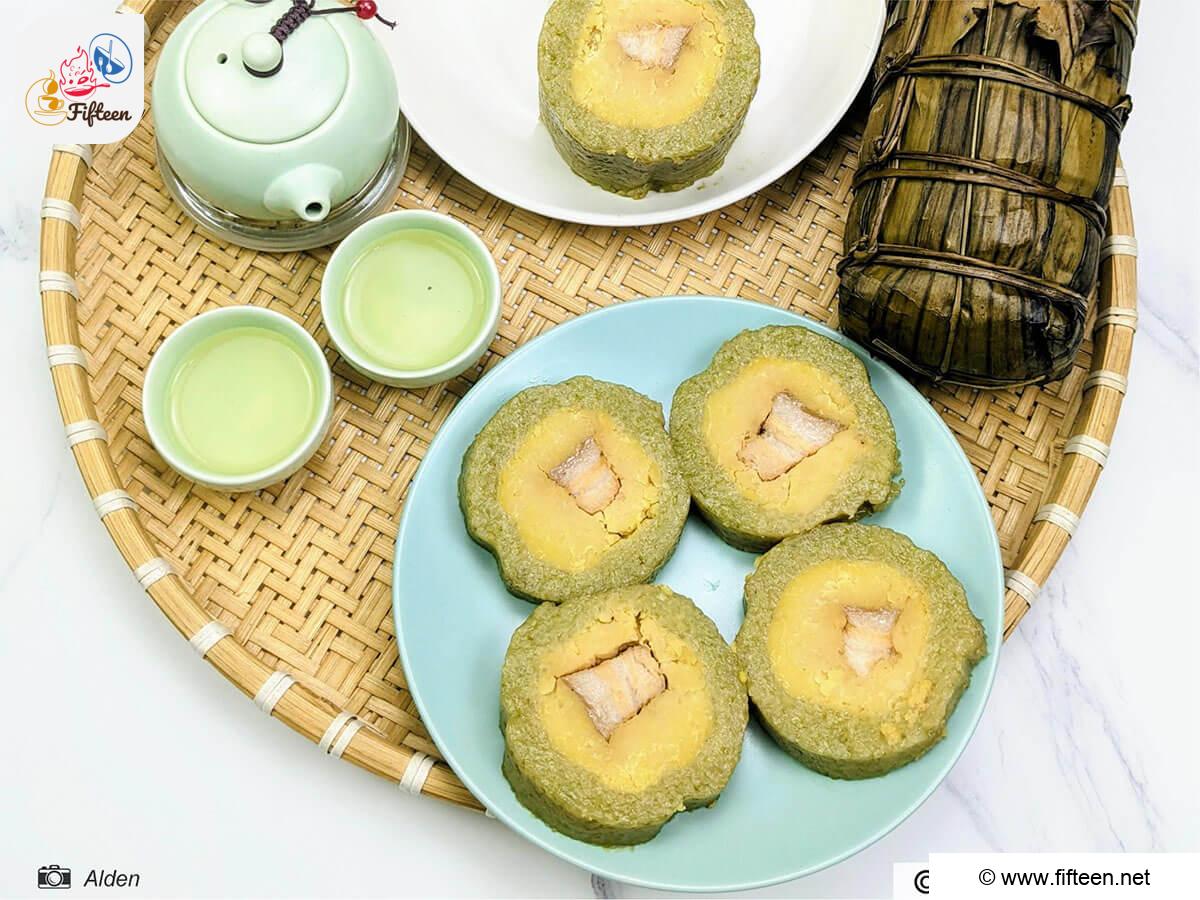
Bánh Tét Recipe (Vietnamese Cylindrical Sticky Rice Cake)
Equipment
- Big Bowl
- Pot
- Flat Winnowing Basket
- Ladle
- Spatula
- Skillet
Ingredients
For the sticky rice and mung bean layer:
- 17.6 ounces of sticky rice
- 12.3 ounces of green beans
- 0.42 cup of extracted panda leave juice
- 1.06 cups of coconut milk
- 3 teaspoons of sugar 1.5 for the sticky rice and 1.5 for the green beans
- 2 teaspoons of salt 1 for the sticky rice and 1 for the green beans
For the filling:
- 14.1 ounces of pork belly
- 1 tablespoon of pepper
- 1 teaspoon of sugar
- 2 teaspoons of salt
- 1 teaspoon of minced shallot
For the wrapping:
- Banana leaves
- Bamboo strings
Instructions
- Soak the sticky rice in water for at least 8 hours or overnight.
- Drain and wash the rice with a new batch of water. Repeat the process until the water is clear. Drain the rice one last time using a flat winnowing basket.
- Soak the green beans for at least 4 hours before boiling them. Make sure to season the beans with sugar and salt while boiling them.
- Combine crushed pepper, sugar, salt, and minced shallots to marinade the pork belly for roughly half an hour.
- Stir-fry the sticky rice in a skillet with extracted pandan leaf juice, coconut milk, sugar, and salt. Keep stirring the mixture until the liquid is fully evaporated. Remove from heat and let the rice cool.
- Pound the green beans into a paste-like mixture and spread it over a flat surface. Place a long piece of pork belly over the spread bean and seal the meat with another layer of green bean paste.
- Roll the green bean and pork filling into a cylindrical shape, making sure the bean covers the pork belly completely.
- Layer a flat surface with two large banana leaves (around 15.7×19.7in) with smooth, shiny surfaces facing outward.
- Place another two smaller leaves (11.8×15.7in) in the same direction as the larger ones.
- Continue to put another larger leaf in the middle of all the assembled leaves.
- Place a bamboo string under the first leaf layer.
- Put a decent amount of sticky rice over the leaf surface.
- Transfer the cylindrical filling over the sticky rice bed and place it in the center.
- Pour more sticky rice over the filling to cover it.
- Hold the two horizontal ends of the banana leaves and fold them in half. Then roll the cake tightly and secure the shape using the bamboo string placed in the middle of the Banh Tet.
- Fold one end to flip the cake vertically on that same folded side. Pour more sticky rice into the remaining open end of the bánh tét to evenly distribute the sticky rice.
- Fold the last open end of the cake and seal both rectangularly cut banana leaves placed on each side.
- Take another 4 rectangular banana leaves to secure both ends of the bánh tét. Place the leaves in a crisscross pattern over each side of the cake to prevent water from seeping in while boiling.
- Take two bamboo strings and tie them in the vertical direction of the bánh tét to tightly secure both ends of the cake.
- Then, wrap the bamboo trips horizontally around the cake. Start from the top and work your way down to the bottom of the bánh tét. Later on, remove the rubber bands and the vertical bamboo strings leaving the horizontal strings only.
- Layer the bottom of the pot with any remaining banana leaves to prevent burning and start placing in the cake. Submerge the cake fully in water and let the fire simmer for 8 hours. Keep the water boiling lightly and not vigorously.
- Make sure to refill the water so the bánh tét is always submerged and cooked evenly. Remove the cake and give them a cold water bath to cool off and clean the cake exterior.
- For cutting the cake, remove the outer banana layer and place a bamboo string under the cake. Pull both ends of the string in opposite directions to cut the cake into a wheel shape. You can also use a knife for cutting.
Video
Notes
- The recipe is based on 4 servings.
- When you’re into the cooking process for 1.5 – 2 hours, you need to flip one end of the cake if you’re cooking your bánh tét vertically in a small pot to ensure even cooking.
- Make sure to refill the water frequently.
- After finishing the boiling process, wash the cakes in cold water and roll them over a flat surface for a more appealing cylindrical look.
- If you can’t get the leaves of the same size or have to work with torn leaves, you can compensate for the missing section with extra leaves.


Tien – Alden
Content Writer
Expertise
Home Cooking, Recipe Development, Food Editor, Beverage Editor, Cooking-video Maker, Asian Food Content Creator
Education
Saigon Tourism College
Advanced Culinary Workshop, Beijing
Vietnamese Traditional Cooking School
American College of Vietnam
Alden is a skilled chef with expertise in Asian cuisines, known for blending traditional Vietnamese and Chinese cooking with contemporary innovations. Alden’s passion for Asian flavors and her creative approach to both food and beverages inspires fellow chefs and those aspiring to enter the field.