How to keep food warm when transporting can cause a big headache if you do not know the correct ways. Without proper insulation from external temperature, your food will lose heat quickly. And nobody likes to fill their stomachs with lukewarm food.
Well, don’t you worry anymore because I have the perfect solution for you. After you read the list of tips I will be showing you, your food can be saved from its cold, harsh fate. Let’s not beat around the bush and just jump right in!
Why Do You Have To Keep Food Warm?
Before you start making preparations for your trip, you must first understand why you need to keep food warm. It’s not just because warm food will taste a lot better. If you do not know how to keep food warm properly, it can badly affect your health.
Most hot food has a certain threshold that will keep bacteria from growing. For most meat like beef, pork, and lamb, this threshold is above 145°F. For ground meat, it’s above 160°F. And for seafood, it depends on the type. But the general rule is to go above 140°F. (1)
If you have a constant heat source that keeps food above the safe temperature, it’s fine to let the food stay as long as you like. But without a constant heat source, the temperature will gradually drop, and you must consume the food within 1-2 hours.
That’s why I highly recommend you pick these methods below based on the time and length you will travel for the safety of you, your family, and your customers’ health.
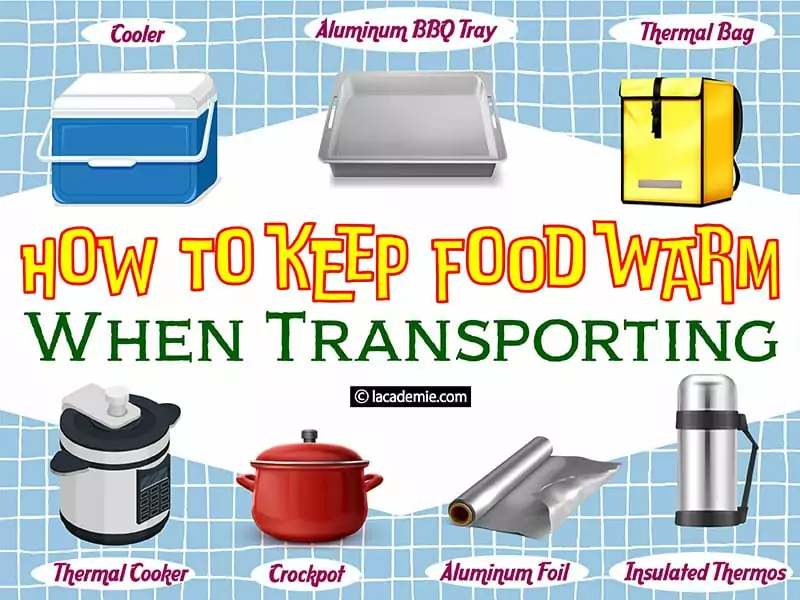
17 Ways You Can Use To Keep Food Warm On A Transport
Now that you have understood the importance of keeping food warm, let’s take a closer look at the list of tips below. You can actually use only one or many of these tips to keep your food as warm as possible.
But first, here’s a simple table detailing names of the tips, what kind of dish they are suitable for, and how long the food can stay warm:
Aluminum Foil (+ A Towel)
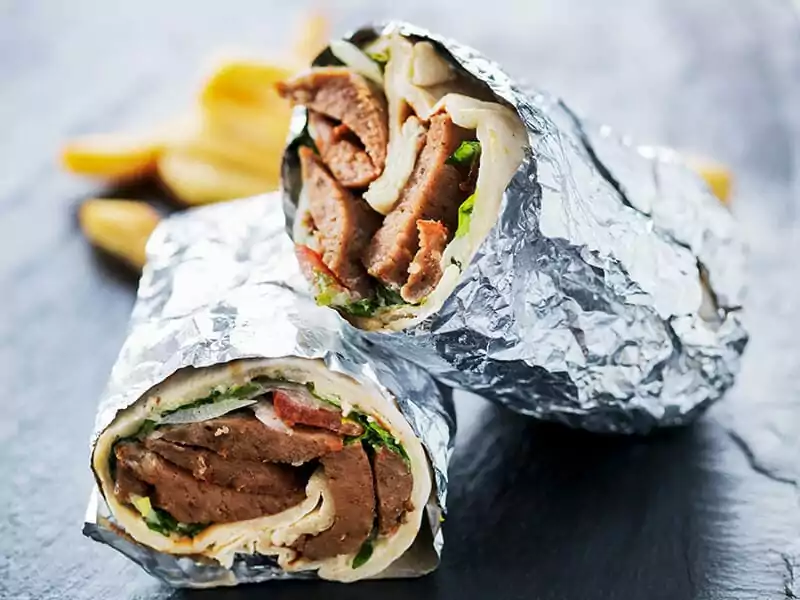
The first tip is probably the easiest since aluminum foil is available in almost every home. Aluminum foil, also known as tinfoil, was created in 1907 in Switzerland by a manufacturing plant called Dr. Lauber, Neher & Cie.
People often use aluminum foil as a type of food storage. It’s also used to cook food as well since aluminum, as a metal, can absorb heat really well. That is why aluminum foil is a perfect way to keep rotisserie chicken warm. If you want your food to stay as warm as possible, don’t miss this method.
Depending on your food, you can wrap aluminum in two ways:
If you finish wrapping the food, it will stay warm for around 30 minutes to one hour. And don’t worry about aluminum poisoning since the amount of aluminum seeped into your food is small at best.
Additionally, you can add a layer of towel on top of the aluminum foil to keep the food warm a little longer. The towel acts as a good insulator to keep steam and moisture from leaving.
This tip is great for those who travel for a short distance. However, if you would like to know more about tips that can keep food warm for much longer, then check out other methods listed below.
Aluminum BBQ Tray
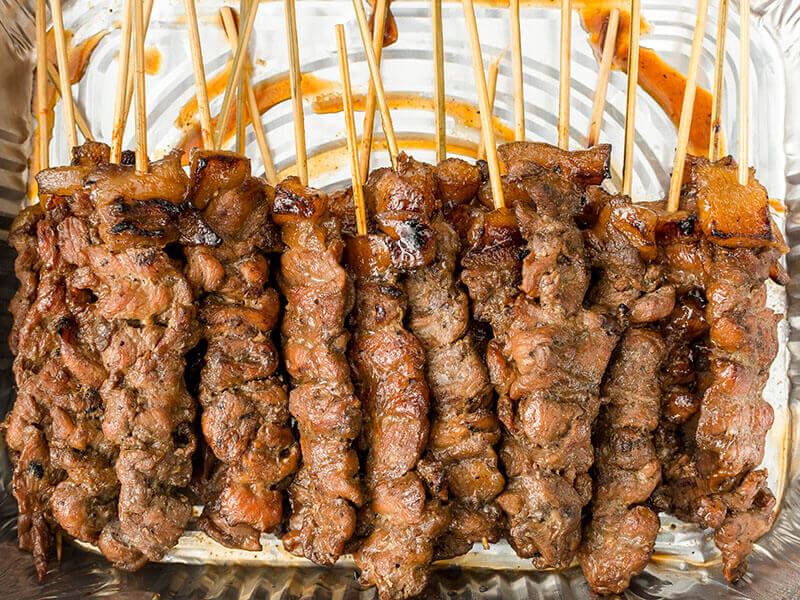
Another effective aluminum-based product you can use to store food is the aluminum tray. Similar to an aluminum wrap, the tray option can retain heat well due to it being metal. The tray is also quick to use since you don’t have to wash anything after you’re done with your food.
The tray is perfect if you have to carry around a large amount of BBQ, pasta, or fried food. It’s also simple to use as well, just pop the food right into the tray and cover it tightly with aluminum foil. If you have a bag, you can carry at least 2-3 trays at the same time.
The maximum time you can keep food warm in a tray like this is around 45 minutes to one hour. And the best thing is, you can combine this tip with others below as well.
Keeping The Heat In
Everyone knows that steam is evaporated water, but do you know that heat also escapes through steam? This means steam escaping can turn the food cold. If you can get the steam to stay, the heat will not run out quickly.
This option is available if you have no aluminum foil or tray available in your house. The steps to do this method are quite simple:
Step 1: Keep The Food In A Pot Or Transfer It Out
In this step, you can simply choose to keep food inside of the pot or transfer it out to a smaller one. I’d suggest getting a big medium pot with two handles on both sides to carry around easily.
Step 2: Make A Flour Paste
This step requires you to make something called a flour paste, an organic sealant that is safe to use.
You need to mix a cup of wheat flour and ½ a cup of water. Mix well until the flour thickens up. This paste will keep the steam from escaping.
Step 3: Seal The Pot With The Paste
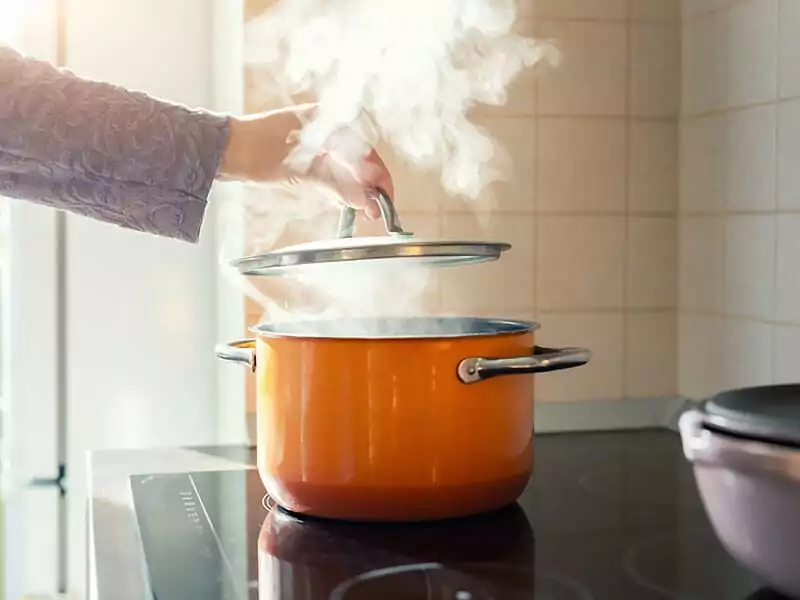
After you’re done with the paste, close the pot with a lid. Take a handful of the paste and spread it around the lid. Make sure you cover the part where the lid meets the pot.
Once finished, the food alongside the steam is trapped inside. If you want to take food out, just break the seal since flour paste is very brittle.
Insulated Thermos
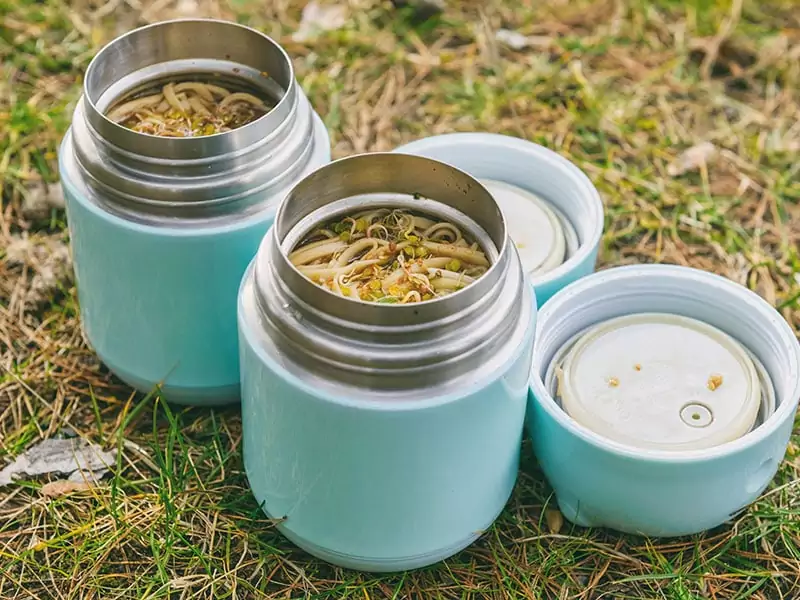
Want something smaller to carry food around? I have this product for you. A thermos is a metal container that keeps your food warm by using a layer of insulation. This layer is made up of vacuum space, so no heat can get in or out.
James Dewar first developed the concept of an insulated flask back in 1892. Since then, it has become one of the most popular ways people store food. Thermos is especially popular with outdoor travelers and office workers with its ability to keep food and drink hot.
In order to use the thermos, you only need to transfer newly cooked food into the container. Then, you need to seal it tight with a special rubber sealing mechanism. Once everything is sealed nice and tight, go ahead and put the thermos inside your backpack.
If you want the thermos to stay warm longer, you can use a sheet of aluminum foil or two towels. You can wrap them around the thermos. Make sure to keep your hot thermos away from any cold food or drinks. The thermos can keep warm for more than 4 hours.
Thermal Cooker
Imagine a thermos, but a lot bigger and a lot tighter as well, that is how you can describe a thermal cooker. The concept of using the food’s own heat to cook it has existed for a long time, going as far back as the Medieval period with a simple clay pot.
However, this concept has finally been perfected with the introduction of the thermal cooker. It has gained a big following in China after its introduction. Basically, the thermal cooker has two pots combined into one. The middle of two pots is nothing but a vacuum.
Most thermal cookers come with a large storage place, this means you can keep a large amount of food in. If you ever get the cast iron thermal cooker, I can assure you won’t have to worry about food for many hours.
The way to use it is easy as well: You finish cooking a dish, then you immediately transfer it into the cooker. After you get everything inside, close the lid and seal the pot. This product works really well if you have to keep dishes like soup, stew, or braised warm.
One more amazing thing is that the food can stay warm for up to 8 hours at above 160°F (71°C) if the food’s temperature is super hot. It can stay above the danger zone, which is 140°F (60°C).
The most basic instruction so that you can use the thermal cooker.
Crockpot
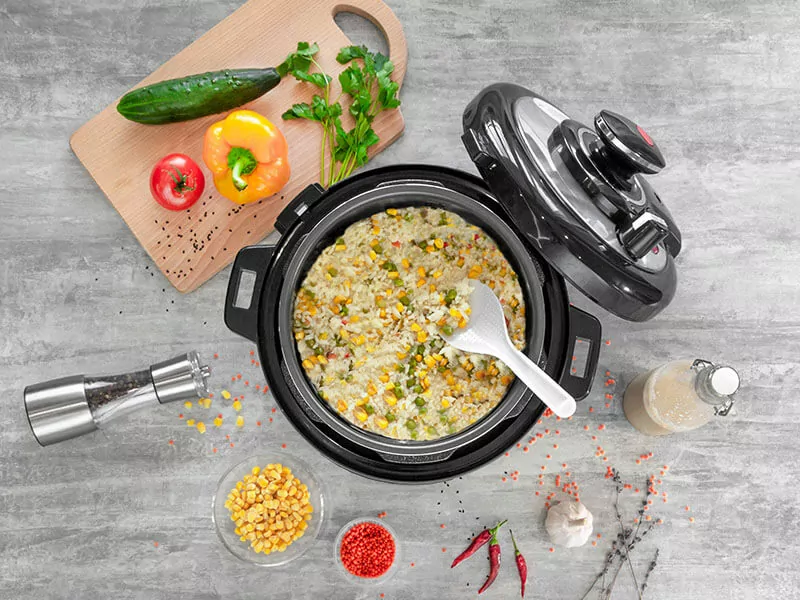
The crockpot was designed to cook food for a long time under low heat. That is why the temperature inside of the pot is very low. If you don’t have a thermal cooker to store your food, the crockpot is for you. Large-sized crockpots also provide a reliable way to keep food warm at parties.
Usually, the maximum temperature of a crockpot reaches around 199°F (93°C), so it is safe to keep food in. However, the crockpot, as well as many other slow cookers on the market, doesn’t have a sealing mechanism to keep the heat in without electricity.
Since the heat will drop gradually inside the pot, make sure to eat the food within the 2-hour range. Also, make sure to seal the lid tightly if you want to bring the pot with you.
Heat Packs And Hand Warmers
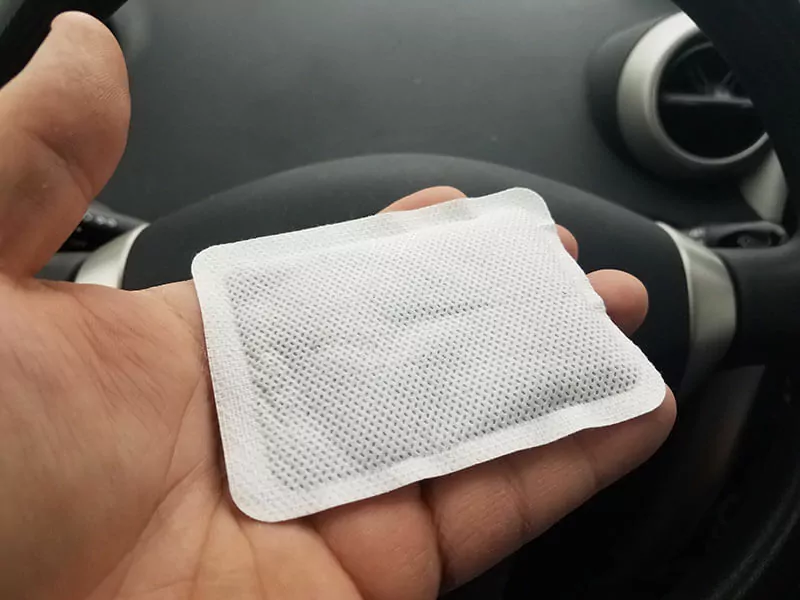
The hand warmer was first patented by an American named Jonathan T.Ellis. However, it became popular after Japanese investor Niichi Matoba made some adjustments to the product. On the other hand, the heat pack was introduced in 1948 as the Hot-R-Cold-Pak.
While both products are mostly known to help you through the cold, they can keep your food from turning cold without electricity as well. That is because both products have a high-temperature threshold: For hand warmers, it can go to 158°F (70°C); For heat packs, it is 194°F (90°C).
For hand warmers, you need to take them out of the packaging and shake them well. For heat packs, you have to boil them in hot water or put them in a microwave for 30-60 seconds.
You can choose to use hand warmers or heat packs based on the size of your food containers. Hand warmers can stay warm for 6 hours, while heat packs can stay warm for up to 20 hours.
Both hand warmers and heat packs have two different types: Disposable and reusable. The disposable version is single-use. After the heat is gone, you can throw them away. The reusable version can be heated back up with hot water or microwave.
Cooler
The cooler offers a much more affordable option if you do not have the funds to buy a thermos, a thermal cooker, or a crockpot. The earliest version of the modern cooler first made its appearance in the 1950s. Instead of plastic, old cooler models were made with metal.
The way the cooler works is that it creates a layer of insulation from thick foam instead of vacuum. The foam absorbs the heat or the cold from outside. That is why the food or anything you put inside of the cooler will be kept at a stable temperature.
With this principle, you can keep food warm inside the cooler. And I’m going to tell you how:
Step 1: Use Either Hot Bricks Or Hot Water
Pick whichever heat source you’d like to use. Both have different preparation methods. If you want a quick heat source, then choose hot water. If you want something that stays for hours, then choose bricks.
Step 2: Heat The Brick Or Water
Next, you need to heat either the water or the bricks. Here’s how you can do it:
Step 3: Put The Heat Source Into The Cooler
After you’re done with the previous step, you can put the heat source into the cooler. Remember to cover the inside of the cooler with aluminum foil as well to help with heat retention.
Step 4: Place The Food Inside
Finally, you will need to put the food inside the cooler and close the lid up. This method, combined with the aluminum wrapping tip, can keep food warm for up to 8 hours.
If you manage to get yourself a good cooler with sufficient insulation, then you don’t have to use bricks or hot water. First, you need to pour warm water (not hot water) into the cooler and close the lid. Then, wait for 30-60 minutes before dumping the water out.
Since you have warmed up the cooler’s internal temperature, you can put your hot food inside. Make sure to wrap your food tightly in foil.
Protip: Remember to get coolers that will fit the amount of food you need. If you want your food to stay warm longer, get a standard 30-quart (28 liters) cooler. If it’s not big enough to fit all the food, get a 50-quart (47 liters) version. However, you need more heat sources to warm it up.
Don’t have a crockpot or thermal cooker? This instruction will show you how a cooler can replace them.
Thermal Bag
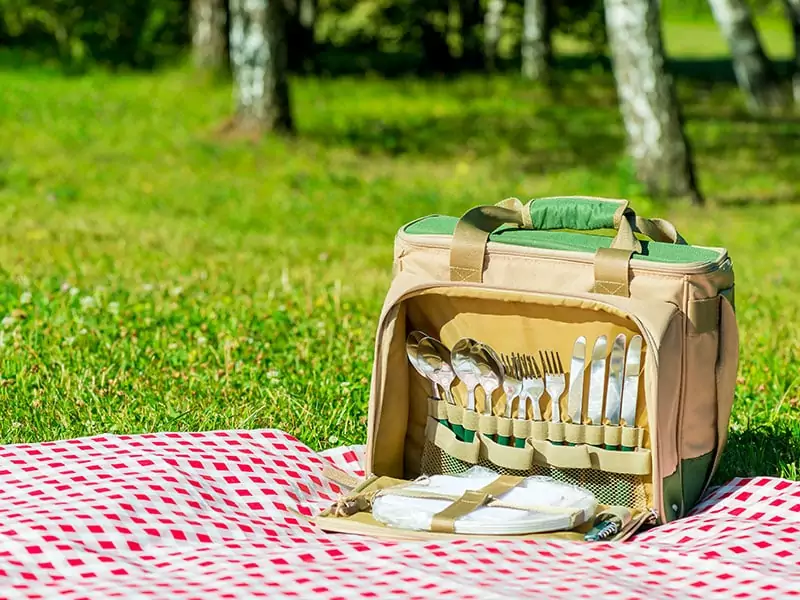
This method is very popular with many delivery people since the thermal bag is basically a softer and lighter version of the cooler. Instead of being made with a plastic casing and foam, the thermal bag uses cotton as its outer layer. The inside is made with mostly aluminum foil.
These days you can find two versions of thermal bags: One with electricity and one without. I will talk more about the version using electricity later, this will be all about the non-electric version.
The way you can use it is very simple as well. First, you need to put the food into an airtight container, like a thermos or a sealed aluminum tray. Next, place the food into a thermal bag and zip it up. And that’s it, that’s how easy it is to use a thermal bag.
You can add another layer of insulation by wrapping the food in a towel before putting the food into the thermal bag. This will trap the heat inside for longer.
The thermal is very useful since it’s lightweight, compact, and is able to keep a small amount of food warm. After you’re done with your meal, just put the bag into your backpack.
Portable Food Warmer
As I said above, I will be talking about the electric version of a thermal bag. Aside from having a different name, the food warmer looks exactly like a smaller version of the thermal bag. However, the biggest difference is that the food warmer has a small heating unit inside.
The way you can use the portable food warmer is to transfer your food into a container, put the container into the bag and just plug in the food warmer.
The food warmer doesn’t have any knob to turn, so you only need to wait until the food is being warmed up. Once it reaches the right temperature, the bag will stop.
Since the food container will directly touch the heating unit, you should use a heat-safe container like glass or ceramic instead.
However, there are two disadvantages regarding the portable food warmer. One, it is rather small, so warming bigger dishes will require a different solution. Two, the product is very likely to break if you use it too much.
A review as well as a tutorial on how you can use the portable food warmer.
Electric Lunch Box
Aside from a portable food warmer, an electric lunch box is very similar in function as well. It’s light, convenient, and efficient. When you’re always running late for work or school, this will be your life-saver for a warm meal.
This looks very similar to a normal lunch box. But on the inside, this lunch box also has a heating unit, so it can warm up your food in a short time.
Now to the fun part, how do you actually use it? Just put your food inside the box, plug it in, and wait for around 2-3 minutes. Your meal will be warmed up in an instant. There is no temperature option for this product as well.
Different from a simple lunch box, this one will keep your food really warm.
Car Trunk
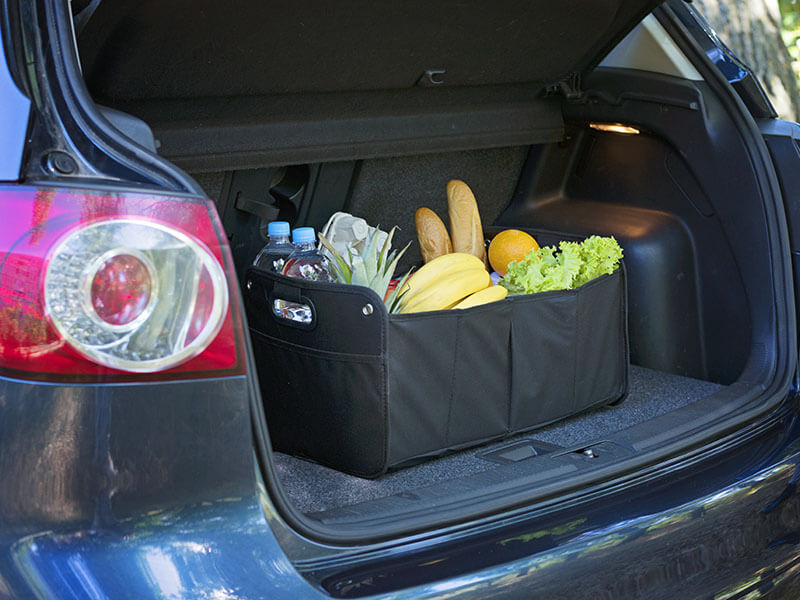
If you have a car, then I think you will know what I’m talking about in this tip. If you leave the car outside for too long, it will become a heat trap during a hot summer day. This is due to the enclosed design of the car’s interior.
Most of the time, the inside of a car, under direct sunlight, can reach a temperature of around 116°F (47°C). However, the temperature of your trunk can reach up to 150°F (66°C), above the danger zone of bacteria growth at 140°F (60°C)
This means that if you want to keep your hot food warm on a short journey, you can put your hot food containers into your trunk. Make sure to lock the containers tightly, or else you might have to clean your car again.
Protip: Only do this tip when you carry hot food in your car, and the trip only takes around 30-45 minutes. According to the NIFDS of South Korea, chilled, frozen food will spoil much faster inside of a car trunk due to the humidity and the heat. (2)
Separating Hot From Cold Food
Another good practice to remember is that you can also separate hot food from chilled food. This method is based on your old high school physics lesson: Heat will transfer from hot to cold objects.
This means if you want your hot food to stay warm longer, put it in another container. The way you can do this is to prepare two separate containers, either two backpacks or two coolers. You can then put your chilled and hot food in each container.
Doing this not only helps your food stay at a stable temperature, but the practice can ensure your health as well. This is because cooling hot food rapidly can create favorable conditions for foodborne illnesses.(3)
Making Food Extra Hot
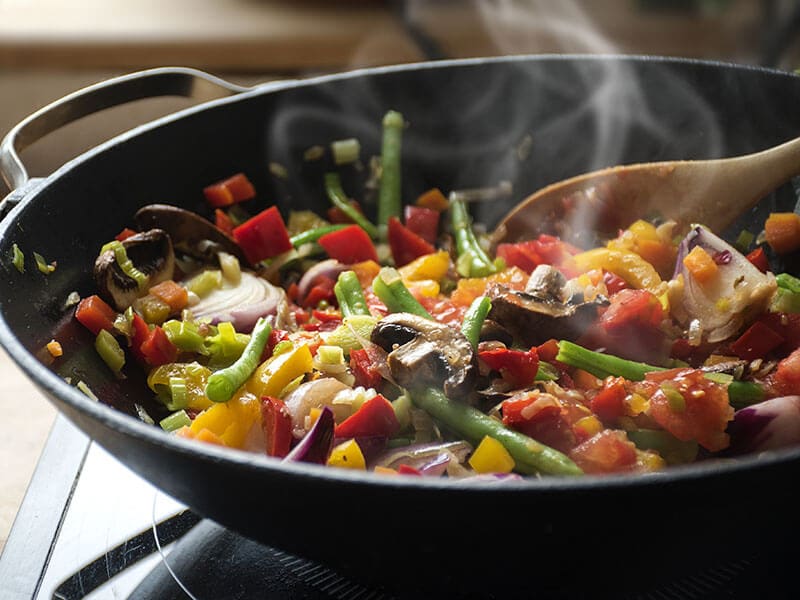
This method will work if you can be fast enough in transporting your food. You need to increase the total temperature of food so that when you arrive, it will still stay warm.
In order to do this, you first make sure that you cook your food a little bit hotter than usual. For example, if your average cooking temperature is around 170°F (77°C), you can turn it to 180-185°F (82-85°C). The food heats up a lot more, but not to the point of burning.
If the food is boiling too much, turn down the heat and wait a minute before turning it back up again. Once you are finished, the food will be hot enough that you don’t have to worry about reheating everything again.
Cooking A Lot Of Food
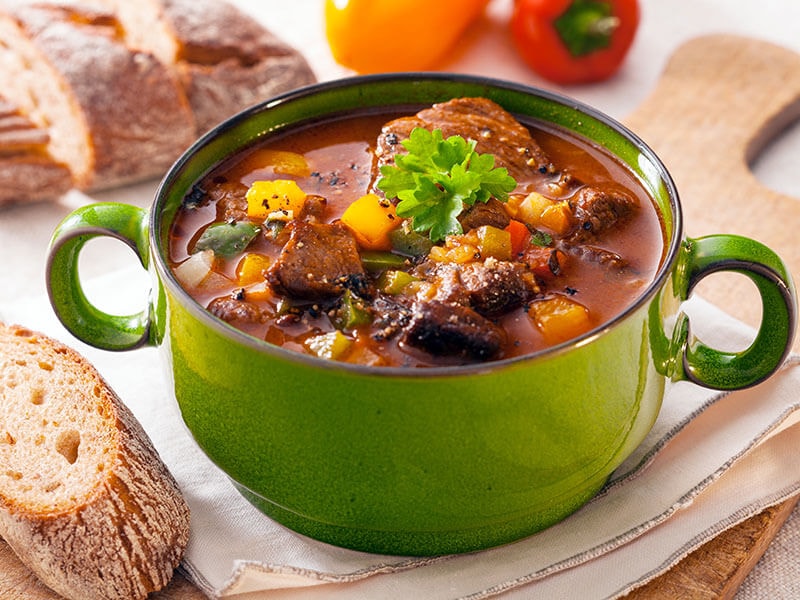
This tip would be perfect if you have to make food for a lot of people. This method is another application of the physics lesson above, which stated that heat would go from warmer to colder in any environment.
By increasing the quantity of the food you cook (warmer object), you can reduce its cooling rate by preventing heat transfer to air (colder object). This sounds pretty cool because it actually works in real life.
If you cook a lot of food, just make sure to store it in a big airtight container. That means if you get to wherever you want to go, the food will keep itself warm thanks to the increased mass.
Picnic Basket With Thick Cloths Or Newspaper
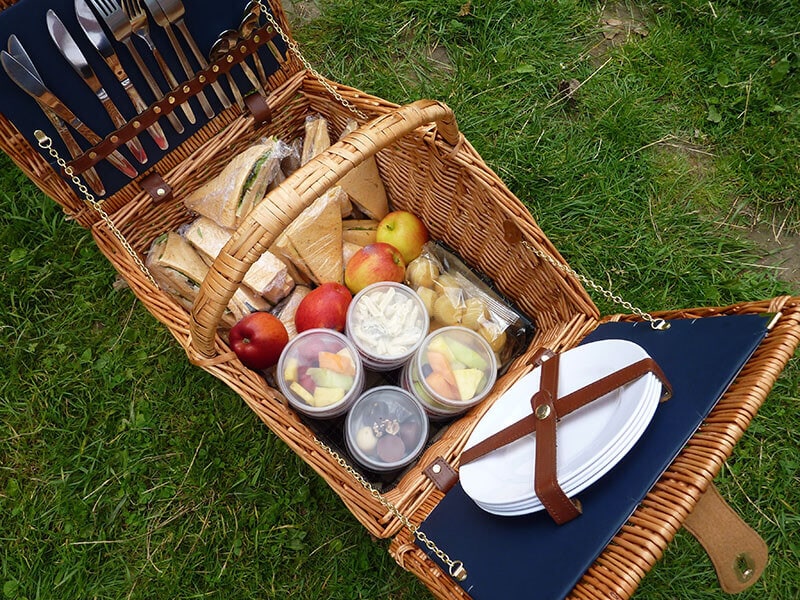
If you want to go somewhere a little closer to your home, you can just store your food inside of a picnic basket.
The traditional picnic basket is still made with straws and is perfect chilled food. But some modern picnic baskets are made with cotton and aluminum foil on the inside. This helps to insulate and keep your food at a good temperature.
Of course, there’s a way to improve the picnic basket even further. You can stuff the inside of the basket with a thick cloth. Newspapers are great too, since the paper is a very good insulator. A few layers of old newspaper are enough to keep your food a lot warmer.
Nothing feels better than having warm food for a picnic. Plus, holding a picnic basket while going outside feels very relaxing if you’re stressed out.
Pan Carrier
For those wanting to break into the catering business, I have something a bit more effective. This product is very light, portable, and most importantly, it will help you carry a lot of food. The best thing about the pan carrier is that it requires no electricity.
The pan is made with polyethylene. This material is very reliable, almost unbreakable, and environmentally friendly. Polyethylene makes a good insulator considering it can resist both high and low temperatures.
Besides polyethylene, the interior also has a layer of foam padding, giving the carrier another protective layer from the outside environment. The design of the pan carrier improves the portability by giving it two handles on each side.
The pan carrier is available in many sizes and types. The most common pan carriers are the vertical ones and the horizontal ones. Each of the versions has its own advantages and disadvantages.
A tutorial on how you can use a pan carrier for professional needs.
FAQs
In case you are still wondering about keeping food warm when transporting, I have prepared some questions related to this topic. Hopefully, after you’re reading through this, you will be able to choose which methods are best for you:
Don’t Ever Let Food Get Cold When You Go Out
Food getting cold will never be a major problem in your life again. With all the tips above, nothing will be able to prevent you from delivering a warm, scrumptious meal to your friends, family, and even customers.
If you like what you read, and want others to know about my helpful tips, please make sure to leave a big thumbs up, and share this post on your social media accounts. You can check out our site to see more interesting and creative articles about food and culture.
As always, have a great day!
References
- fda.gov. 2022. Safe Food Handling.
- sciencedirect.com. 2012. Temperatures increase of foods in a car trunk and the potential hazard for microbial growth.
- umn.edu. 2021. What is the risk? Cooling hot food.


Jamie Scott
Editor in Chief, Senior Content Writer
Expertise
Home Cooking, Meal Planning, Recipe Development, Baking and Pastry, Food Editor, Cooking-video Maker, Western Food Evaluation Expert
Education
Le Cordon Bleu College of Culinary Arts
Local Community College, New York, NY
Jamie Scott is a skilled culinary expert and content creator specializing in Western cuisine. With over 15 years in the culinary field and formal training from Le Cordon Bleu, Paris, Jamie deeply understands how to blend nutrition with delicious flavors. His passion for cooking matches his commitment to making healthy eating accessible and enjoyable.
On Fifteen.net, Jamie brings a fresh perspective to classic dishes and beverages, offering readers insightful recipes, cooking tips, and a fresh view on meal planning that emphasizes taste, health, and simplicity.